

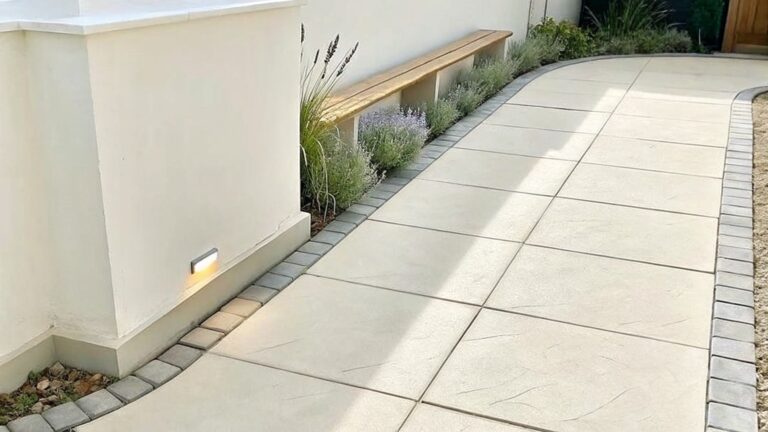
When I look at a garden bed the edges are often what decide whether the whole layout feels finished or still half done.
Curves add movement but they also make it harder to keep soil and mulch where they belong without constant adjustments.
I learned that the hard way last spring.
Some of the methods I have seen used for holding a curve seem more reliable than others especially once the plants start to spread and the seasons change.
Trying one or two of them on the beds that still look uneven might finally give those areas the structure they have been missing.
Gravel Edging For Paved Paths
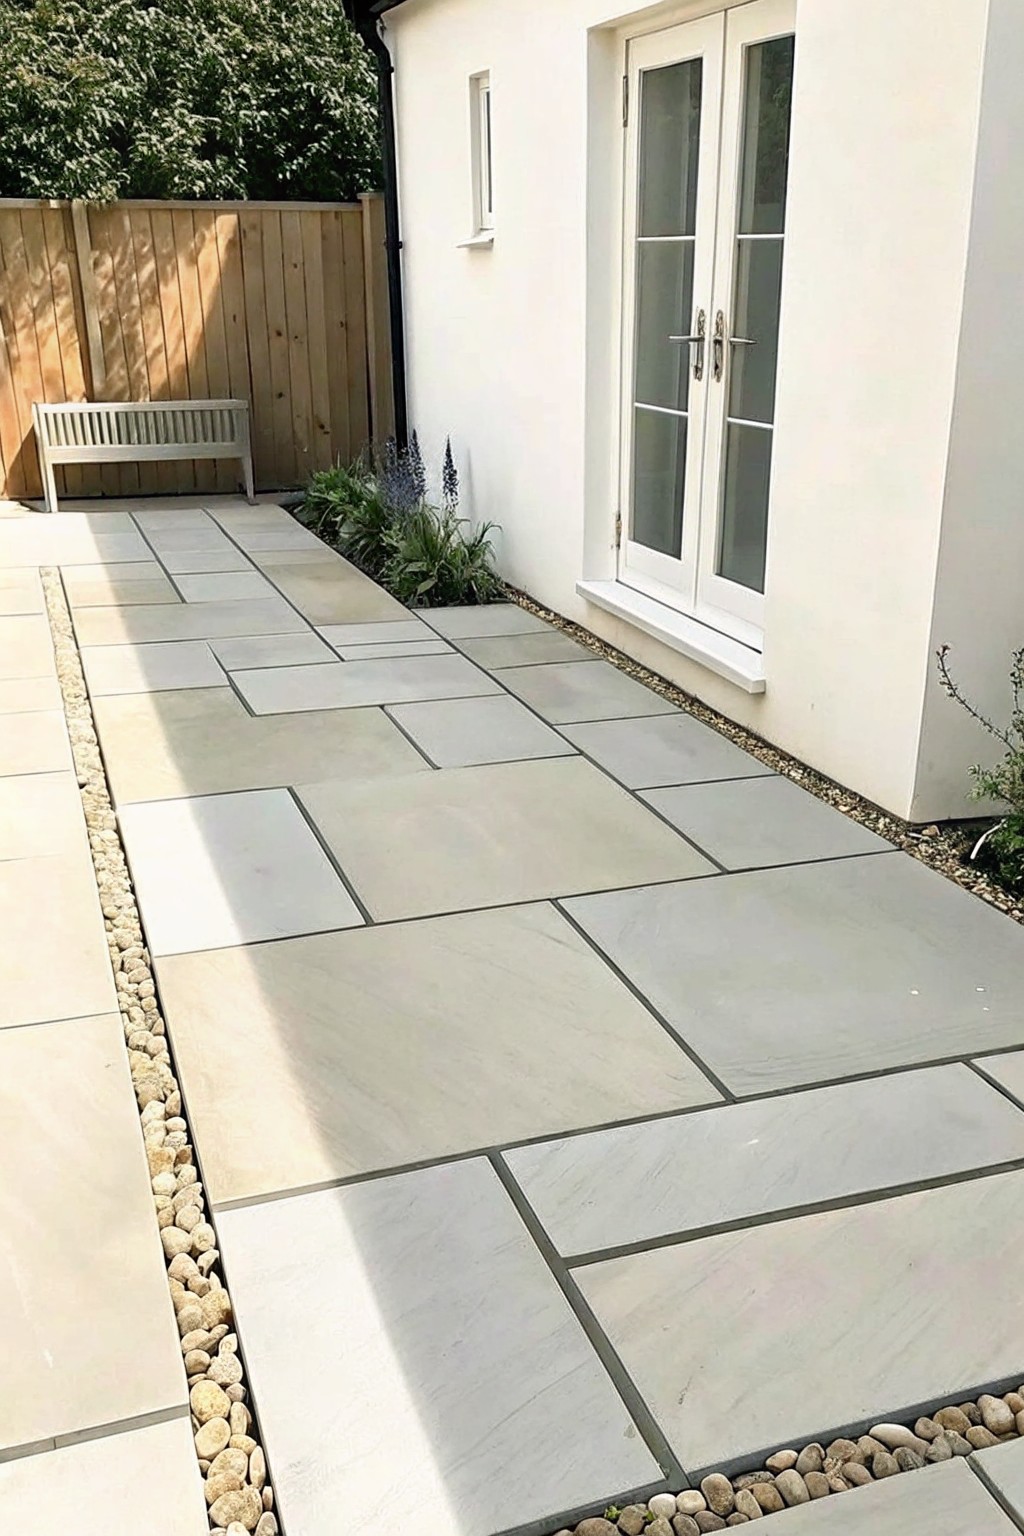
A strip of gravel along both sides of a stone path gives the whole layout a clean, finished edge. It separates the paving from the soil or house wall without adding extra height or fuss.
This approach suits narrow side gardens or areas right next to the foundation. Keep the gravel layer shallow and contained so it stays in place over time.
Curved Edging For Raised Garden Beds
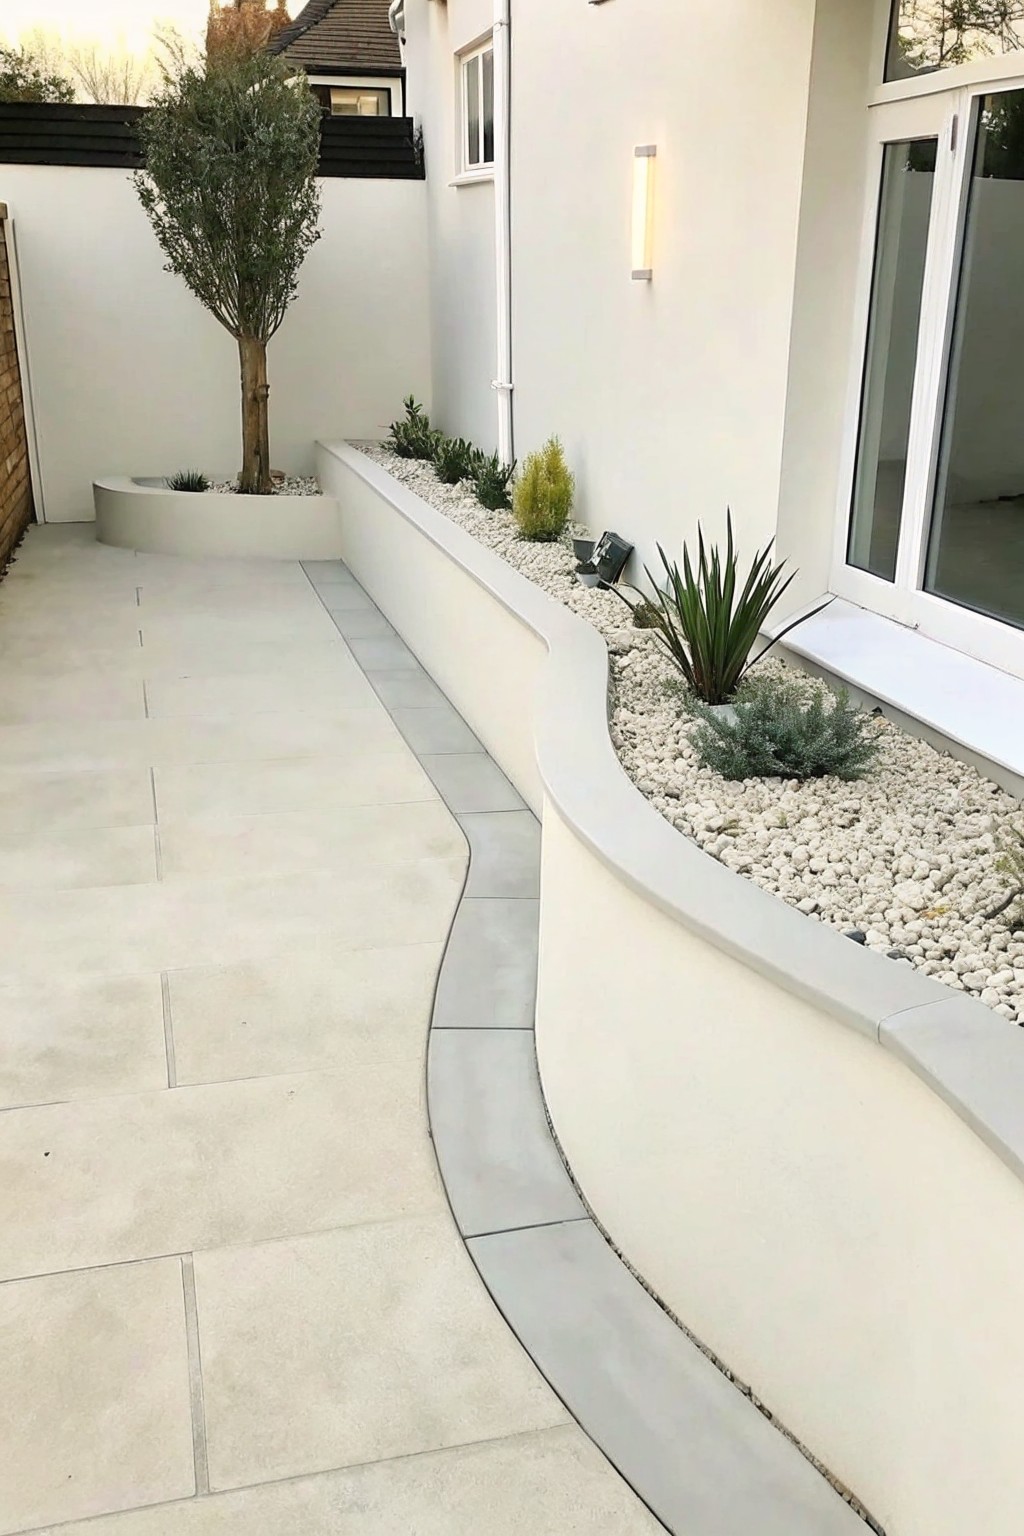
A low curved wall makes a garden bed look finished without needing fancy materials. It gives the edge a clean line that follows the path instead of fighting it, and the shape softens the whole layout.
This approach works best on narrow side areas or along a walkway where you want the bed to feel intentional. Keep the wall low, use a light color that matches nearby paving, and fill the bed with gravel so the plants stay the focus.
Pebble Strips for Defined Garden Edges
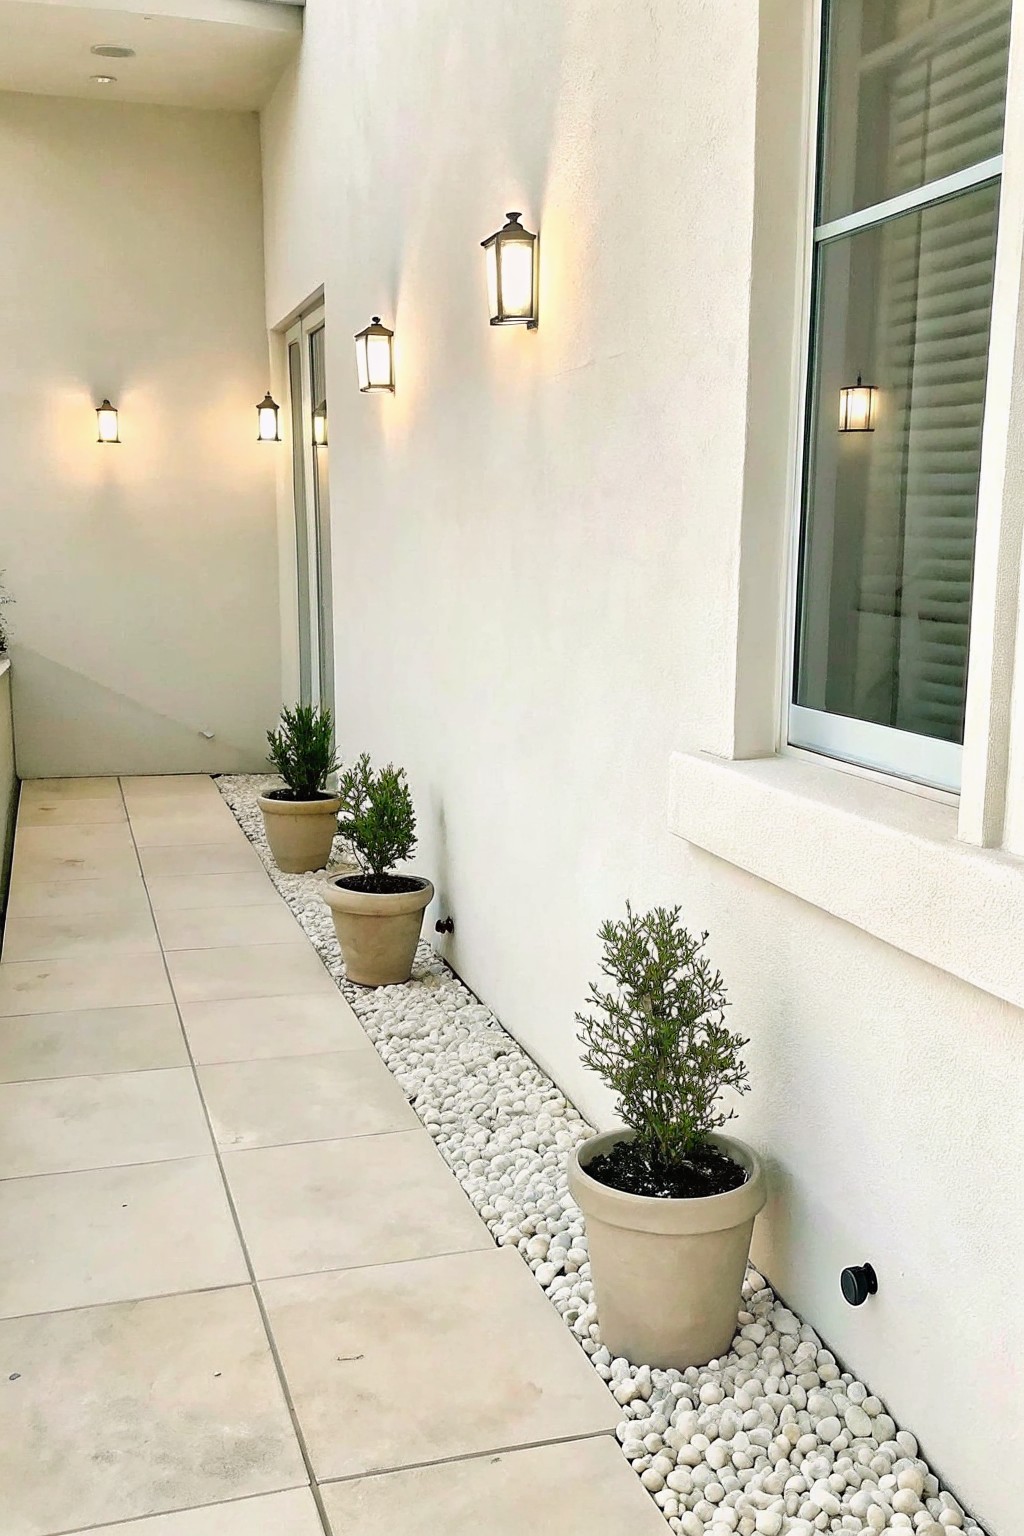
A narrow band of white pebbles creates a clean separation between the walkway and the planting area. This approach keeps the bed looking intentional without needing a formal raised edge or heavy materials. It works especially well in narrow side yards where space is tight and you still want the planting to feel deliberate.
The look suits homes with simple stucco or painted walls and pairs easily with potted shrubs that can be swapped out seasonally. Just keep the pebbles raked level now and then so they stay neat along the path.
Brick Edging for Curved Beds
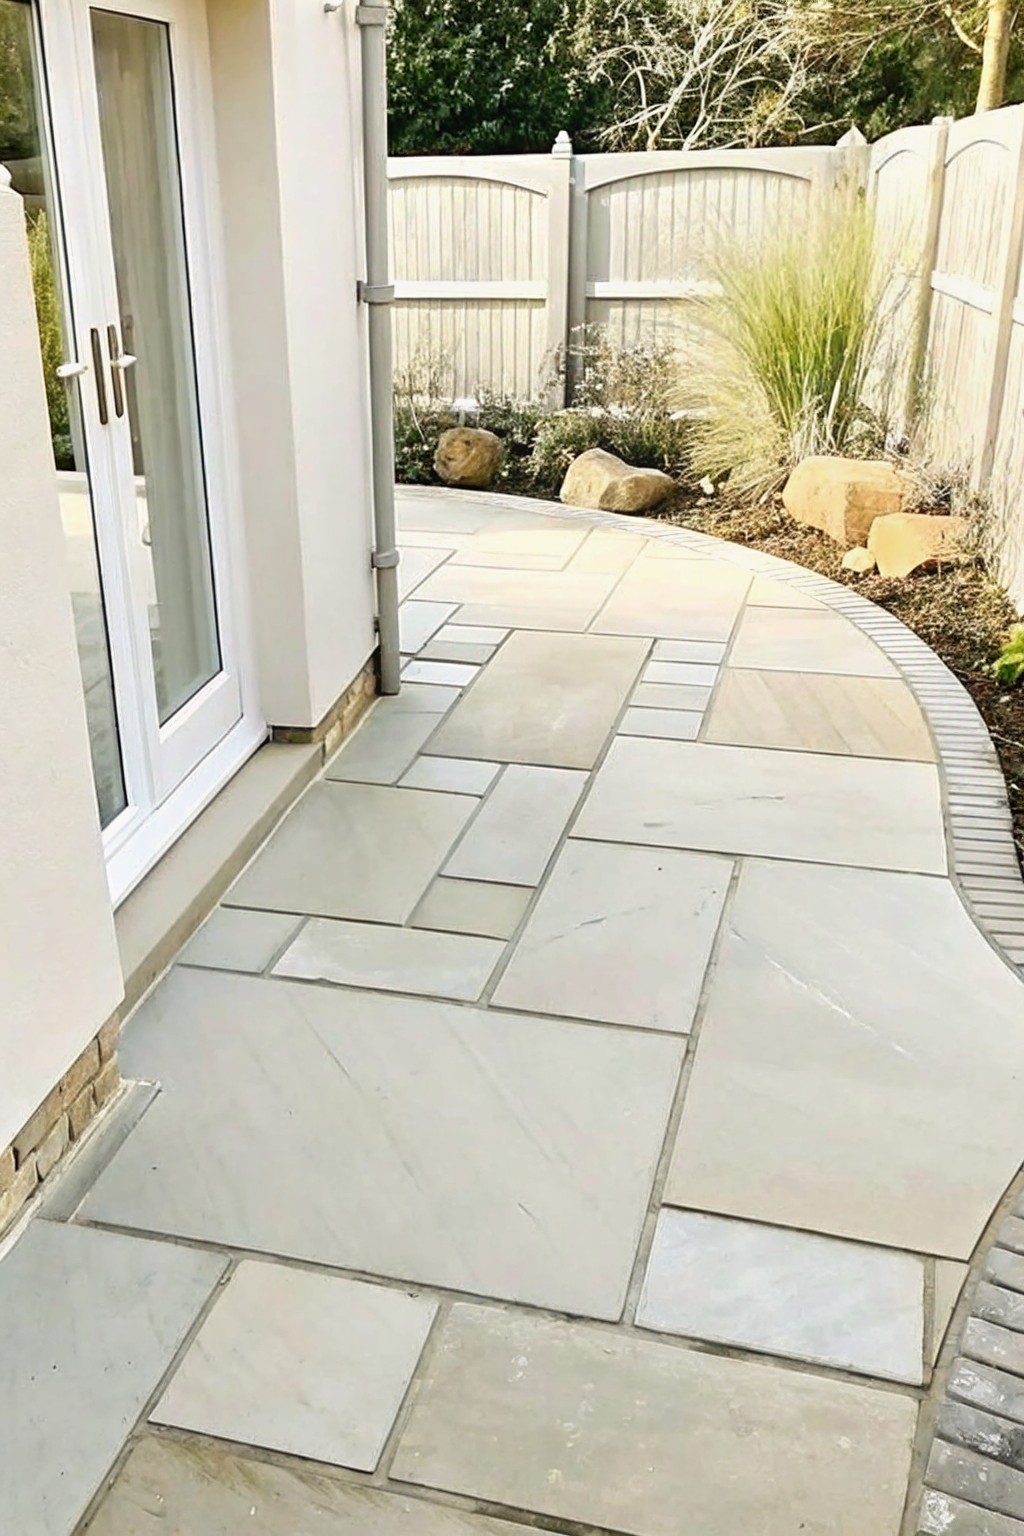
A low brick border helps keep the curve of a garden bed looking intentional instead of ragged. It works especially well when the path itself is made of large stone slabs that follow the same gentle bend.
This approach suits homes where the patio or walkway runs right up against planting areas. Keep the border low so it does not block drainage, and match the brick tone to the paving for a quieter look.
Raised Stone Borders For Curved Beds
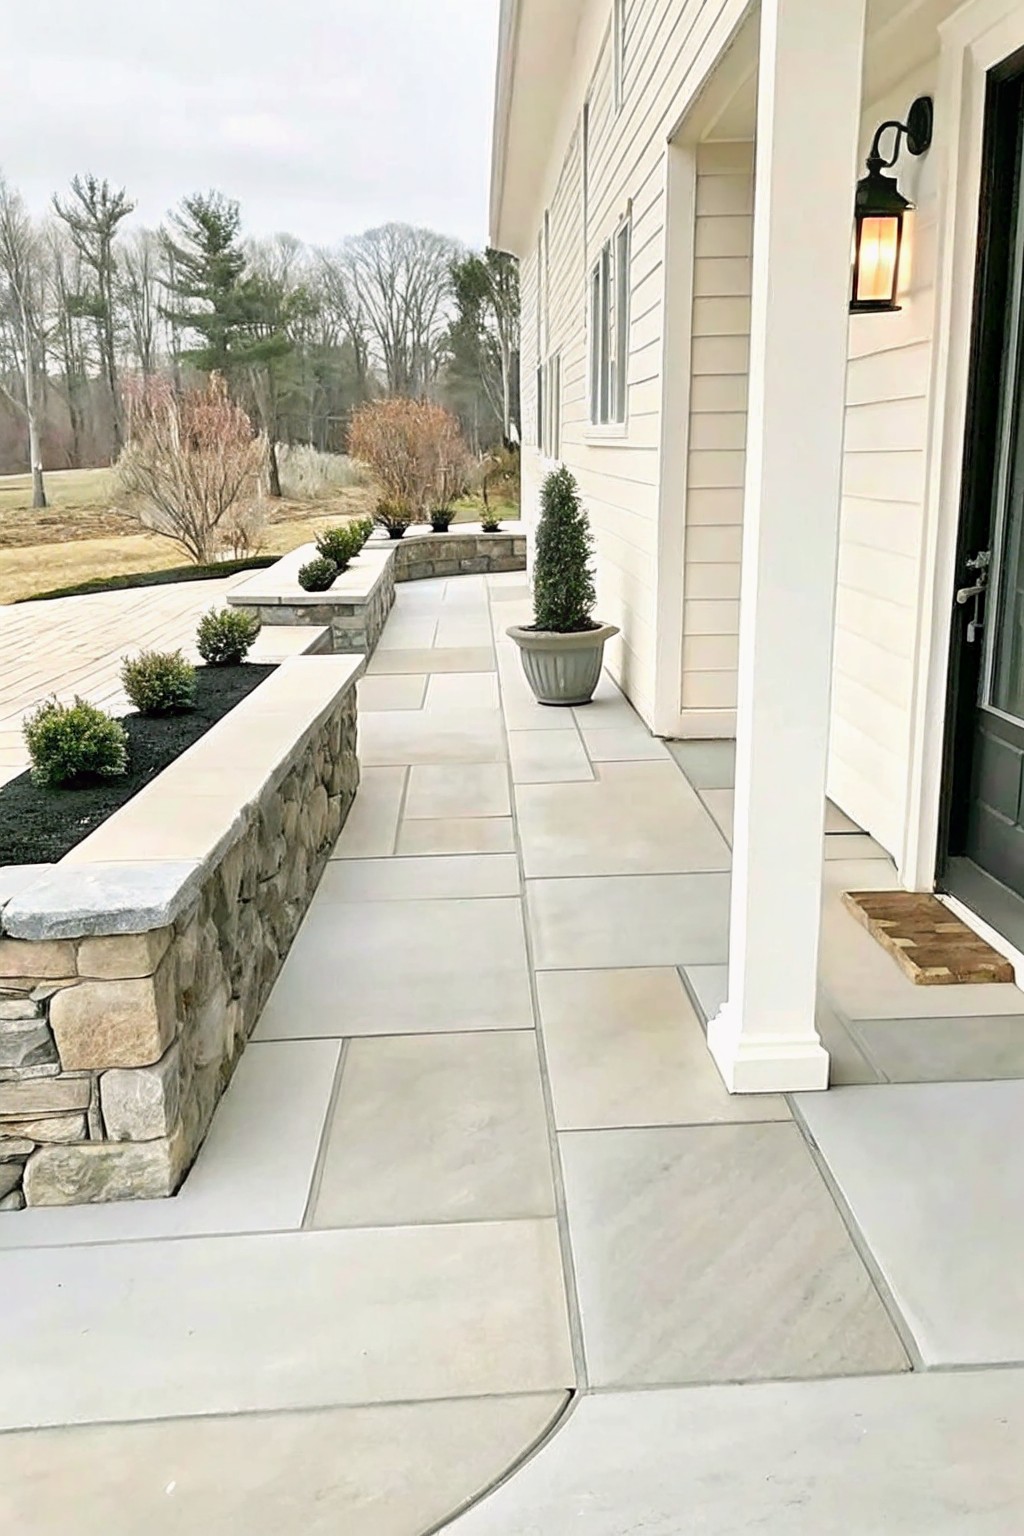
Low stone walls make a strong choice when you want curved beds that look finished rather than loose. They hold the soil in place, keep the mulch from spilling onto the path, and give the whole edge a clean line that follows the curve without extra edging material. Many people like how the stone adds weight and texture while still letting the shrubs and plants stay in the spotlight.
This setup works best along a walkway or near the foundation of the house where you need a clear border but still want the bed to curve. It suits homes with larger lots or open front yards that already use hardscaping. Just keep the walls fairly low so they do not hide the planting and choose stone that matches any existing walls or steps on the property.
Black Hardware On White Cabinets
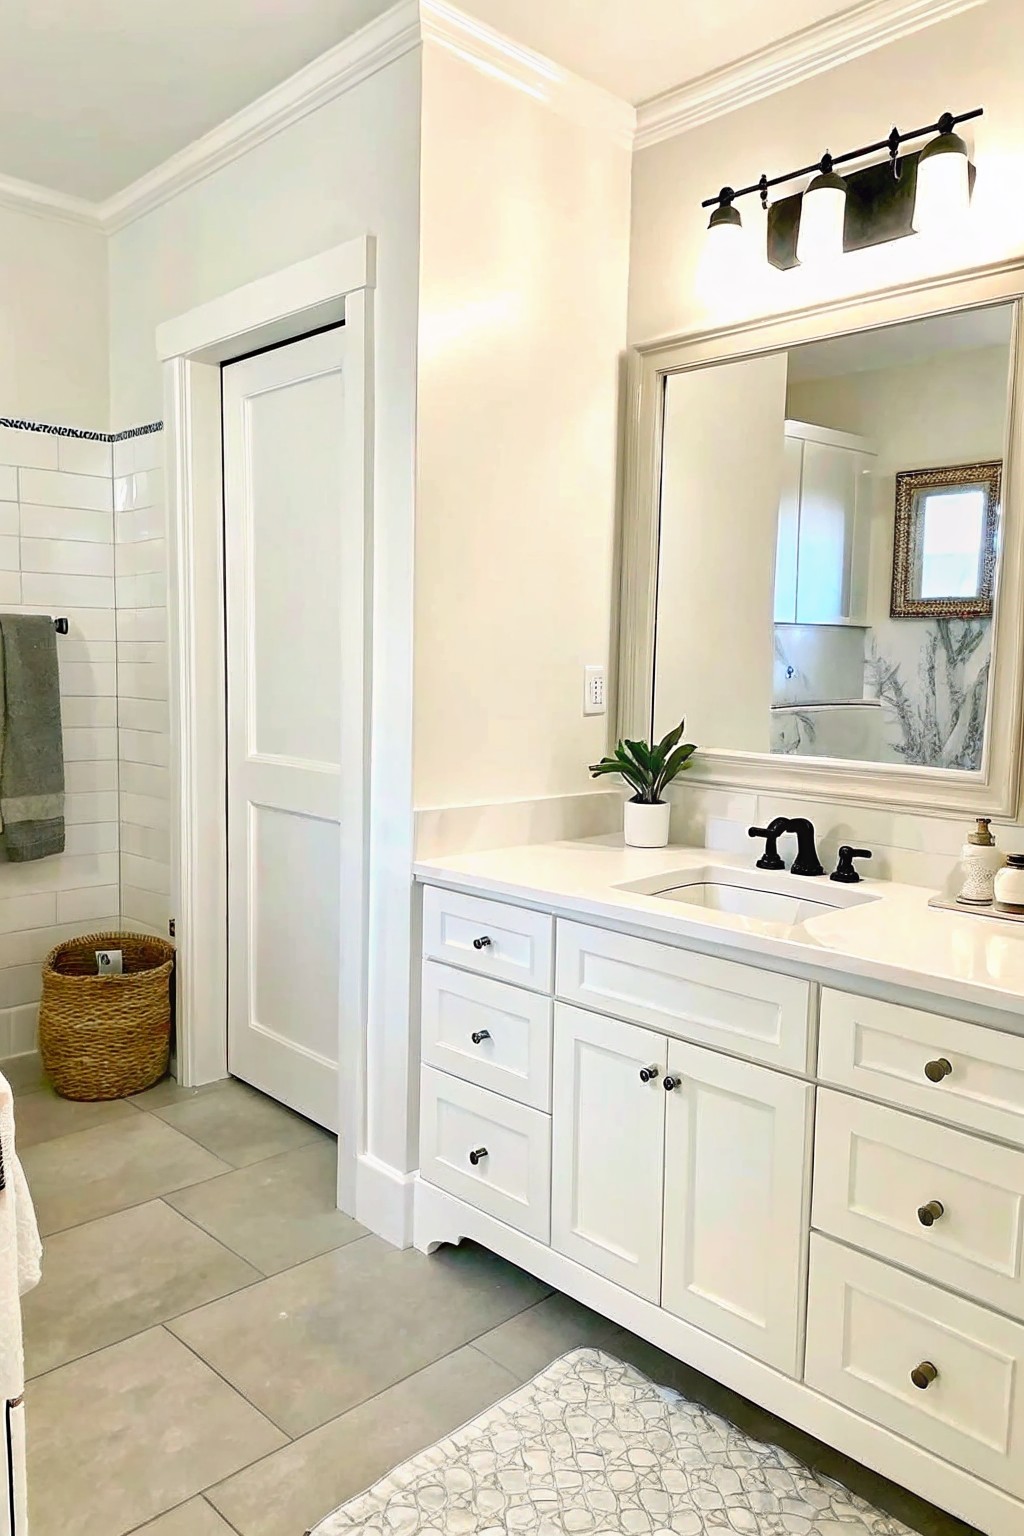
White cabinets paired with black hardware give a bathroom a clean look that still feels grounded. The contrast keeps the space from looking too plain while the white surfaces help the room stay bright and open. Many people like this combination because it works without needing a lot of extra color or pattern.
This approach suits smaller bathrooms or any space where you want storage that does not overwhelm the room. It works especially well with simple tile and light floors, though the hardware should stay matte or satin so fingerprints do not show as easily.
Raised Planters For Clean Garden Borders

Raised planters give you a simple way to mark off planting areas on a paved surface without needing fancy edging or constant trimming. They keep the soil contained and create a neat line between the plants and the walking area.
This works well in small courtyards or modern yards with tile or concrete underfoot. It suits homes that want low maintenance and straight lines rather than flowing curves or lots of ground cover.
Pebble Borders Along Stone Paths
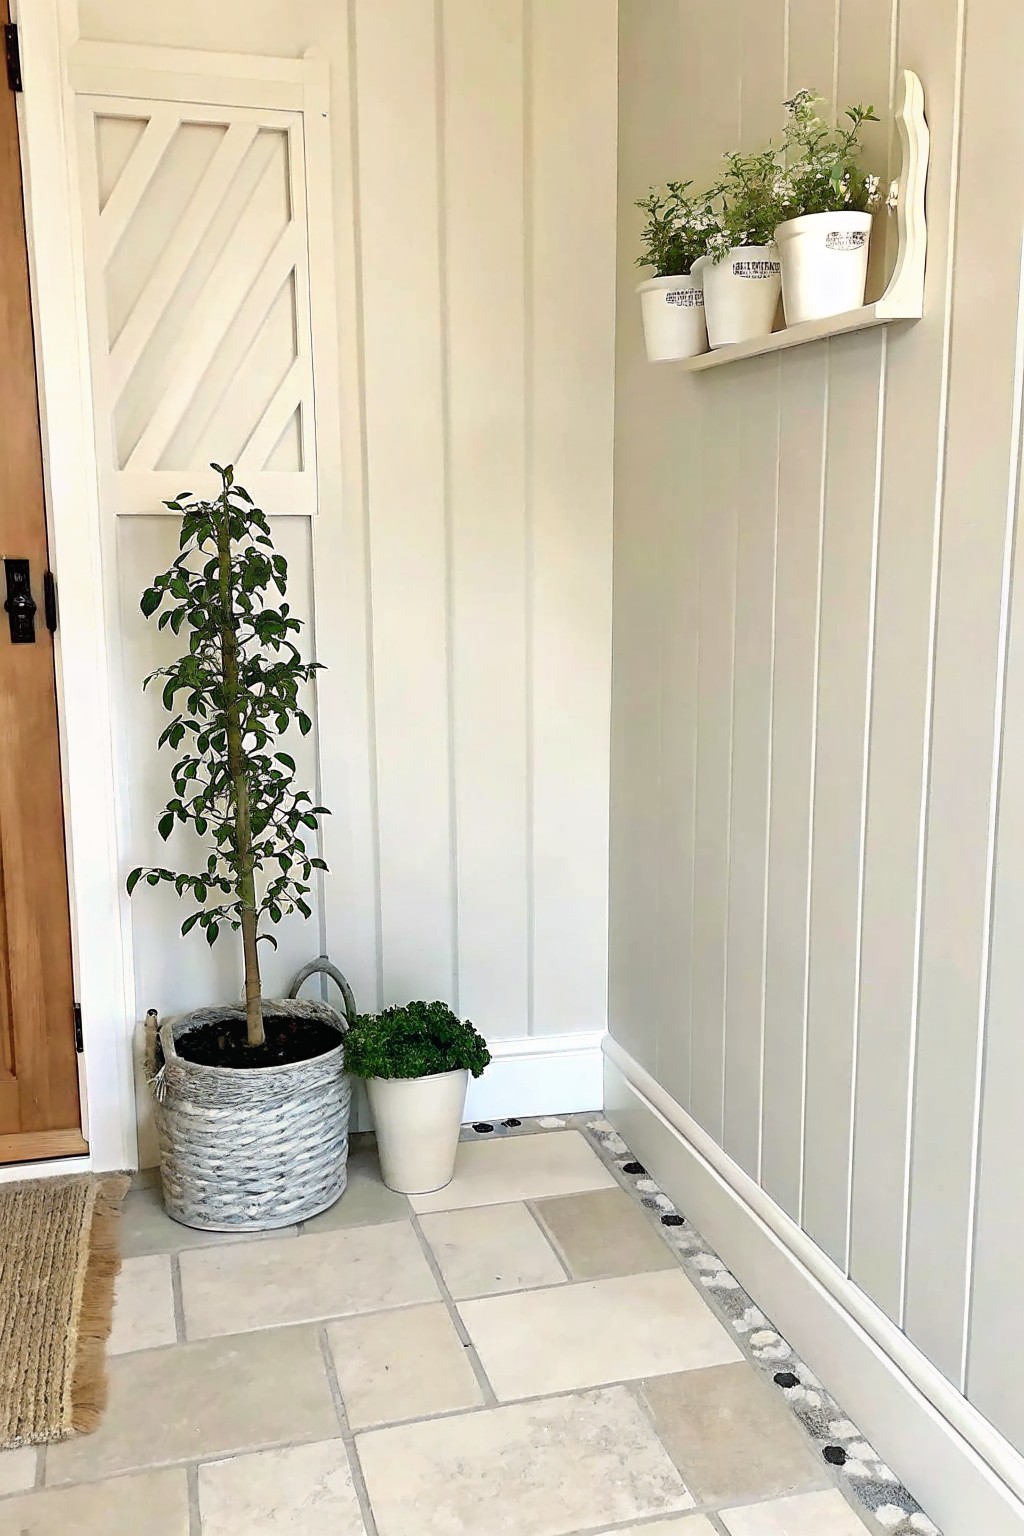
A narrow strip of small stones or pebbles set right against the edge of the path gives the whole area a cleaner, more finished look. It separates the paving from the wall without adding height or bulk, which works especially well in tight covered spaces.
This edging suits entryways or side paths on homes where the ground stays mostly dry. Set the pebbles in a shallow bed of mortar or gravel so they do not shift over time, and keep the strip only a few inches wide so it does not take over the walkway.
Gravel Mulch For Defined Bed Edges
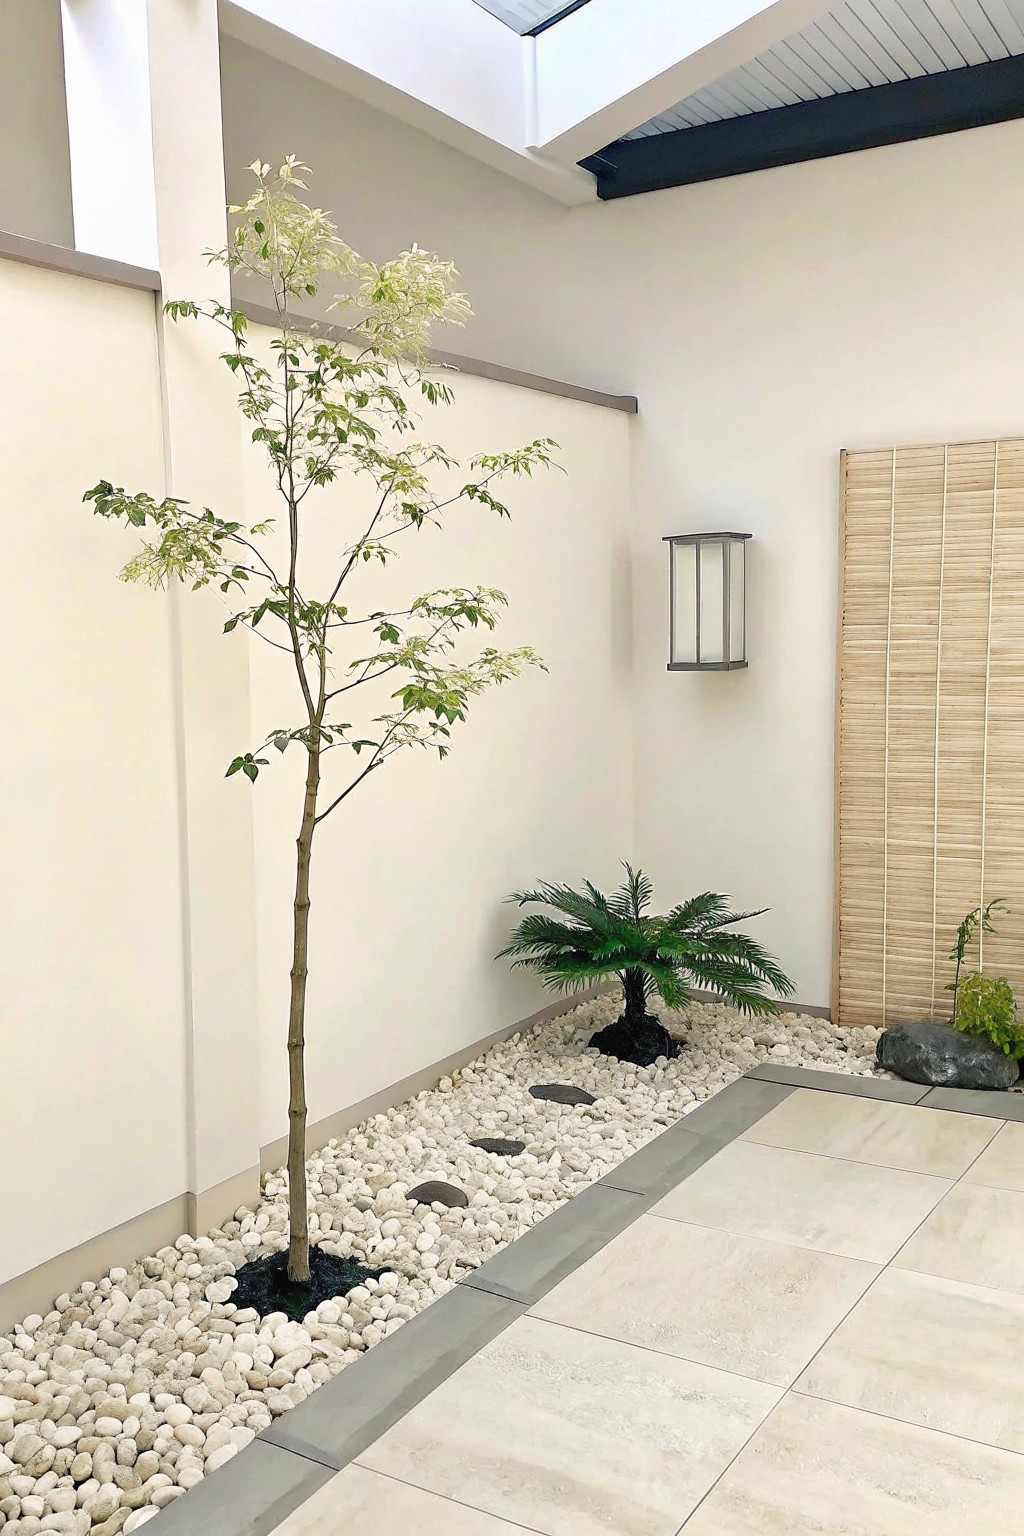
Gravel gives a border a finished look without a lot of extra work. The light color stands out against paving and walls, so the bed shape stays clear even in a narrow strip.
It works best in tight spaces along the house where you want a few plants but not a full lawn. Keep the layer thick and add a weed barrier underneath if you want it to stay low maintenance over time.
Curved Stone Borders For Raised Beds
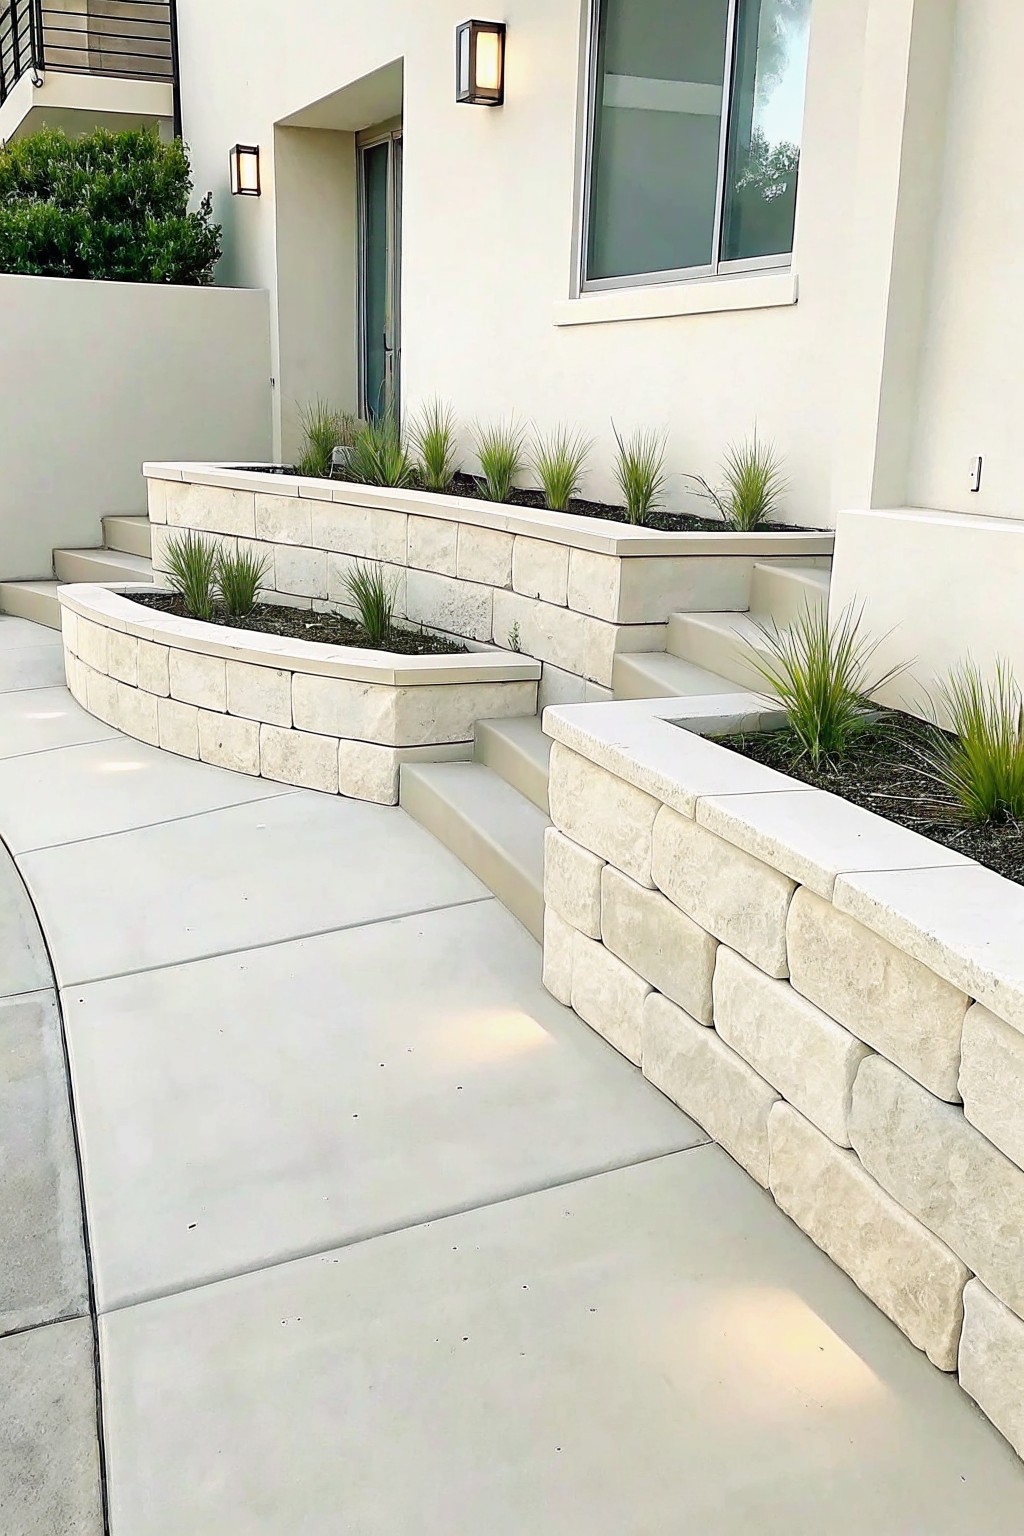
Stacked stone makes it easy to shape raised beds that curve naturally around a walkway or slope. The blocks hold the soil in place while giving the whole bed a finished edge that looks intentional rather than added later. This approach works especially well when the ground drops away and you need both planting space and a clean transition.
It suits homes with gentle grade changes and pairs best with low-maintenance plants that stay within the curve. Keep the wall height modest so it does not feel like a barrier, and match the stone color to nearby hardscape so the bed blends into the rest of the yard.
Stone Edging Shapes Curved Garden Beds
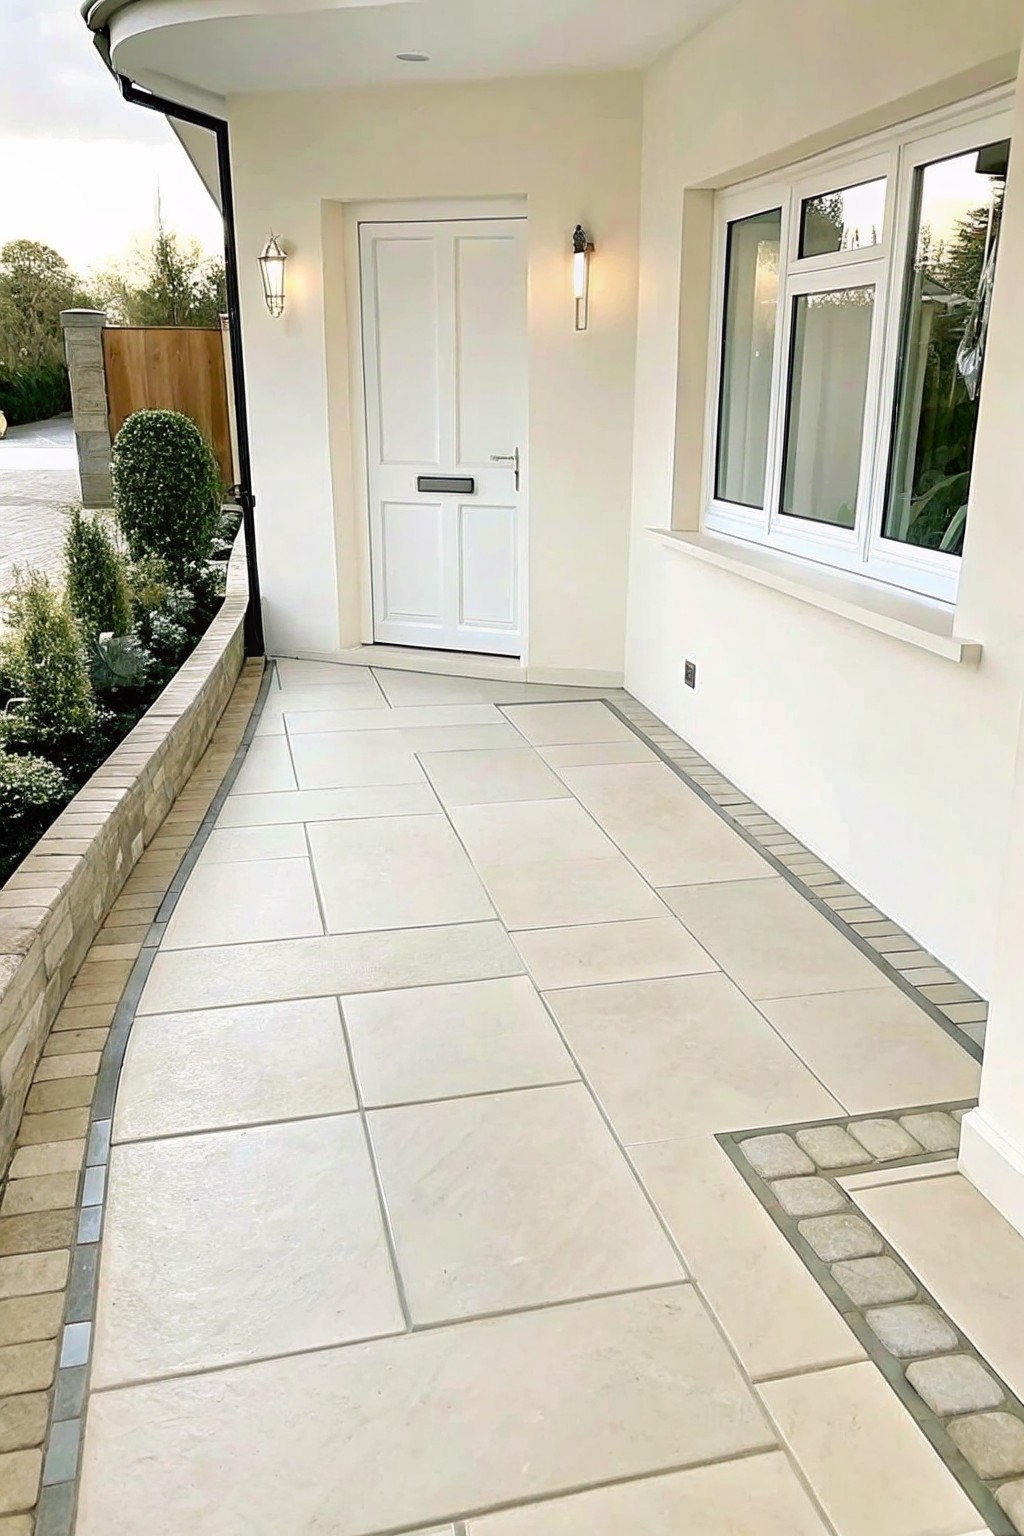
A low stone border that follows a gentle curve gives garden beds a clean edge that lasts. It keeps soil and mulch in place while letting the planting look more intentional than a straight line ever does.
This approach works best along paths or driveways on homes with soft landscape curves. Match the stone height to the paving so the border feels built in rather than added later.
Curved Paths Shape Beds with Clean Lines
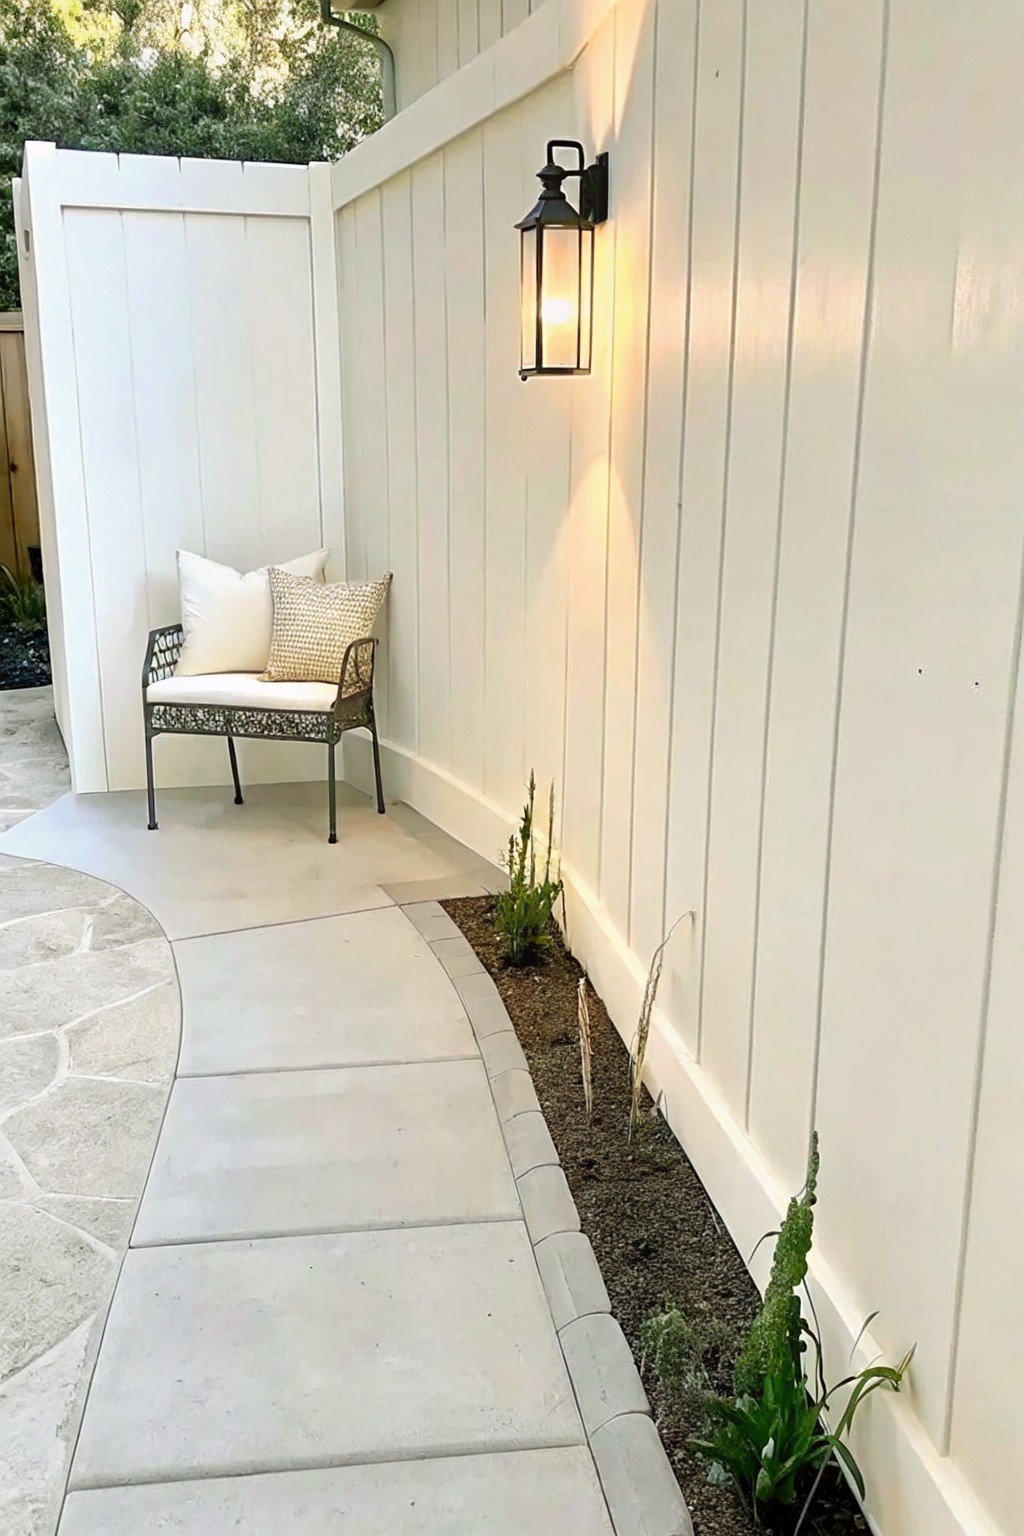
A gently curving concrete path next to a fence gives the garden bed a finished edge without needing extra materials. The curve softens the whole layout and keeps the narrow strip of plants from looking like an afterthought. It also makes mowing and weeding easier because there is a clear boundary.
This approach works well along side yards or fence lines where space is tight. Keep the curve gradual so the path stays easy to walk on, and use the same material for any connecting sections so the look stays consistent.
Curved Rock Borders Along Walkways
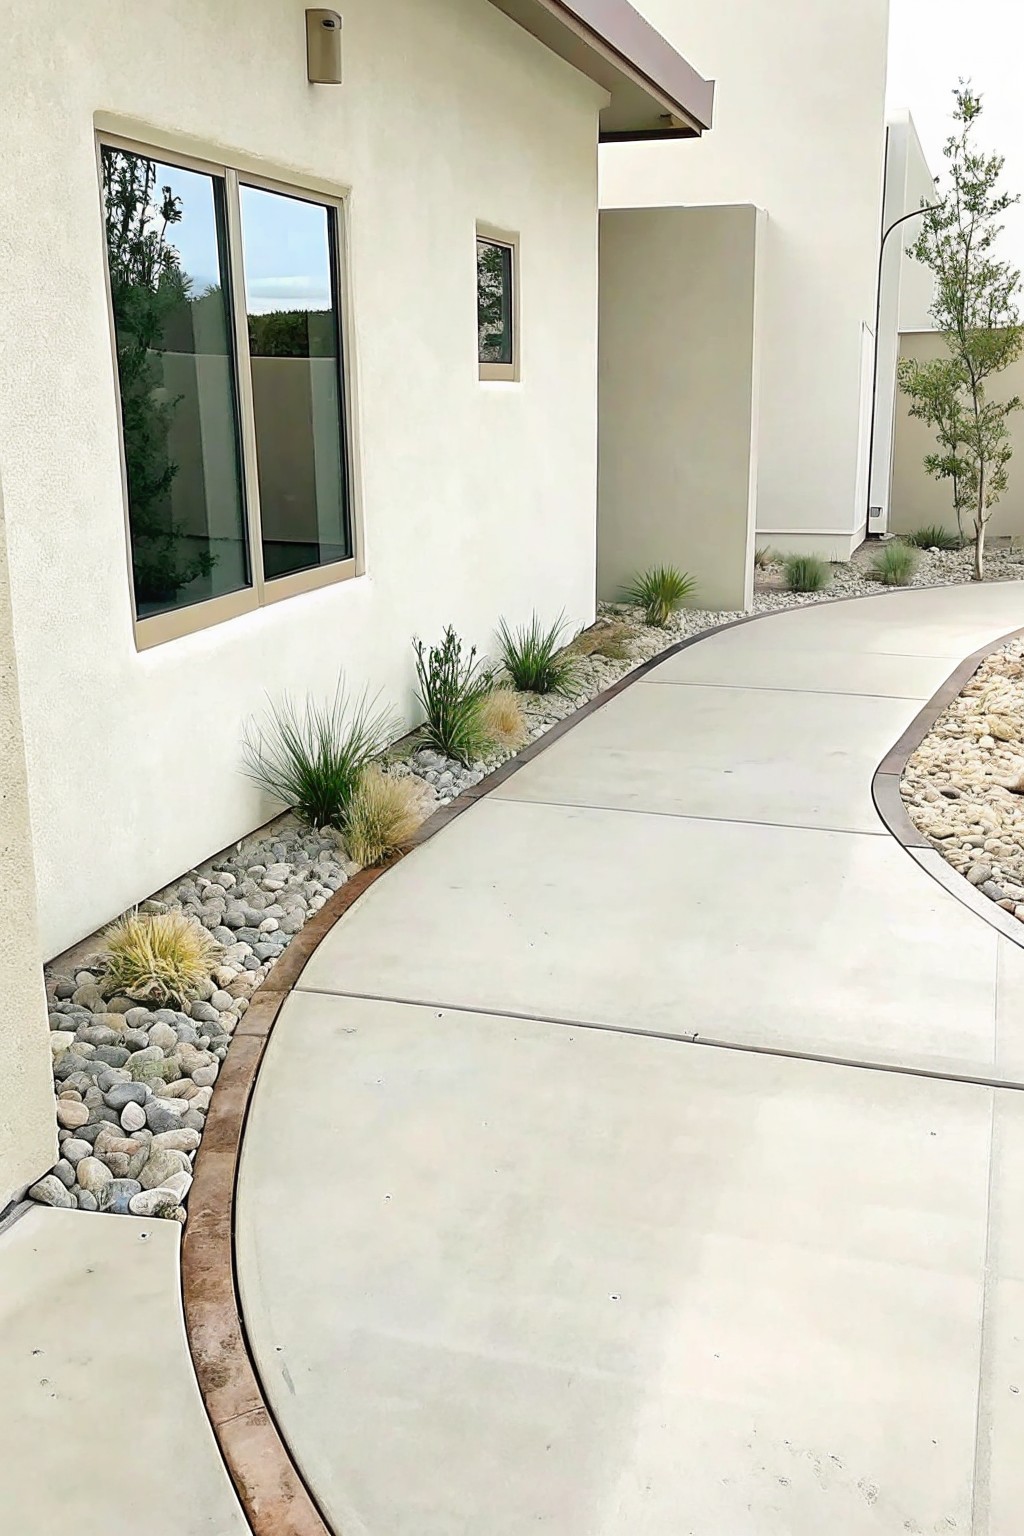
Curves make a walkway feel more natural next to a house, and a simple rock border is one of the easiest ways to hold that shape without a lot of upkeep. The rocks keep the gravel in place while giving the planting bed a finished edge that still blends with the concrete.
This approach suits homes with plain stucco or siding where you want the garden to follow the flow of the path rather than fight it. Keep the curve gentle and use the same rock size throughout so the border stays low and does not compete with the plants.
Curved Edges Along a Walkway
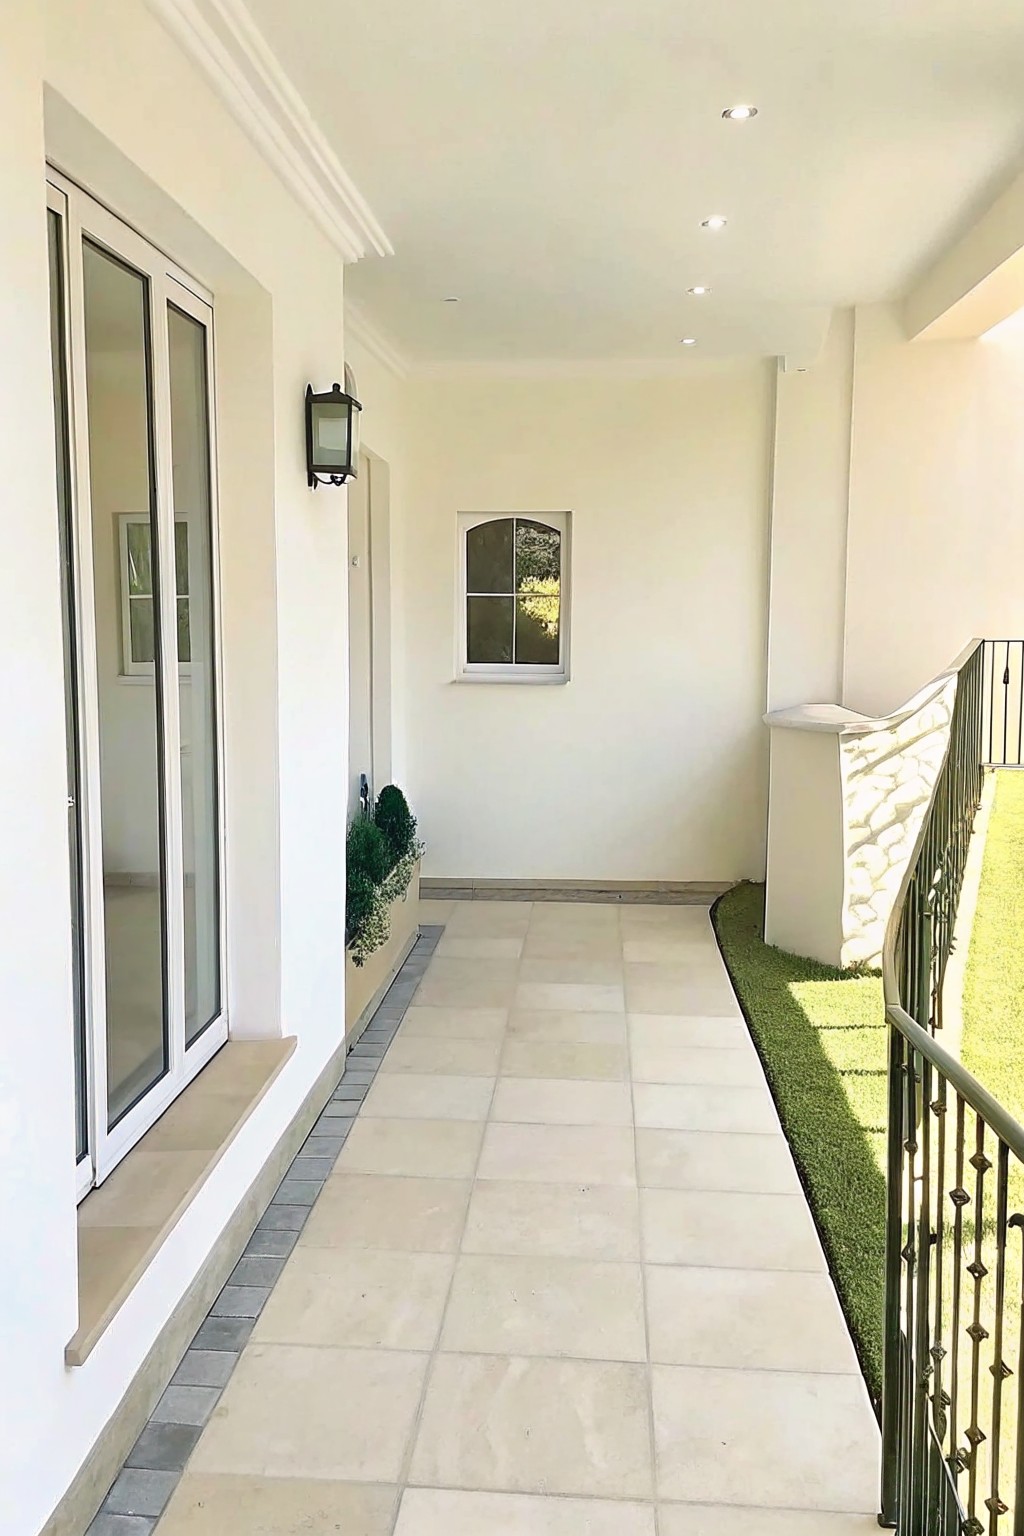
A gentle curve where the paving meets the grass gives the whole side of the house a more finished and intentional look. It avoids the stiff feel of a straight line and lets the path feel like it belongs with the garden rather than cutting across it.
This approach works best on longer side passages or front entries where the house itself has clean lines. Keep the curve simple and not too deep so mowing and edging stay straightforward.
Framing An Entry With A Bordered Rug
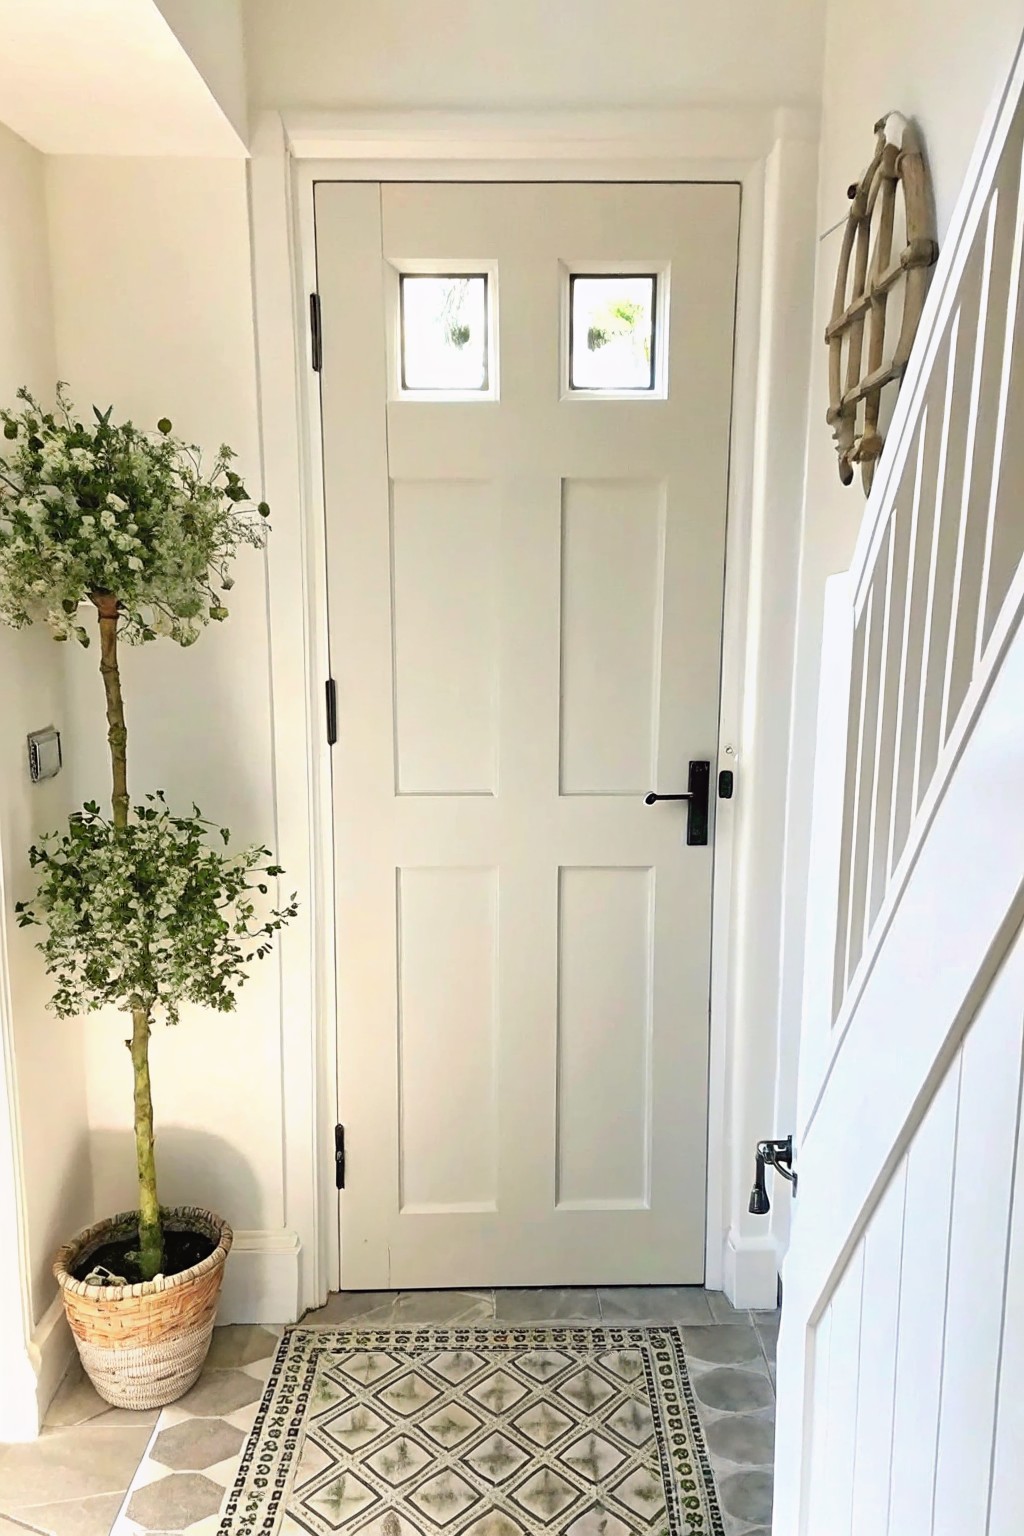
A rug with a clear outer border can give an entry the same finished look that edging brings to a garden bed. It marks the space, keeps the eye from wandering, and makes the whole area feel more intentional without adding much furniture or clutter.
This works best in small foyers or narrow halls where you want a simple way to ground the door area. Choose a pattern that has enough contrast along the edges so the border reads clearly from a few feet away, and keep the rest of the floor simple so the rug does the defining work.
Low Stone Walls For Curved Garden Beds
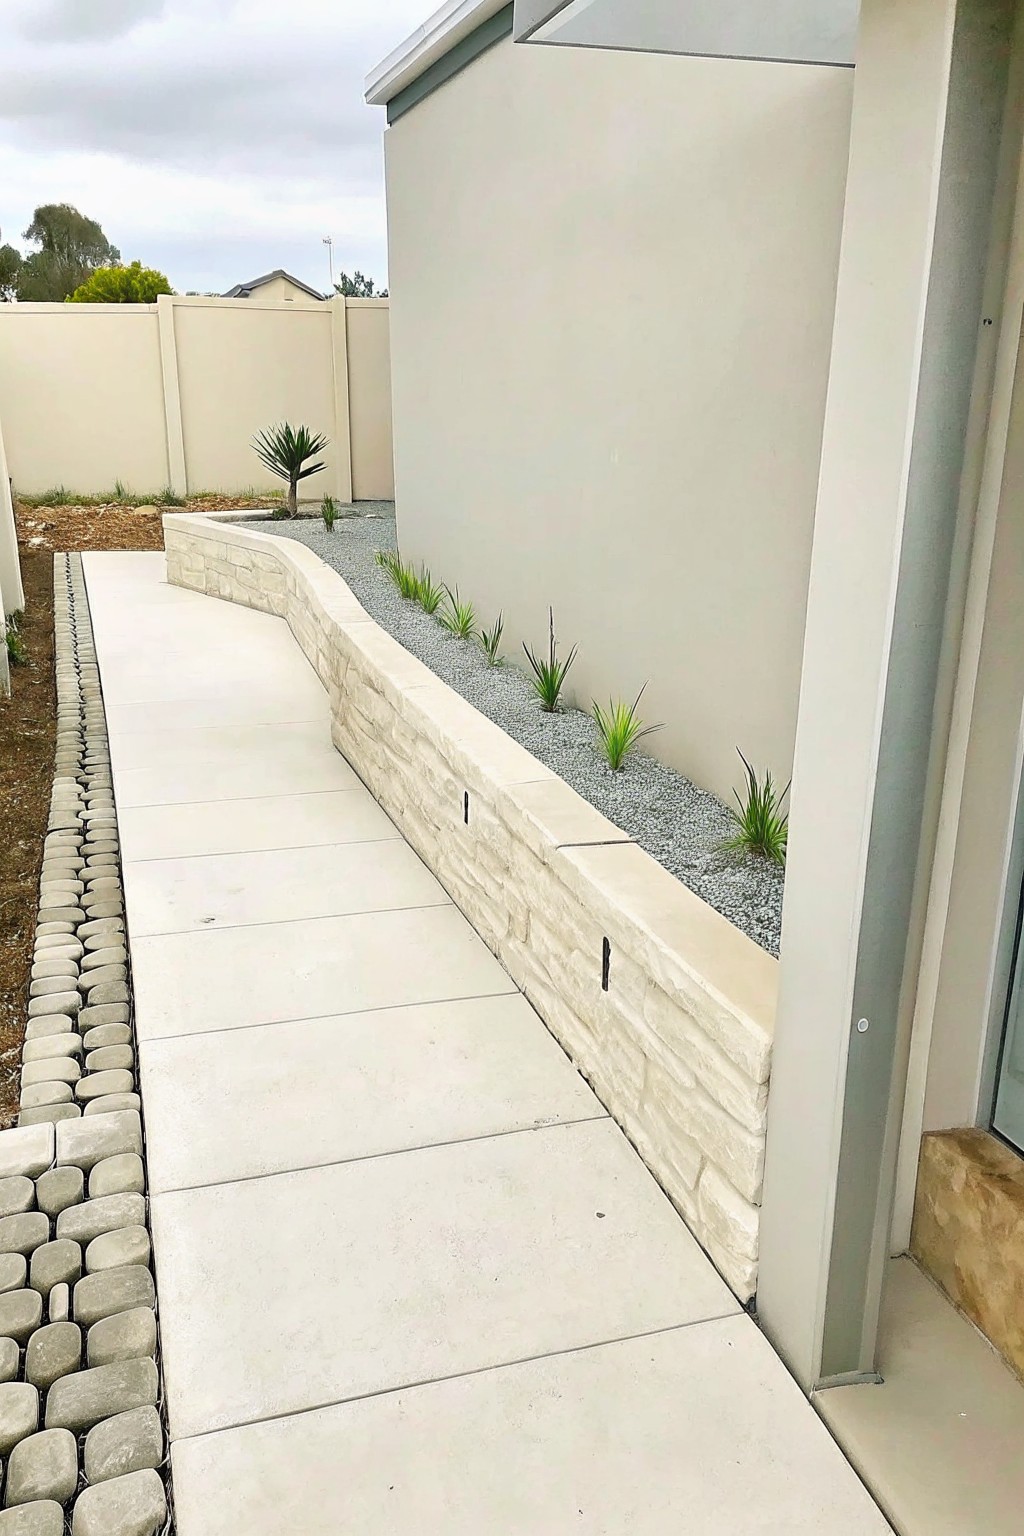
A low stone wall gives curved beds a clean, finished edge that holds its shape over time. The wall also creates a slight change in level, which makes the planting area stand out without needing extra edging materials.
This approach works best along paths or house walls where you want the bed to look built in rather than temporary. It suits homes with simple exteriors and gives the garden a tidy look that needs little upkeep once the wall is in place.
Gravel Borders To Finish Curved Paths
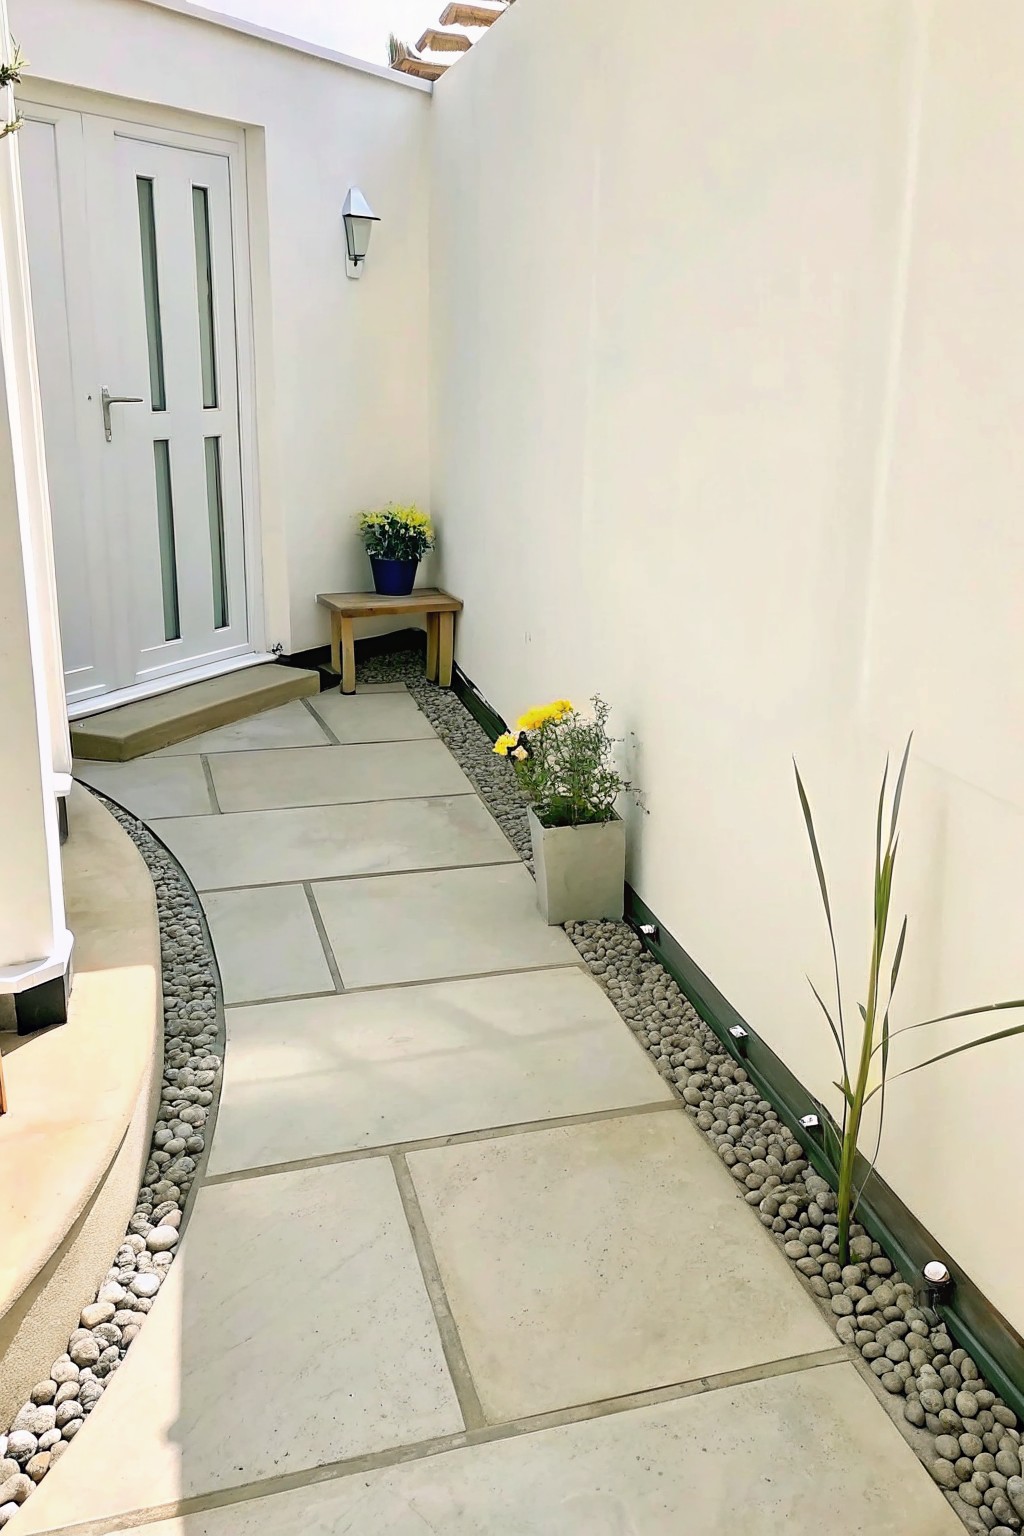
Gravel strips next to a paved path make it easier to create smooth curves without a lot of extra work. The loose material fills the gaps and lets the edge follow the shape of the walkway, so the whole thing looks finished instead of jagged.
This works best in narrow side yards or small gardens where you want low maintenance borders that still look neat. Keep the gravel strip fairly narrow and add a thin edging strip along the outer edge to stop the stones from spreading into the beds or onto the path.
Pebble Strips for Clean Raised Bed Edges
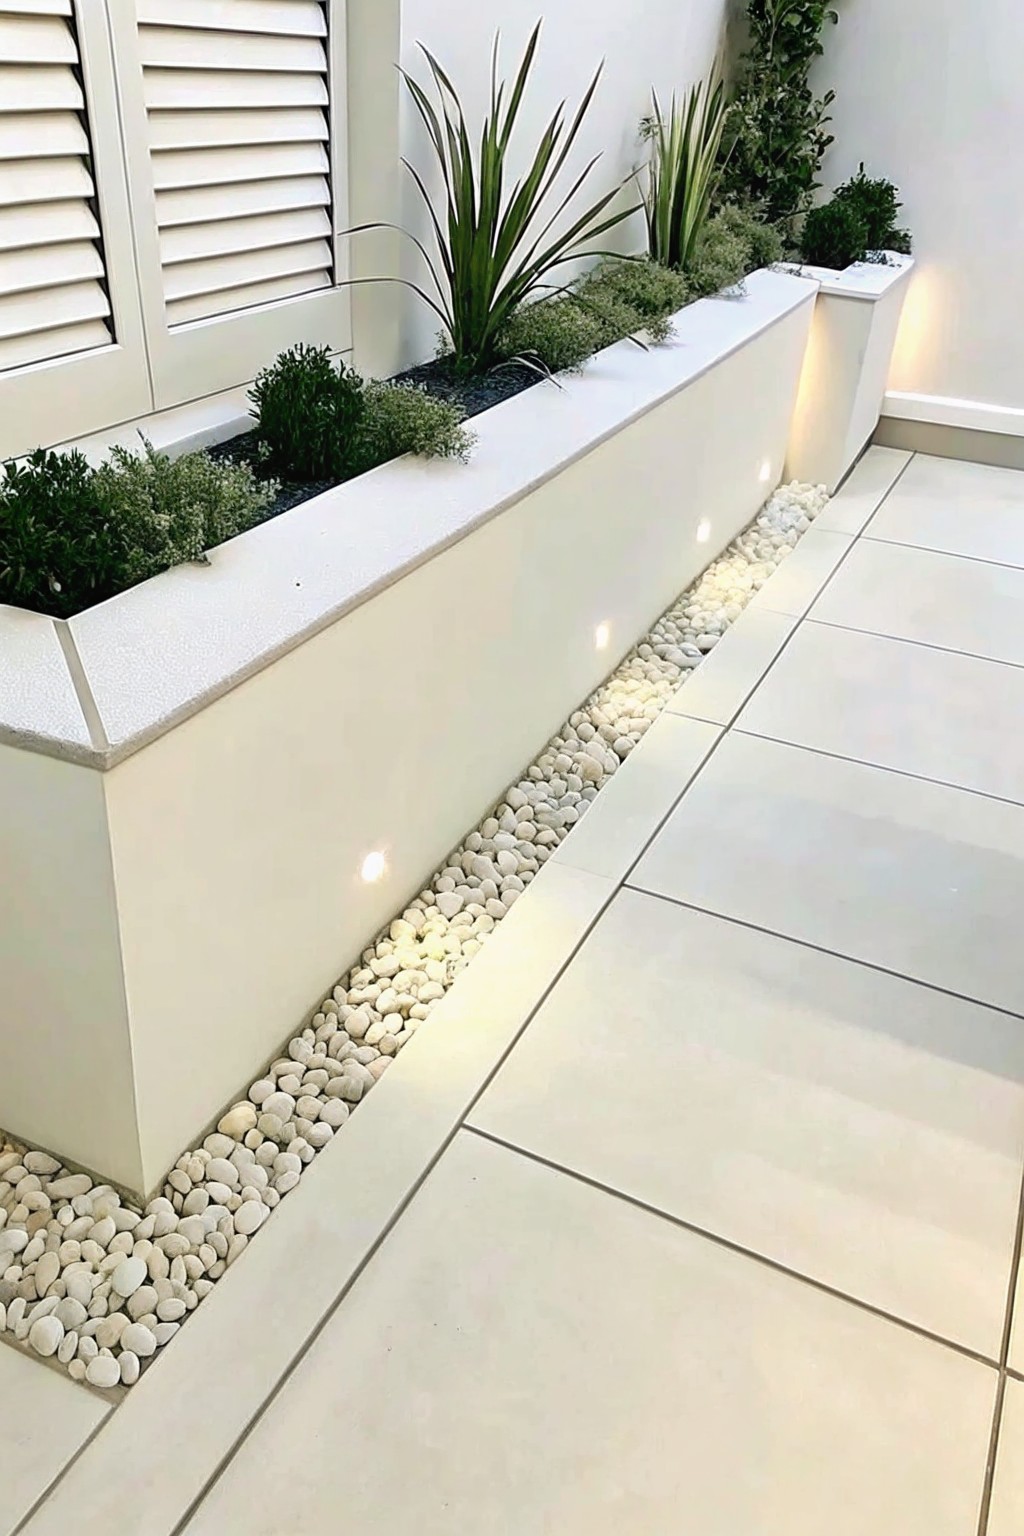
A strip of light pebbles gives a raised planter a tidy finish that lasts. It marks a clear line between the bed and the paved area while stopping soil from washing onto the tiles during rain.
This approach suits modern homes with straight or gently curved beds where you want low upkeep. Keep the pebbles in a shallow channel so they do not scatter, and add a few low lights if you want the edge visible at night.
Curved Stone Edging For Garden Beds
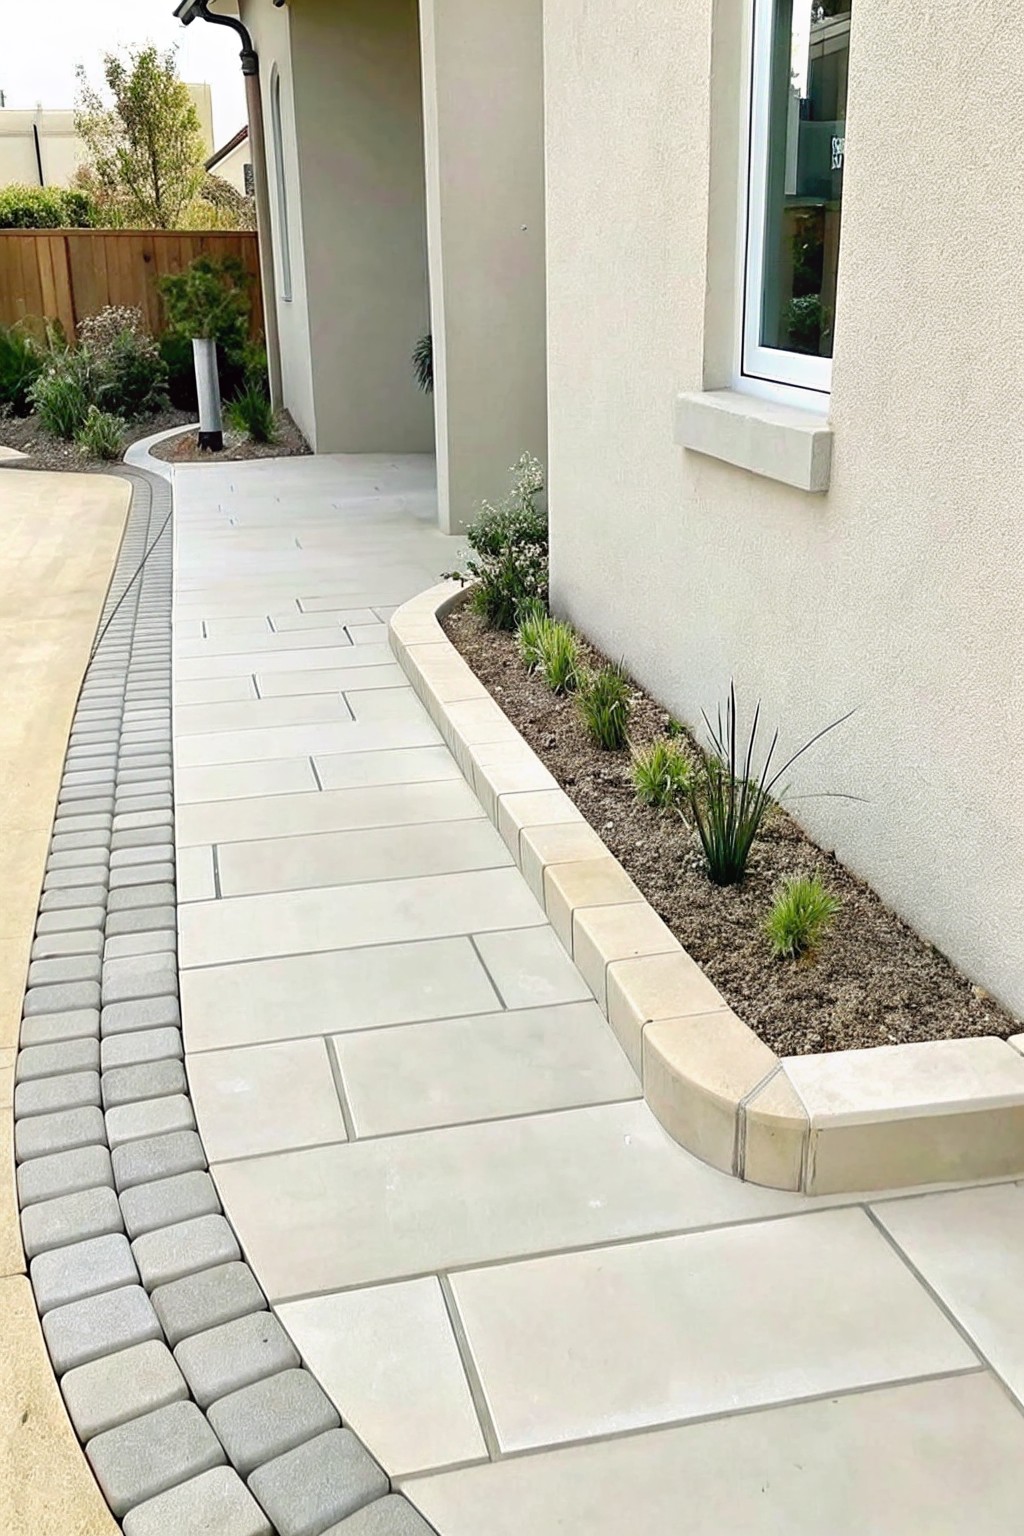
A low stone border makes curved beds look finished instead of loose. It holds the mulch in place and gives the path a clear edge that stays neat over time.
This approach suits homes with straight walkways that need a little softness. Match the edging height to the path material so the whole run feels connected rather than added on later.
Frequently Asked Questions
Q: How do I make sure the curve stays smooth when I lay down the border material?
A: Start by marking the curve with a hose or rope and adjust it until it flows right. Then dig a shallow trench along that line before you set the edging in place. This keeps everything level and prevents bumps later on.
Q: Will these borders hold up if I have kids or pets running through the garden?
A: Pick sturdier materials like stone or thick metal for areas with heavy traffic. You can also sink the edging deeper into the ground for extra stability. Check the edges every few months and reset any that get pushed out of line.
Q: What is the easiest way to edge a bed that has a lot of tree roots nearby?
A: Work around the roots by using flexible materials that bend without cutting into them. Lay the border on top of the soil in those spots instead of digging deep. Add mulch over the area to hide any uneven spots.
