

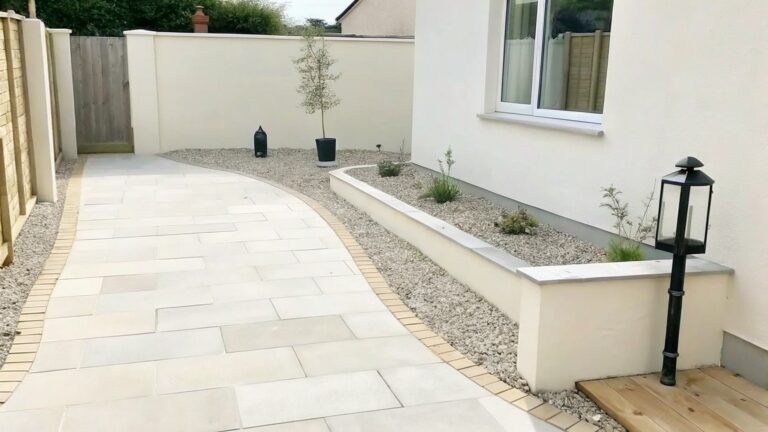
In my own yard the borders always seem to make the biggest difference in how tidy everything looks once the growing season gets going.
Gravel is an easy material for filling those edges on a budget yet it can shift around if nothing holds it in place.
Timber strips offer a straightforward way to create that hold without calling in professionals or spending much.
I like to try a short stretch along one bed before doing the full length.
That way I can see how the materials age with the weather and adjust the next section if needed.
Gravel Borders With Simple Edging
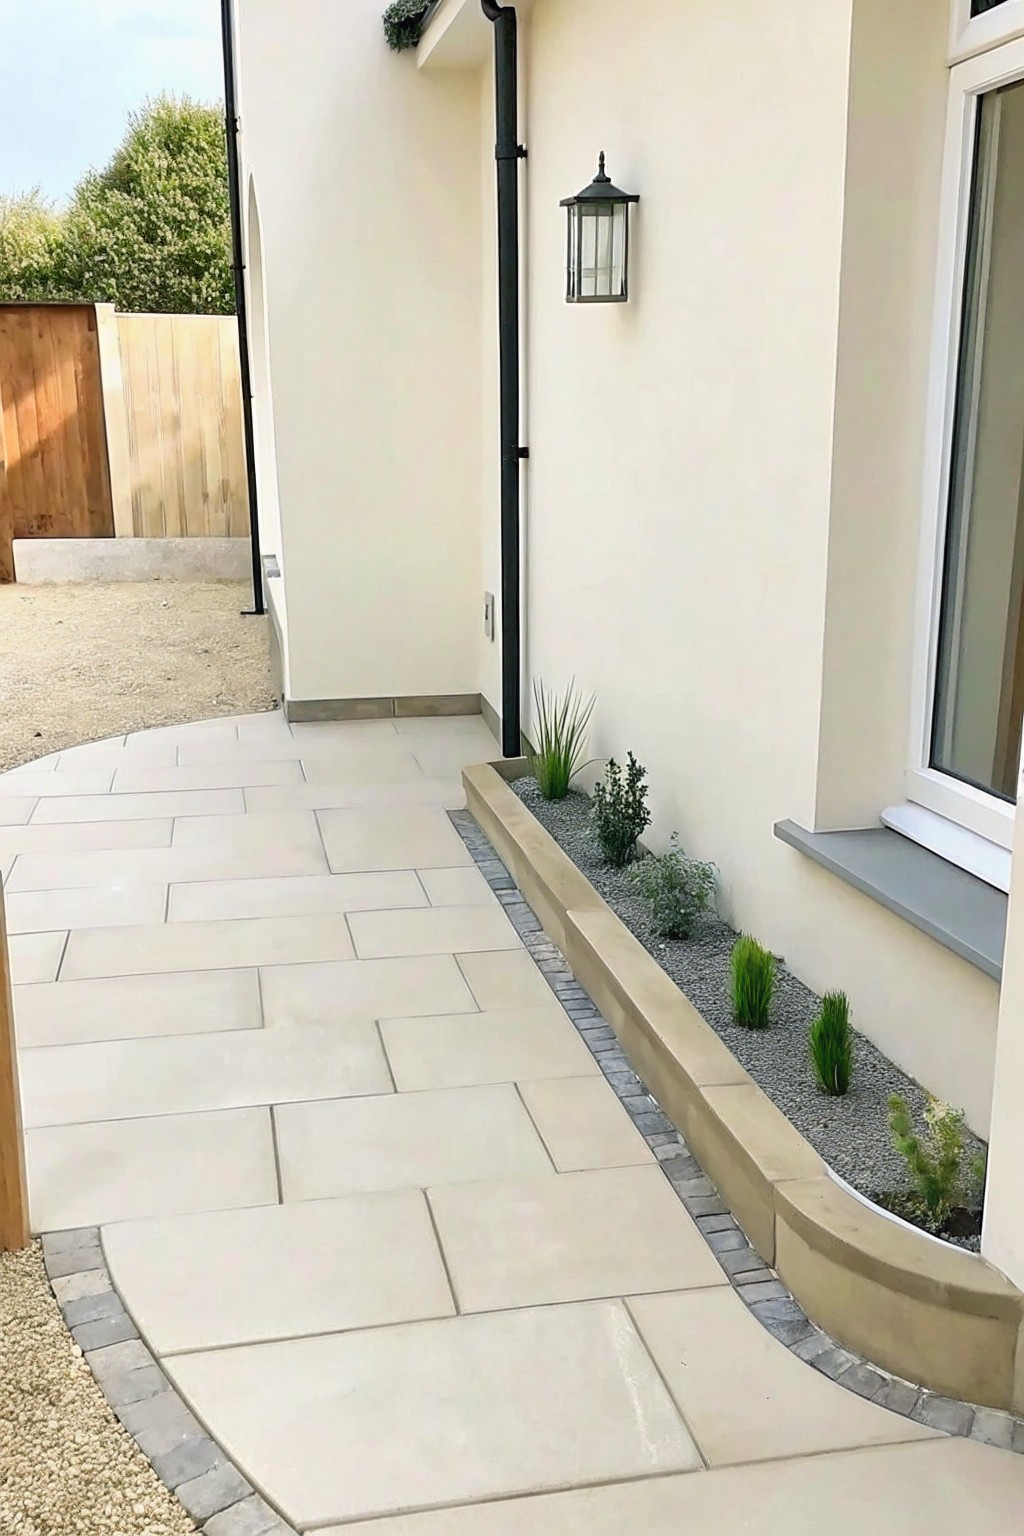
A gravel border held in place by basic edging gives a clean line between a path and the house wall. It stops soil from spilling onto the paving and cuts down on weeding.
This works best on homes with straight or gently curved paths where you want low upkeep. Keep the edging low and level so the gravel stays neat over time.
Raised Gravel Beds Along Path Edges
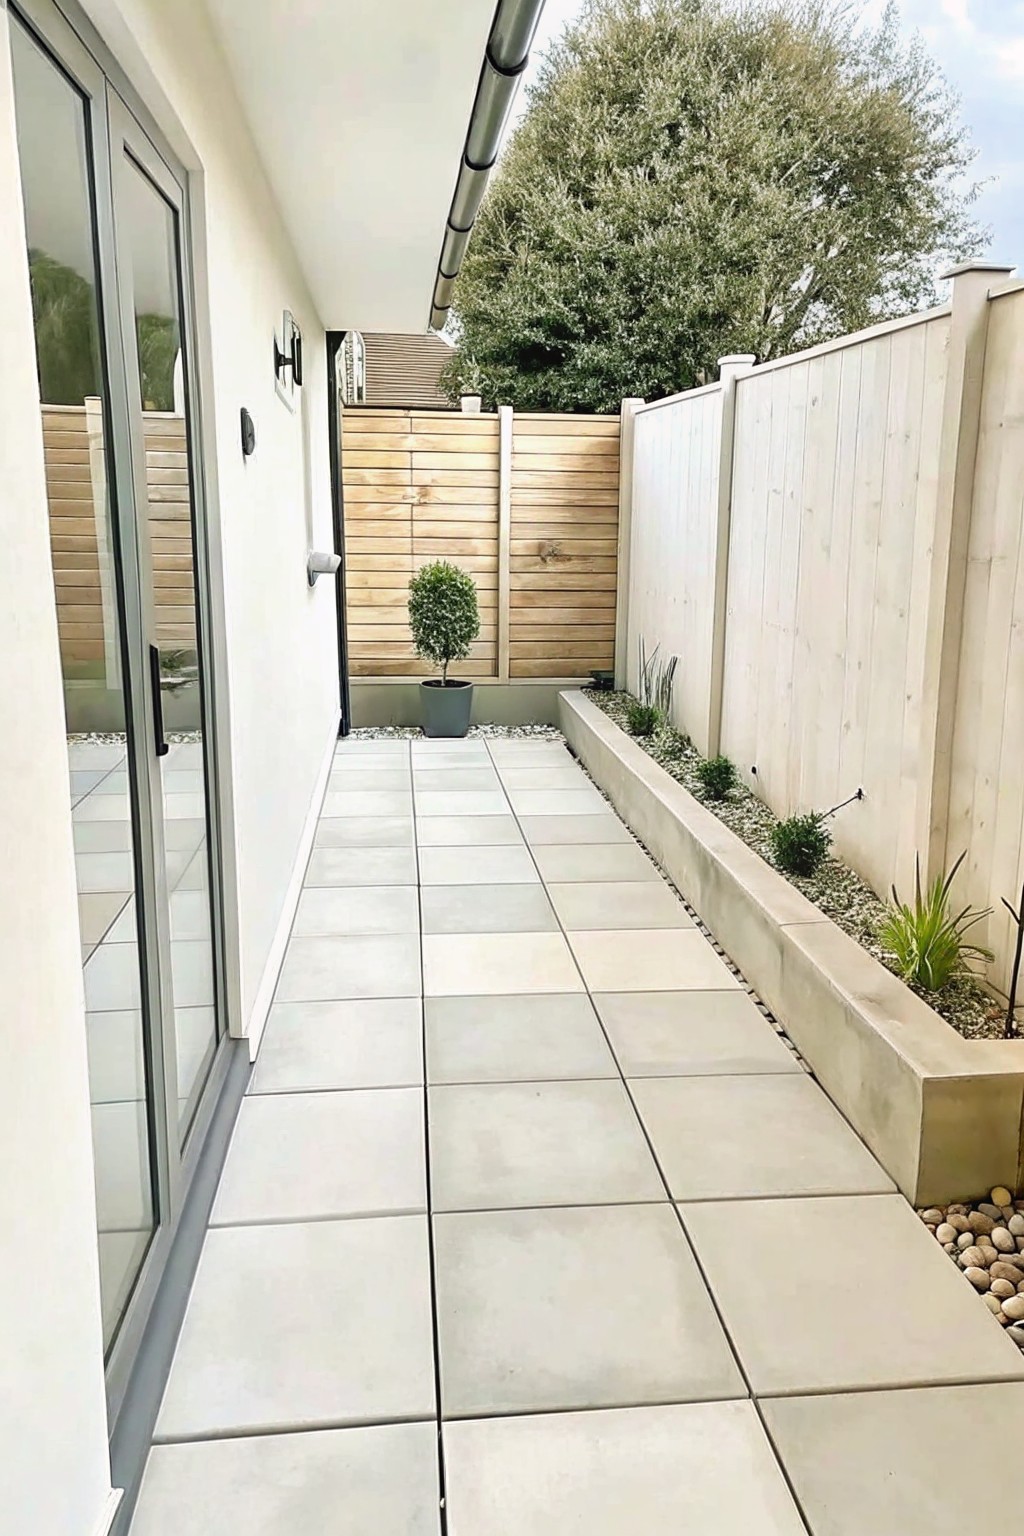
A raised bed filled with gravel creates a clean, low-maintenance border that keeps the path clear and the planting area neat. It works especially well in narrow side yards where digging new beds would be difficult and where you want something that stays looking tidy without constant weeding.
This setup suits straight paths and homes with simple fencing. Keep the bed low and fill it with gravel over landscape fabric, then add a few small shrubs or grasses. The concrete edge gives structure while the gravel handles drainage and keeps costs down.
Timber Posts With Rope Make Simple Gravel Borders
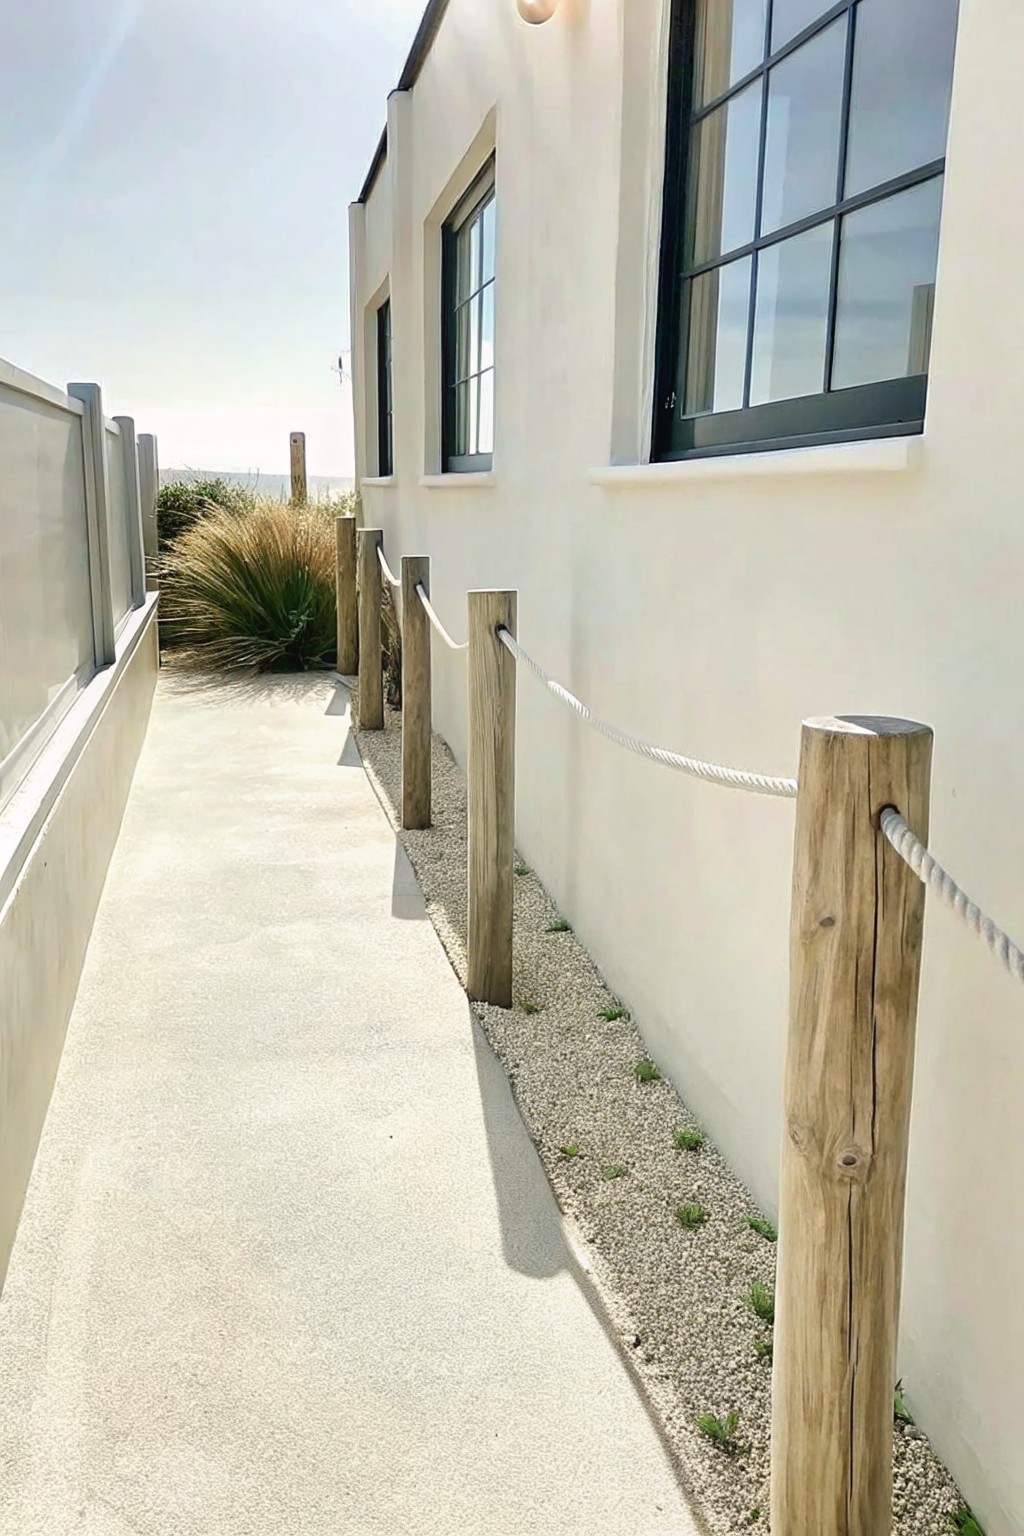
This edging style uses upright timber posts and a rope line to hold a narrow gravel strip in place. It keeps the border neat and stops the gravel from spilling onto the path while adding a soft, natural look that fits many homes.
It works best along the side of a house or a straight walkway where you want low cost and low upkeep. Sink the posts into the ground at even spacing, thread the rope through, and fill the space with gravel. The result stays tidy for years with almost no extra care.
Gravel Strips Along The Foundation
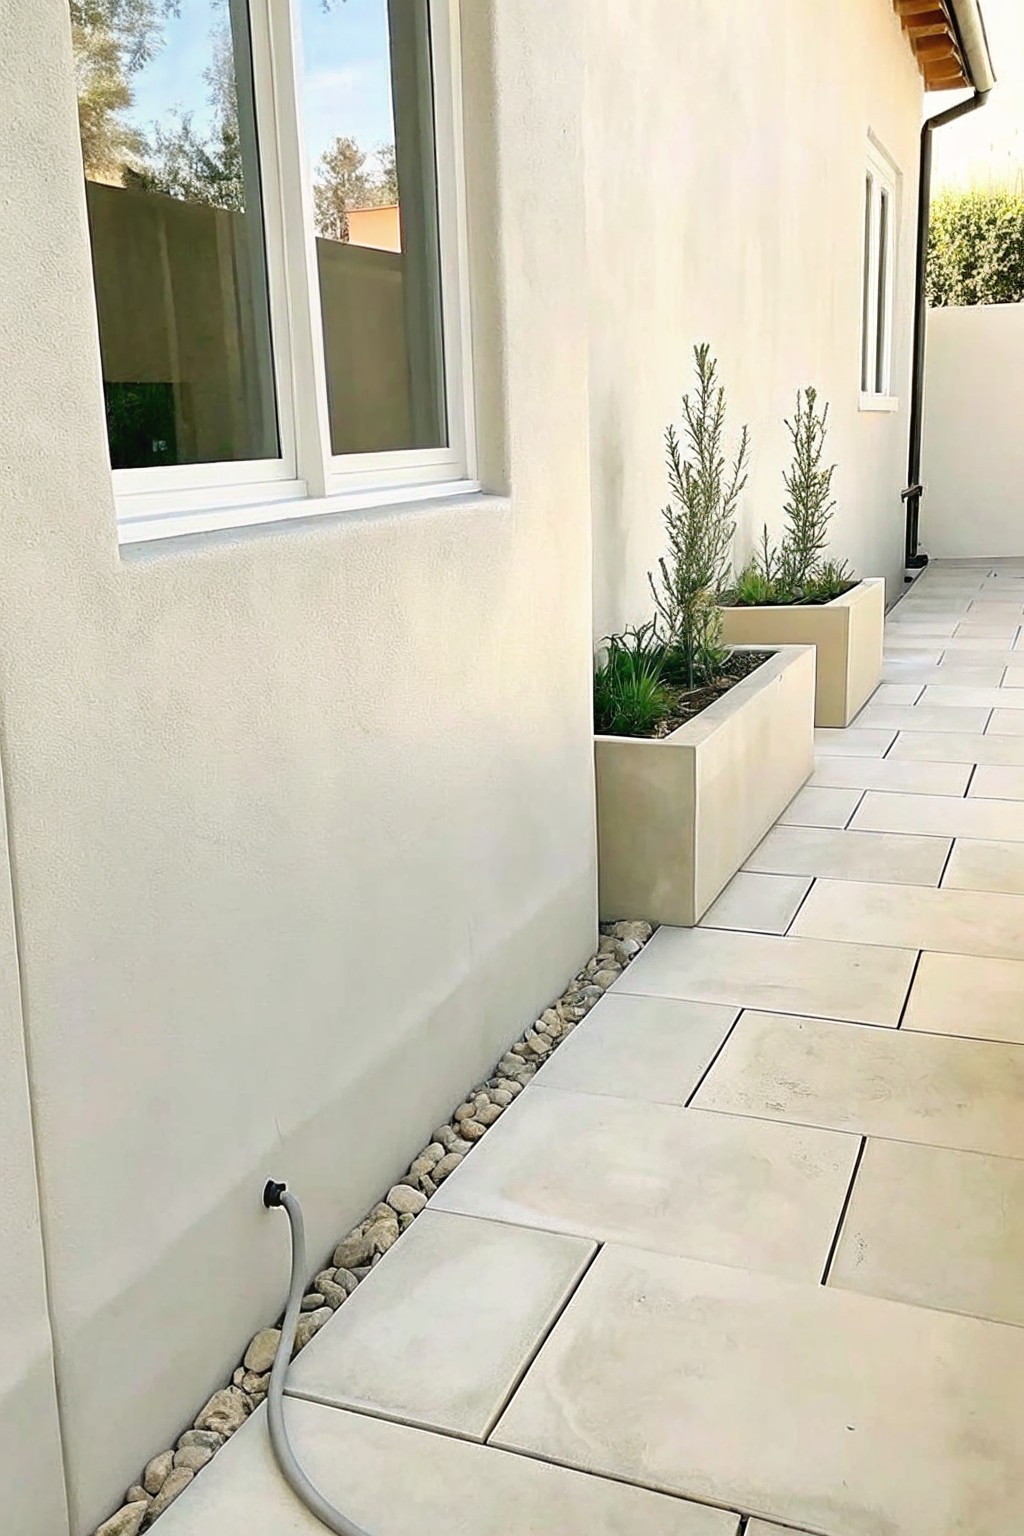
A narrow gravel border along the base of the house keeps the paving from butting right up against the wall. It looks clean, stops weeds from creeping in, and gives you an easy spot to run hoses or place downspouts without fighting the pavers.
This approach works best on side yards or narrow passages where you want something simple and cheap. Put down fabric first, then a few inches of gravel, and keep the strip about six to eight inches wide so it stays easy to maintain.
Gravel Borders Beside Paved Paths
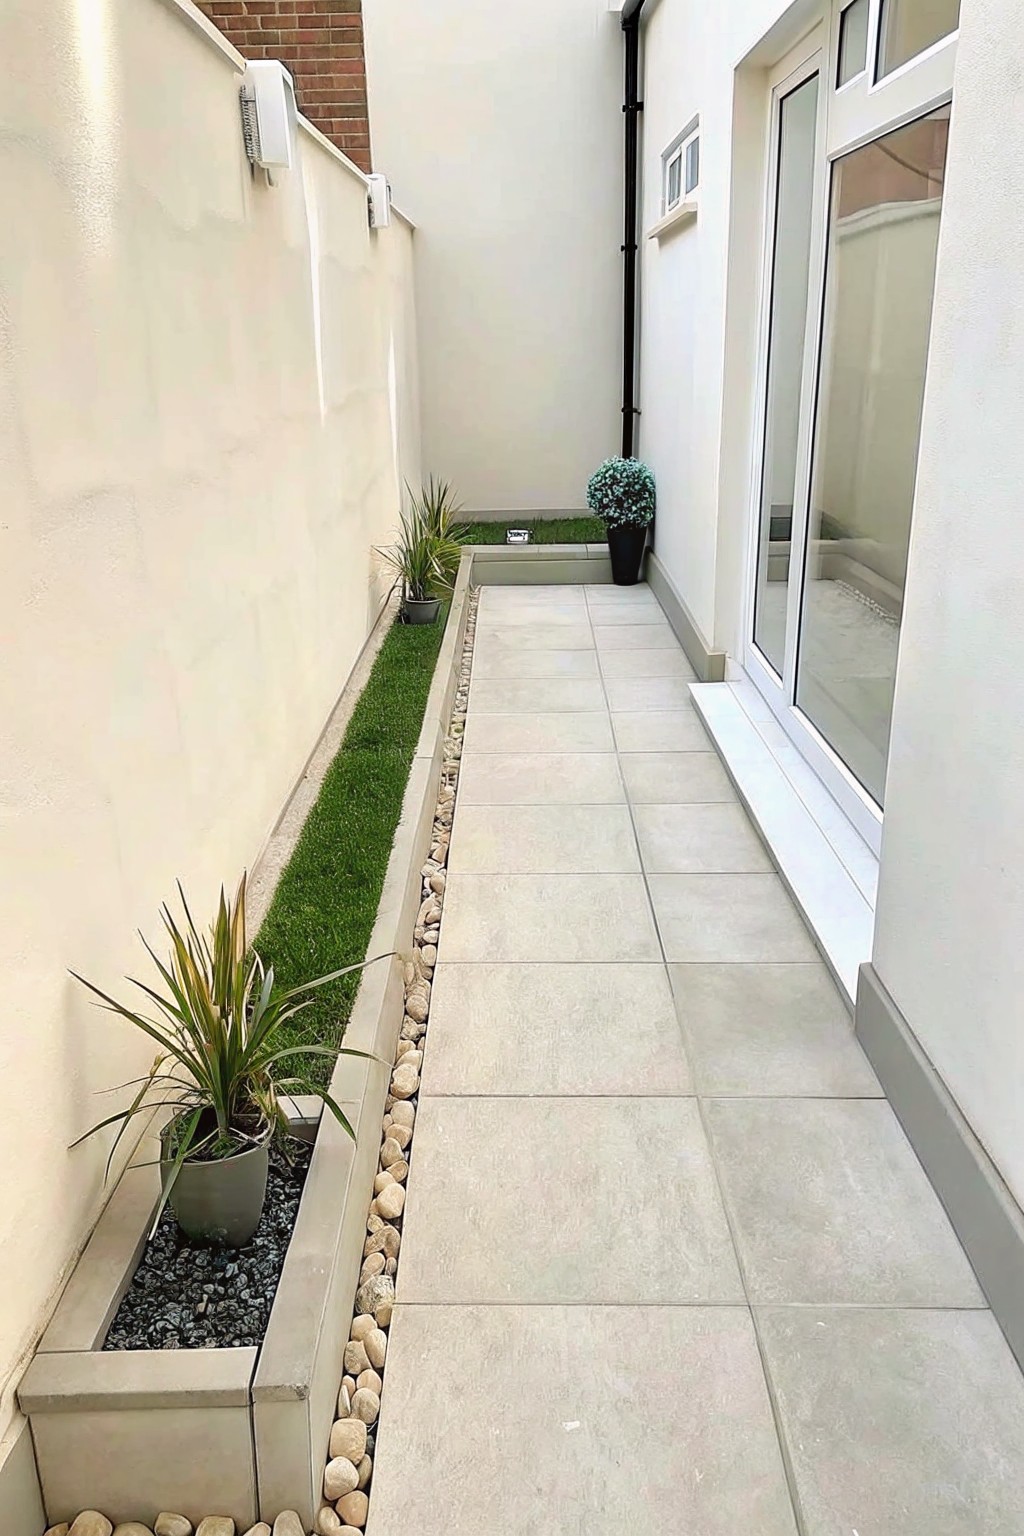
A narrow side path often needs something simple to keep the edges tidy without crowding the space. Gravel strips on either side of the paving do that job well. They separate the hard surface from the planting beds, help with drainage, and give the whole area a finished look without much cost or upkeep.
This approach works best in tight spots where a full border of plants would feel cramped. Lay a simple timber or concrete edge first, then fill the strip with gravel. It suits most homes with side access and keeps the focus on the path itself rather than constant weeding or trimming.
Gravel Edging For Paver Paths
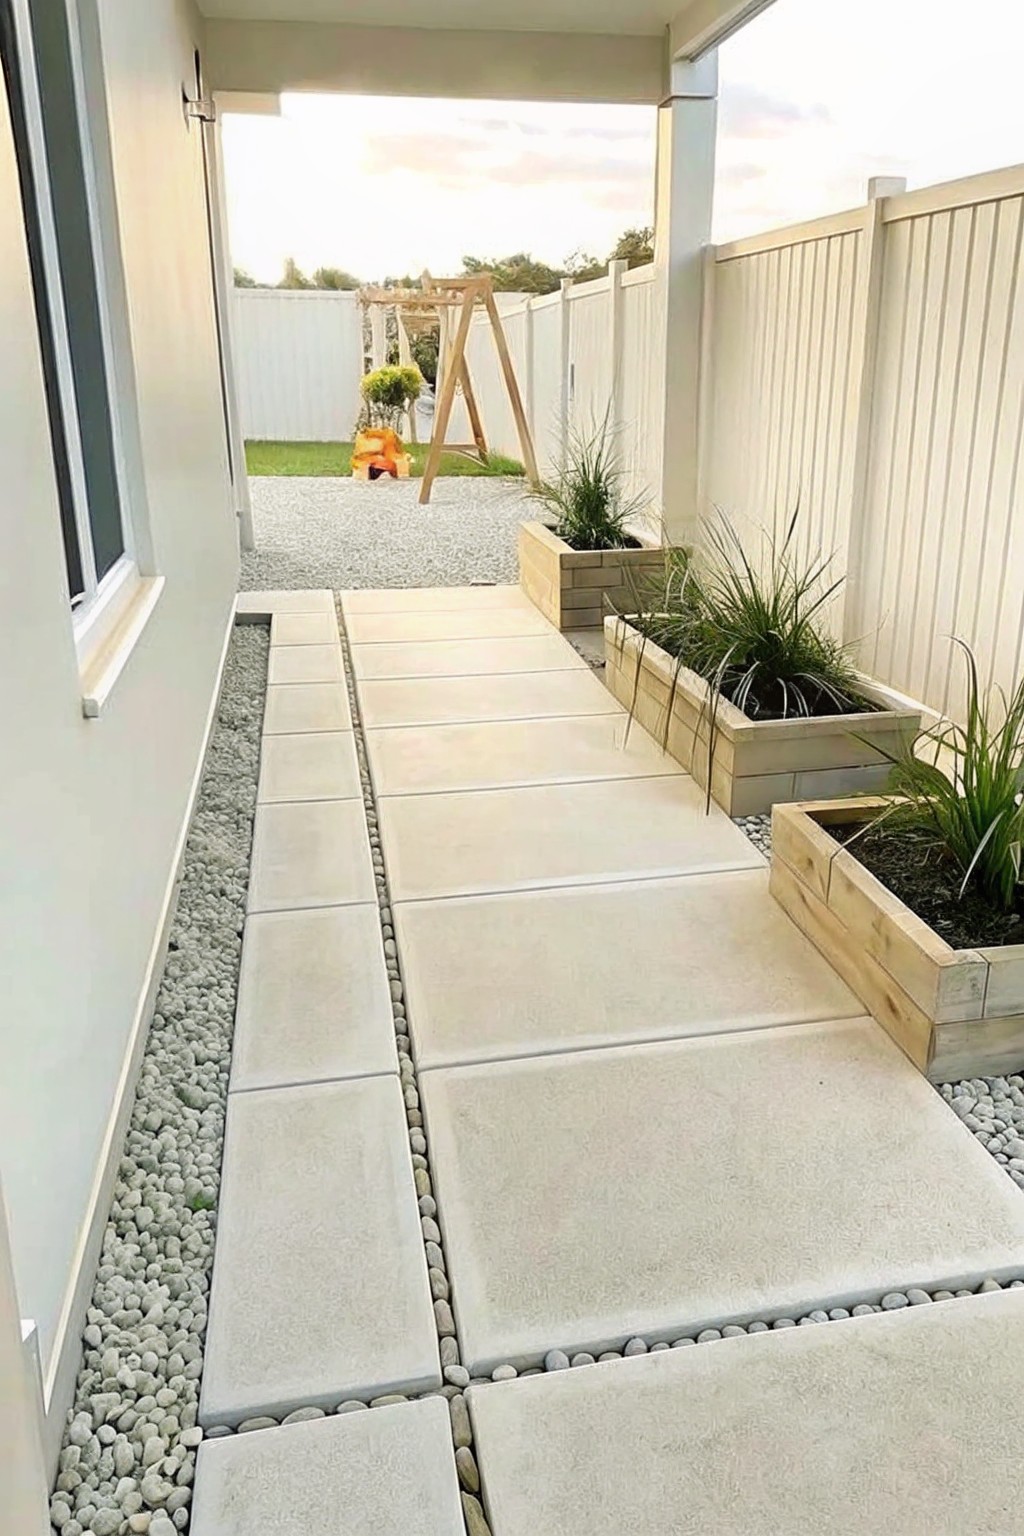
Gravel gives a simple way to finish the edges of a paver path without spending much. It fills the space on each side, keeps the pavers in line, and stops grass or weeds from creeping in too fast.
This setup works best in narrow side yards or back garden routes where you want something low key and easy to maintain. Lay the pavers first, then add a thin gravel strip on both sides and use basic timber to hold it in place if the ground slopes.
Timber Posts Give Gravel Borders Extra Structure
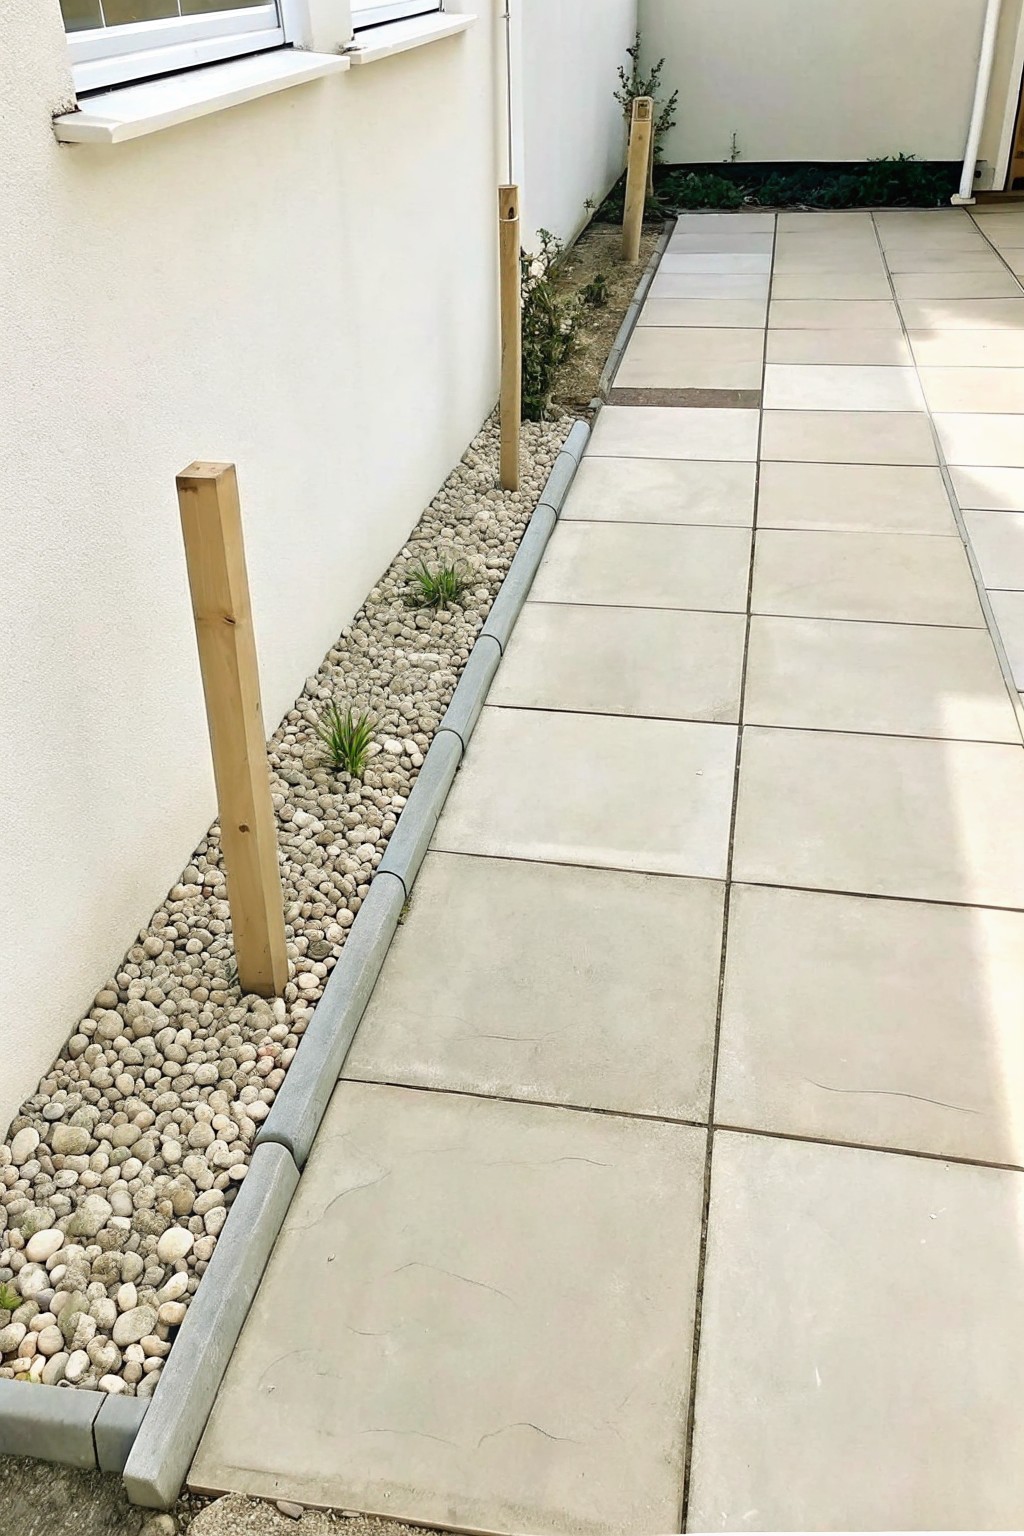
Many people add a few simple wooden posts when they lay down a gravel strip. The posts help hold the gravel in place and create a clearer line between the path and the bed.
This approach works best along the side of a house or next to a paved walkway. Sink the posts at regular intervals and let the gravel settle around them for a low-cost border that stays tidy with little upkeep.
Gravel Between Large Pavers
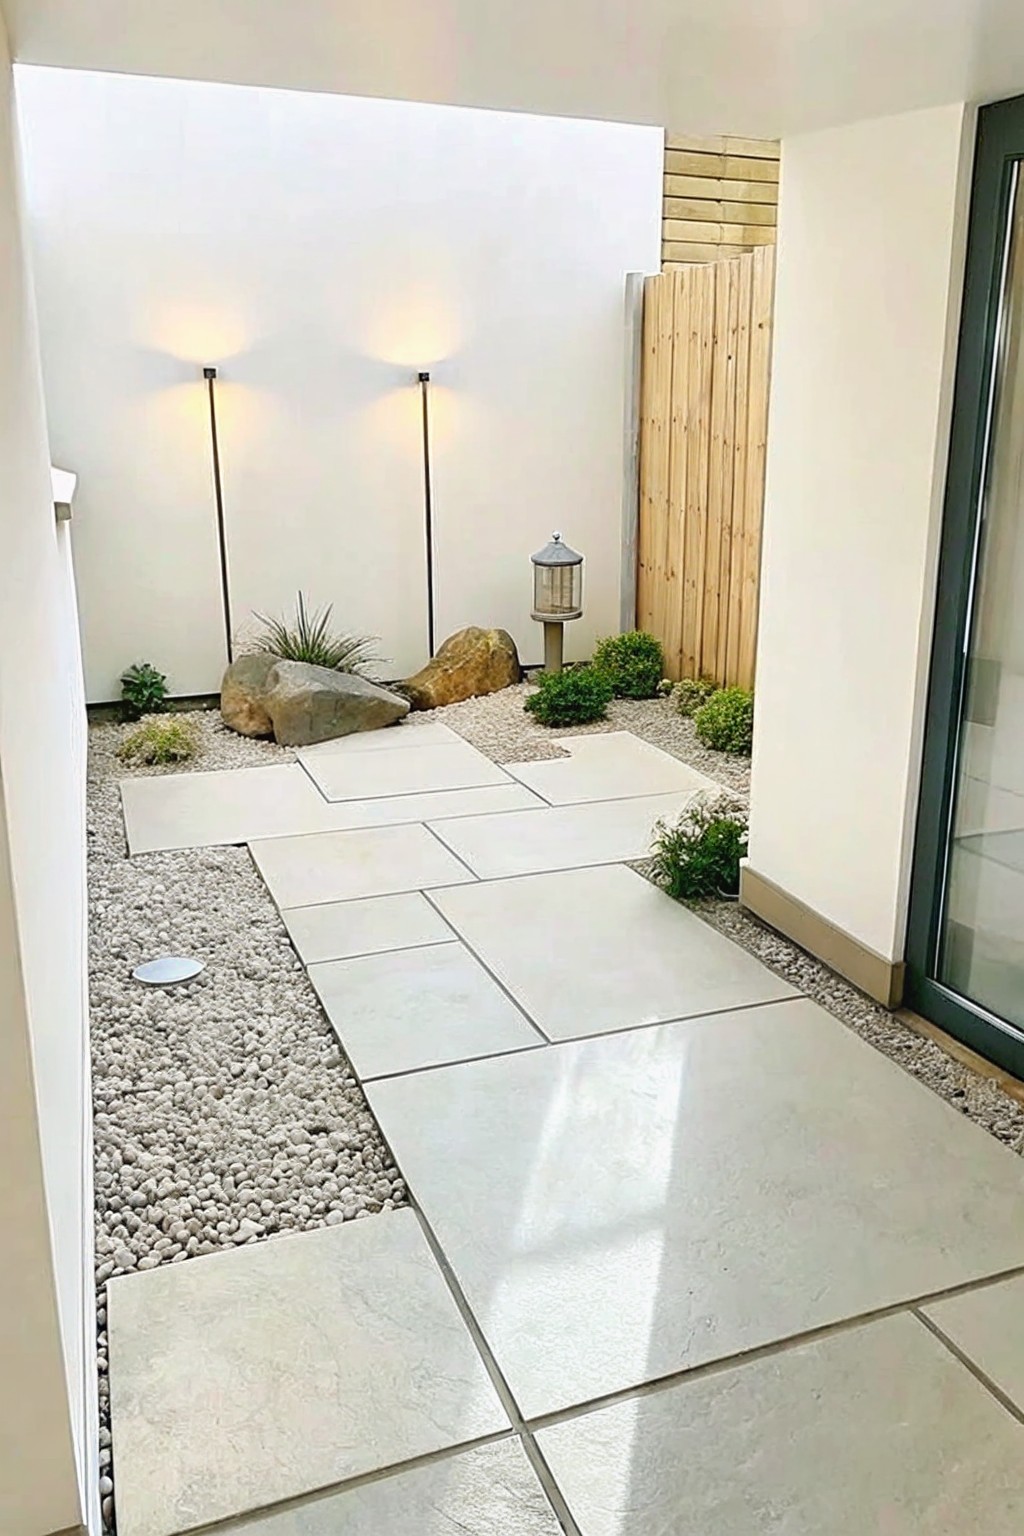
Gravel works well as a filler around big stone pavers when you want a path that feels open but still stays under control. It costs less than covering the whole area in stone and lets you adjust the layout later if needed.
This approach suits narrow side yards or small back gardens where full paving would feel too heavy. Spread the gravel after the pavers are set and keep the depth even so it does not shift underfoot.
Gravel Beds for Narrow Border Strips
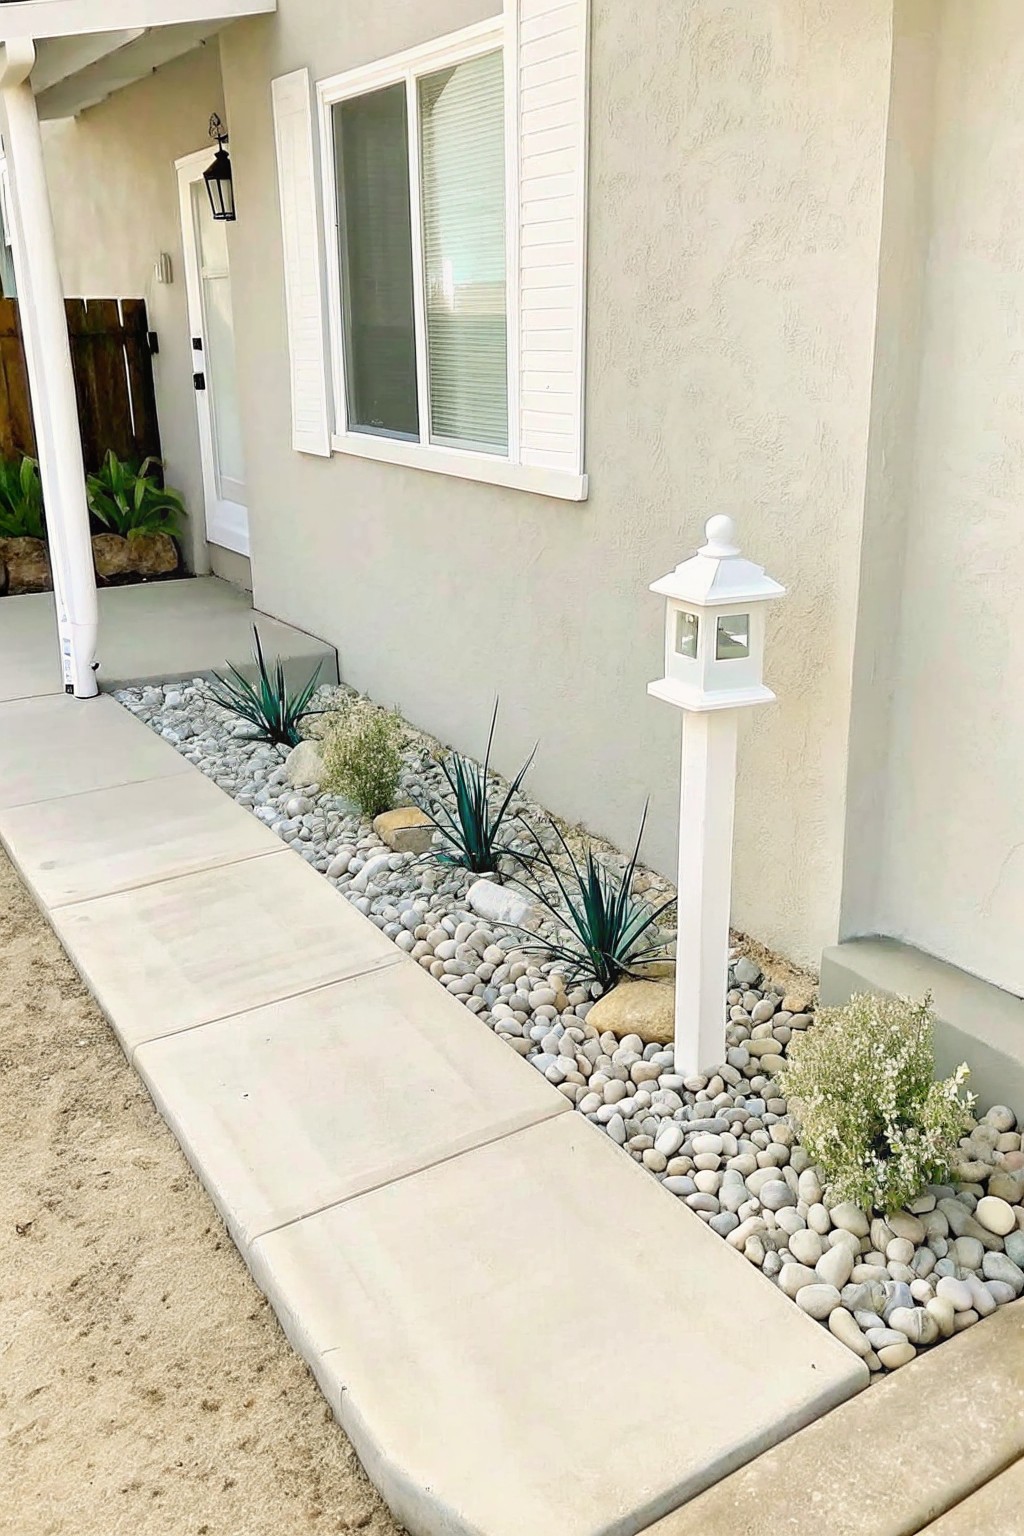
A gravel filled border works well when you have a long narrow strip between a path and the house. It keeps the area from looking bare while cutting down on weeds and the need for constant watering.
This approach suits homes with concrete walkways and stucco walls where you want something simple and tidy. Just lay down landscape fabric, add a few inches of river rock, and tuck in a handful of drought tolerant plants. The rocks also help with drainage right next to the foundation.
Gravel Strips Along Patio Edges
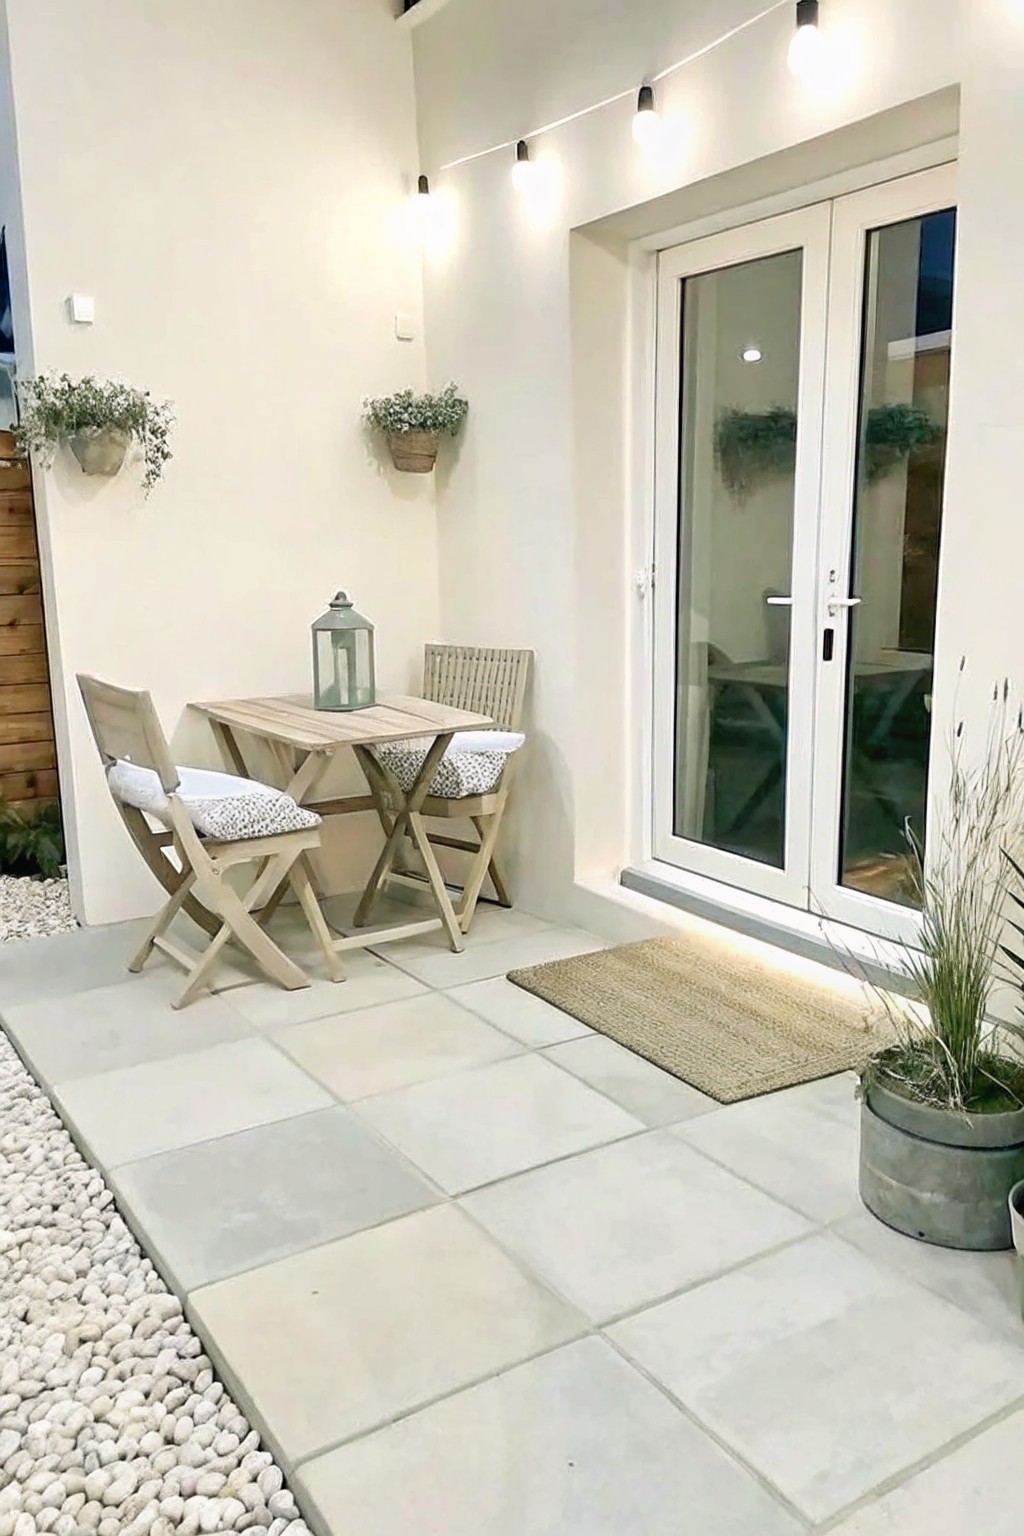
A narrow gravel border next to paving gives a patio a finished look without much cost or work. It separates the hard surface from soil or planting beds and helps keep weeds from creeping in too fast.
This approach works well on small courtyards or side areas where you want a simple transition. Lay landscape fabric first, then add a few inches of gravel along the edge. It stays low and tidy even in high-traffic spots.
Gravel Strips Beside Paved Paths
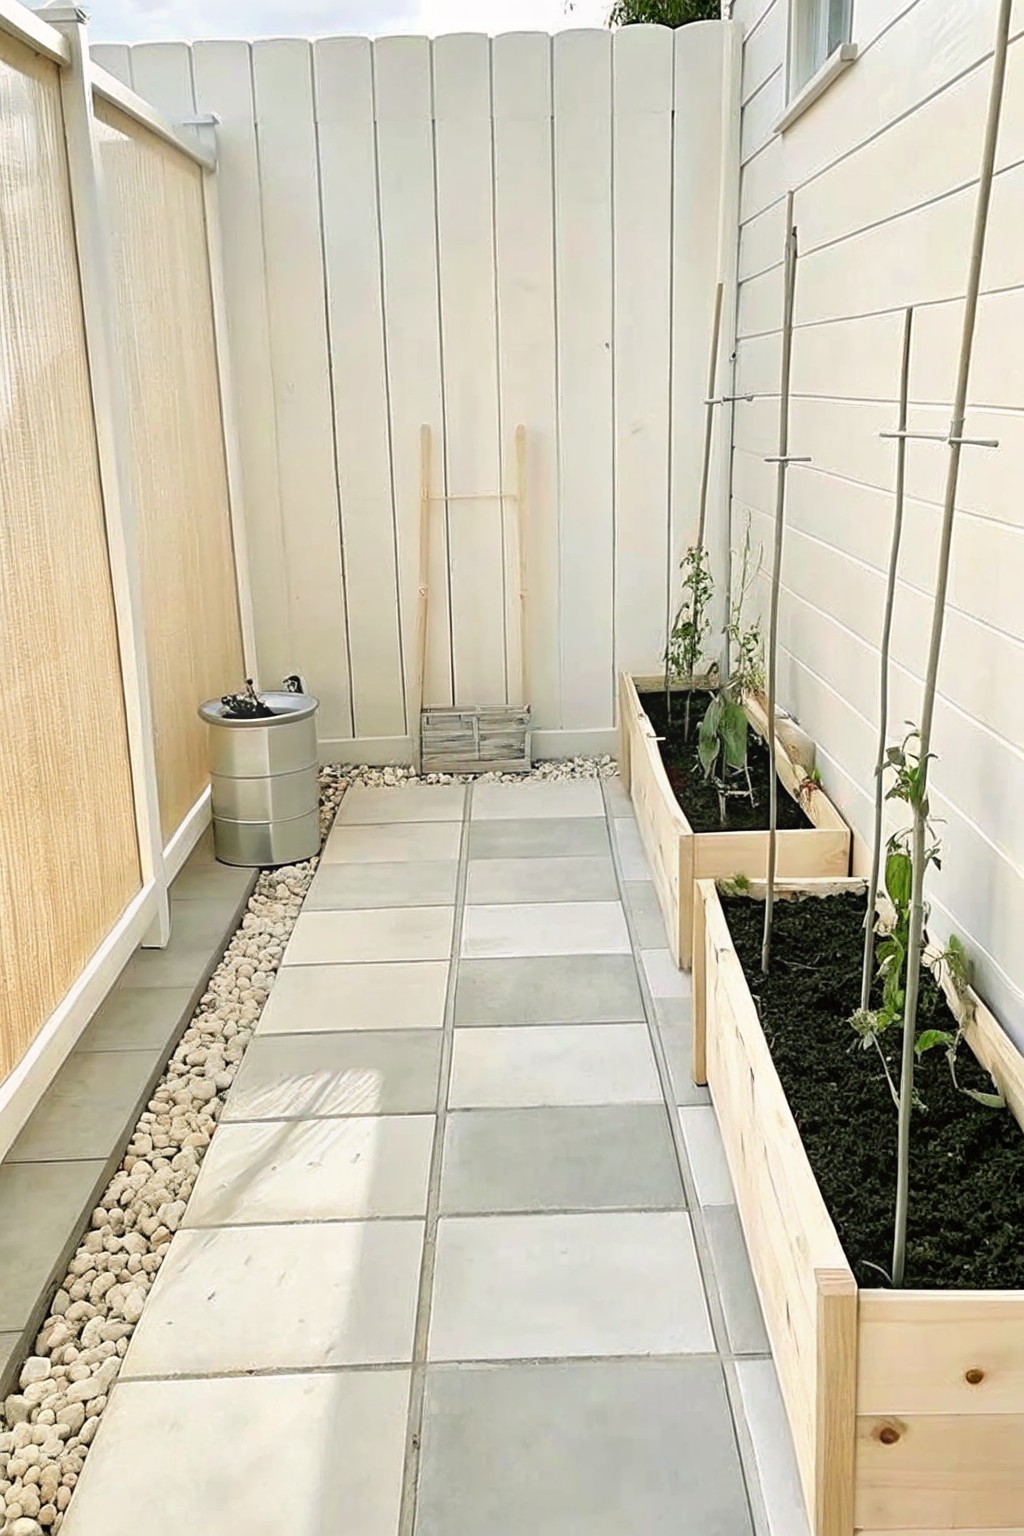
A simple gravel strip next to a paved path gives the garden a clear border without needing fancy materials. It separates the walkway from the beds in a way that feels neat and practical at the same time.
This approach suits narrow side yards or small gardens where space is tight. The gravel improves drainage and makes it easier to keep the path clear of soil and mulch.
Vertical Shelves For Small Space Borders
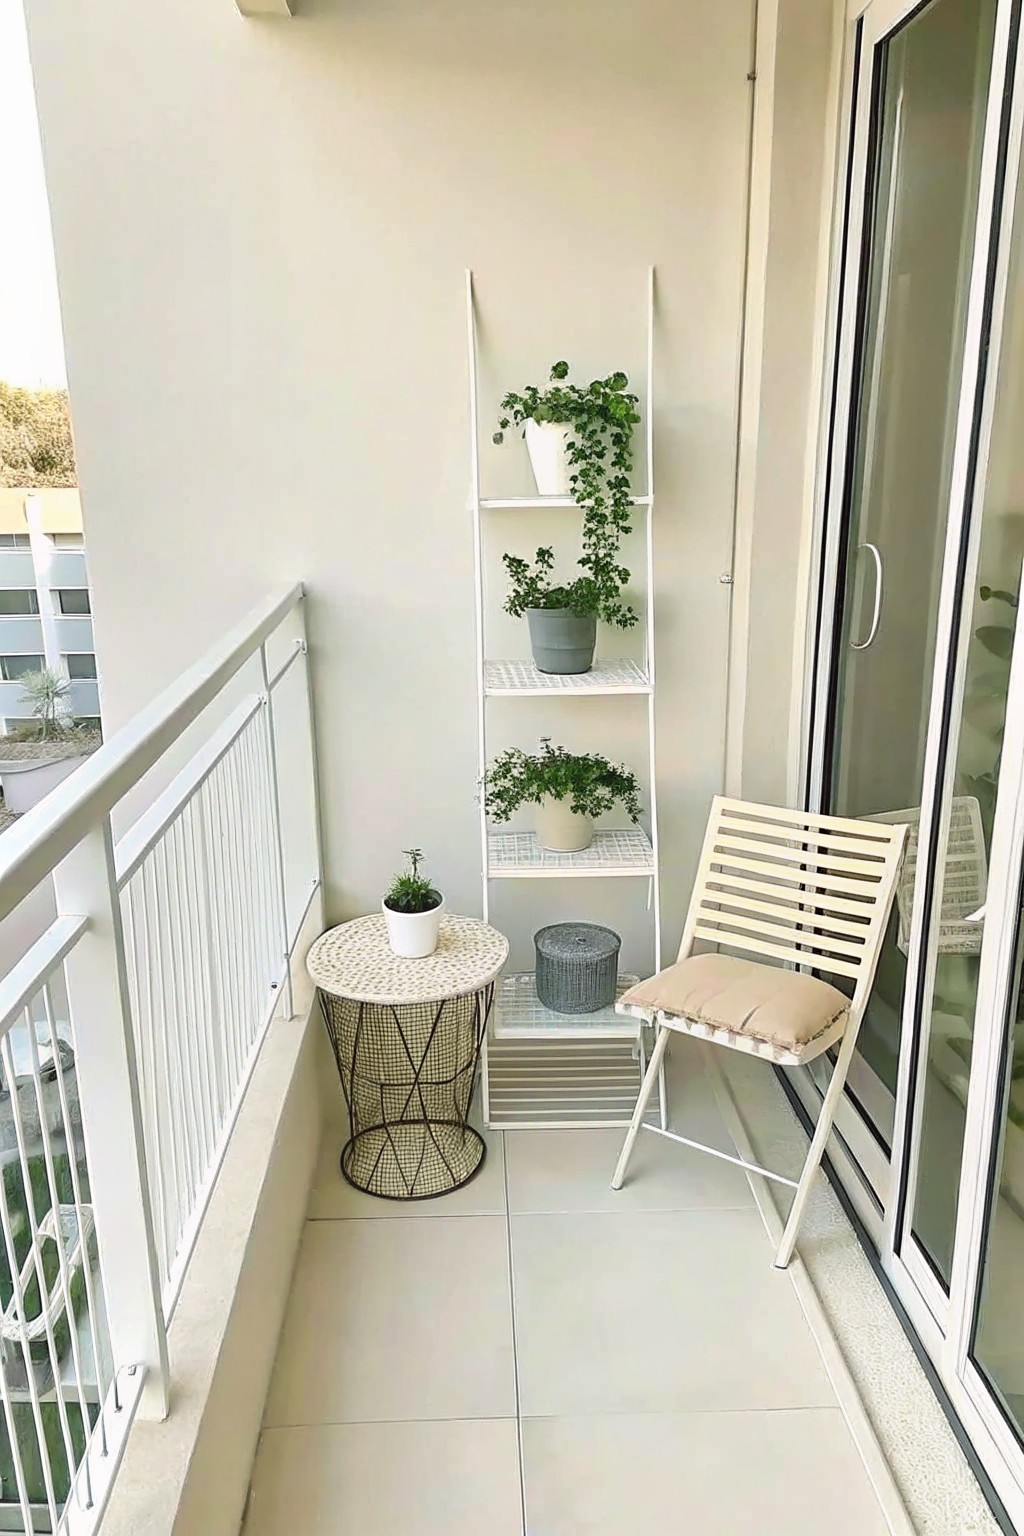
A simple ladder shelf gives you an easy way to line up plants without taking up floor space. It turns the back edge of a balcony into a green border that feels more like a garden than a leftover strip of tiles. The open shelves let air move through and keep the look light instead of crowded.
This works best on narrow balconies or patios where you want some height but still need room to walk. Use affordable metal or wooden units that can handle a few pots, and group plants by size so the lower shelves stay stable. Just check the weight limit if your floor is raised.
Gravel In Raised Beds Along Paths
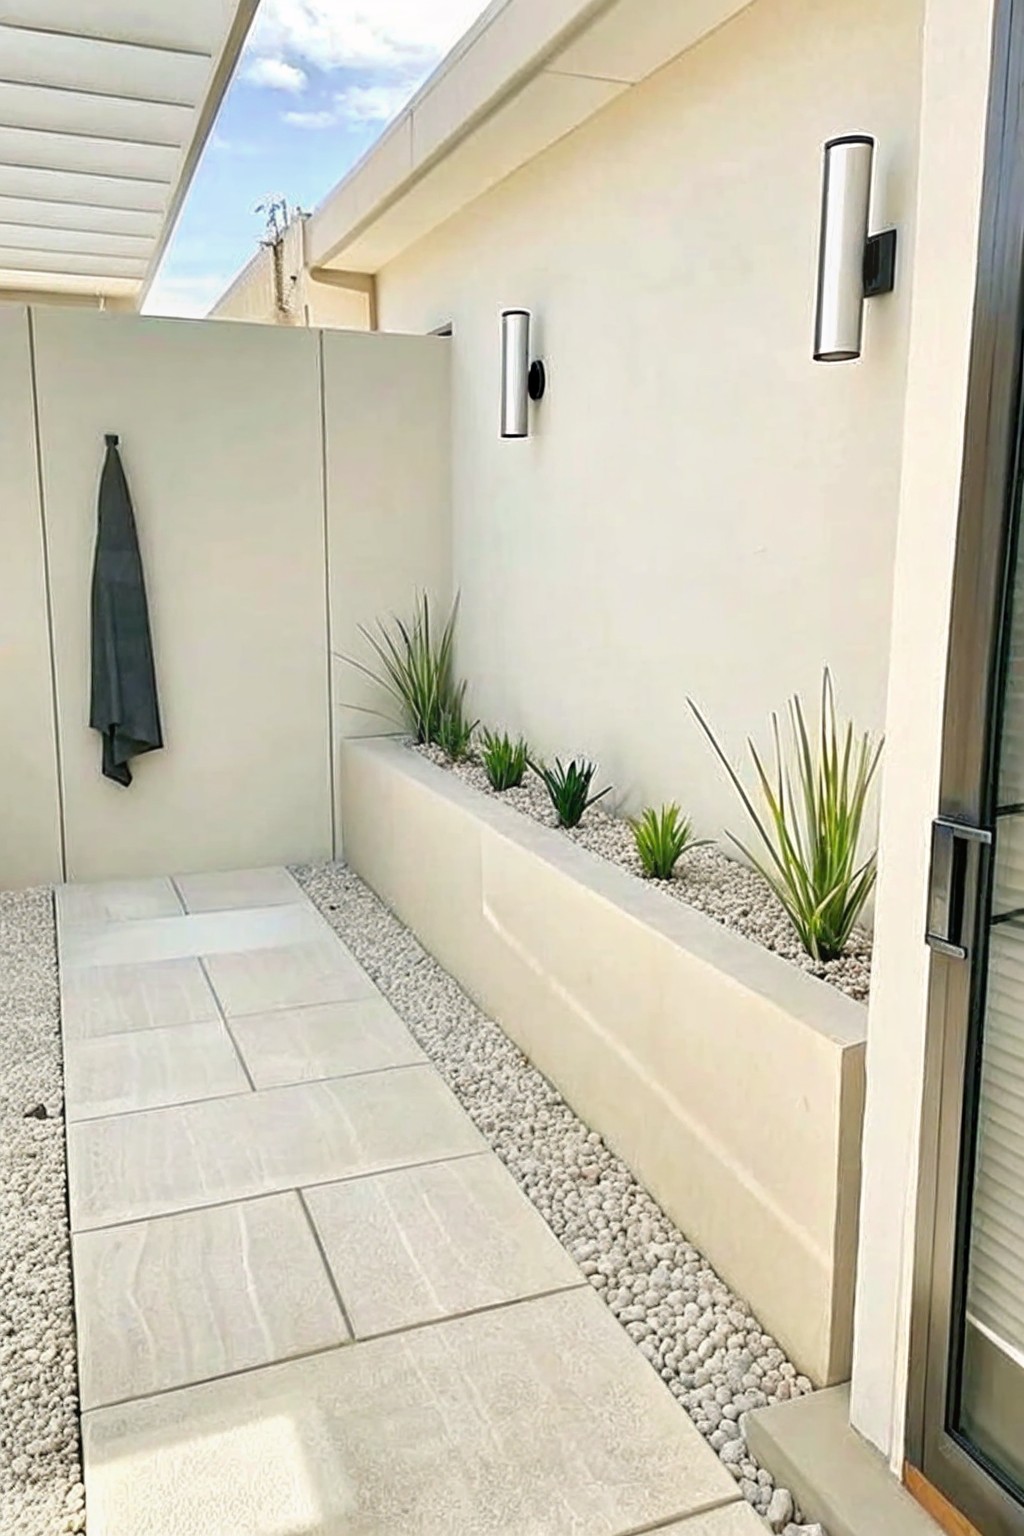
A raised bed filled with gravel gives a path a clean edge without needing much upkeep. It keeps the planting area neat, stops weeds from spreading onto the walkway, and adds a simple layer of texture that works with most paving styles.
This setup suits narrow side yards or tight passages where you want some greenery but do not want to fuss with soil showing or constant trimming. Use a basic timber or concrete frame, fill it with gravel, and tuck in a few tough plants. Just watch the bed height so it does not crowd the walking space.
Gravel Paths With Stepping Stones
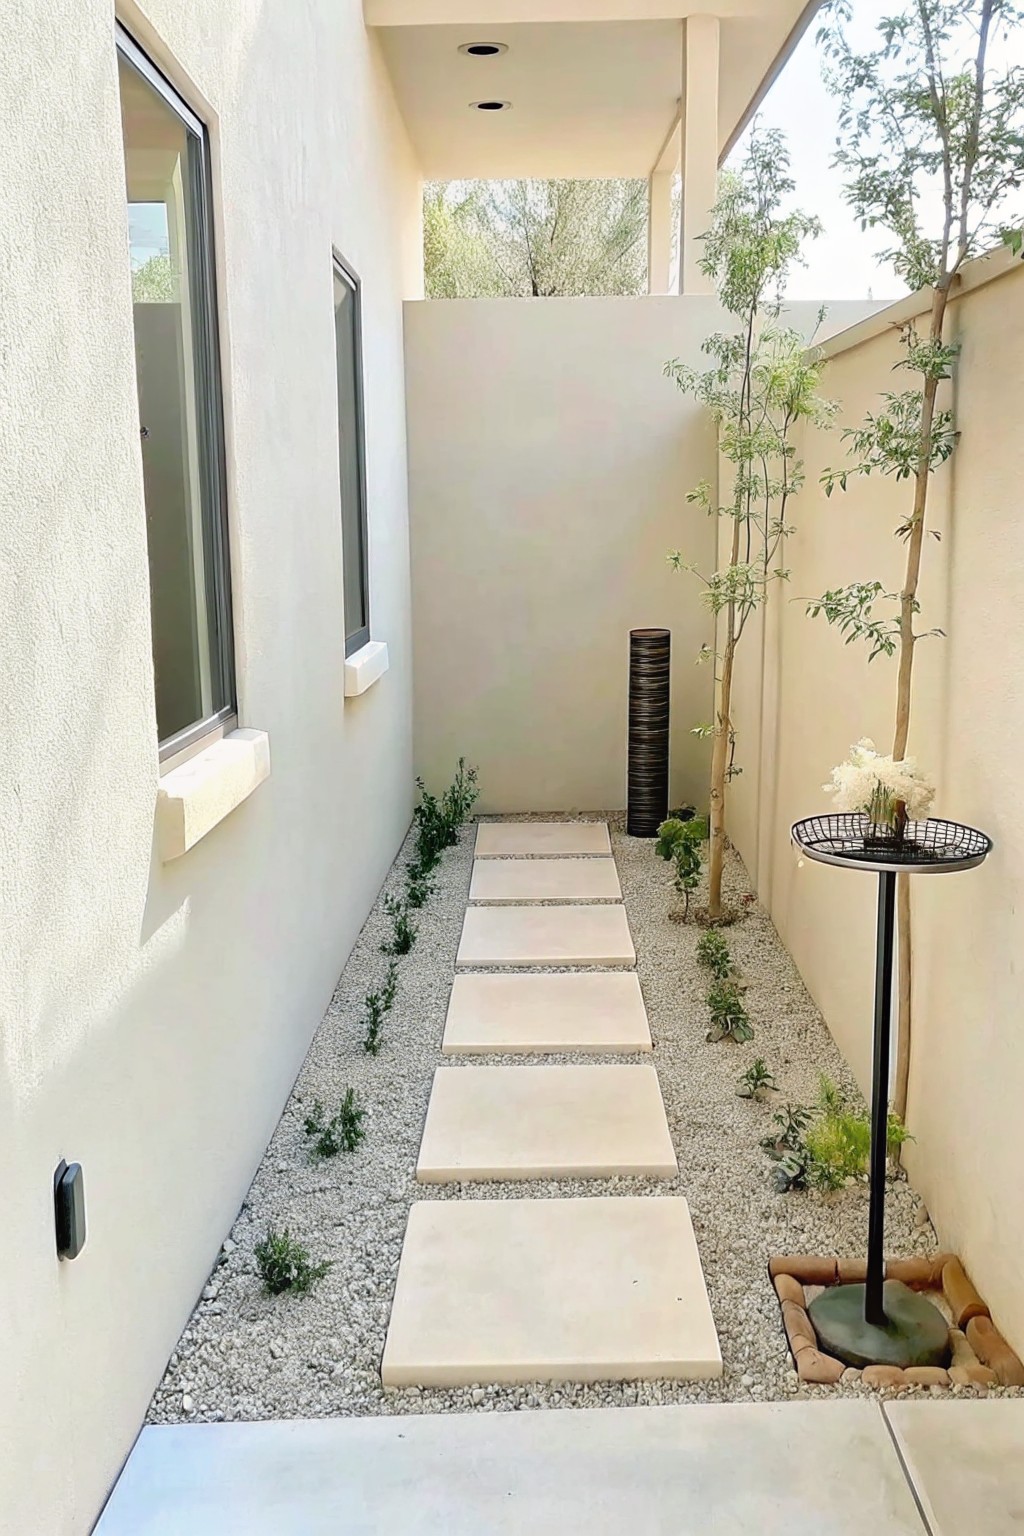
Gravel paths with stepping stones give a simple way to handle narrow side yards or back garden routes. The gravel fills the spaces, drains well, and keeps the look clean without needing fancy materials or constant weeding.
This setup works best in tight spaces where you want a clear walkway but still need room for a few plants along the edges. Keep the gravel layer even and choose stones that sit flat so the path stays easy to walk on.
Gravel And Timber Edging For Simple Borders
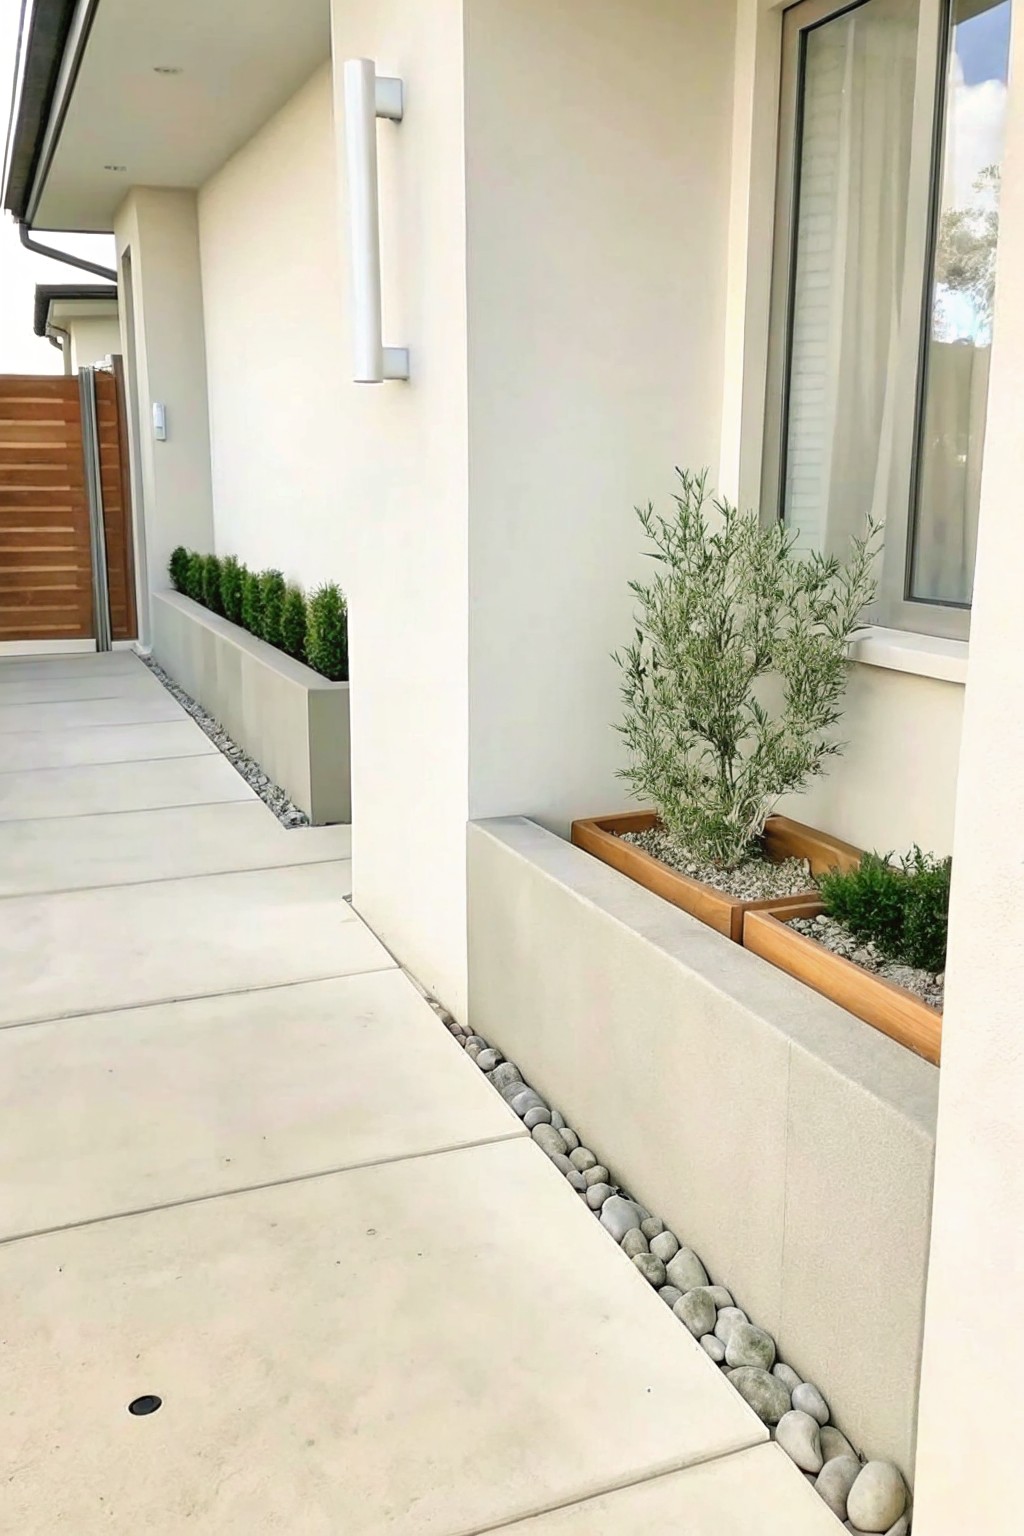
Gravel paired with basic timber edging gives a clean line that holds up well along paths and house walls. It keeps soil and plants from spilling onto the walkway while using materials that stay affordable and easy to replace if needed.
This works best on straight runs where you want low upkeep. Set the timber to contain the gravel and add a few wooden boxes inside the edge if you want room for taller plants without extra cost.
Timber Edging With Gravel Borders
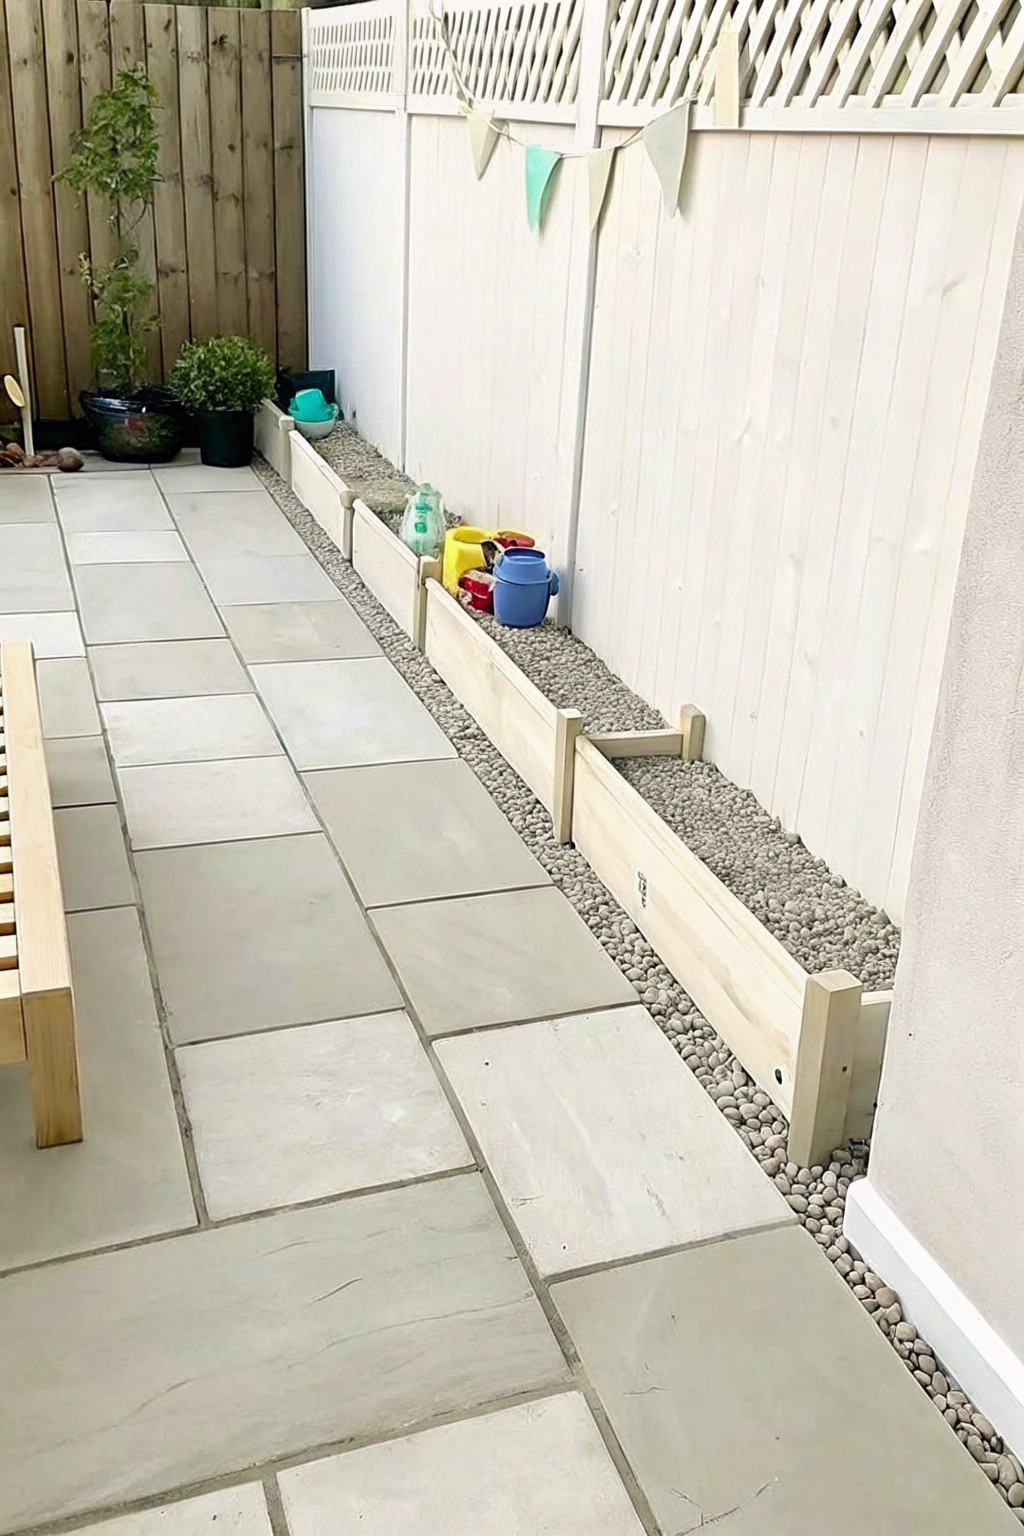
One simple way to keep garden edges neat is to run basic timber boards along the fence line and fill the strip with gravel. It creates a clean divide between the patio and the border without needing fancy materials or complex builds.
This works best in smaller yards where you want low maintenance and a clear separation from the paving. Treated timber holds up well outside, and the gravel helps with drainage while keeping weeds down over time.
Raised Concrete Borders For Path Edges
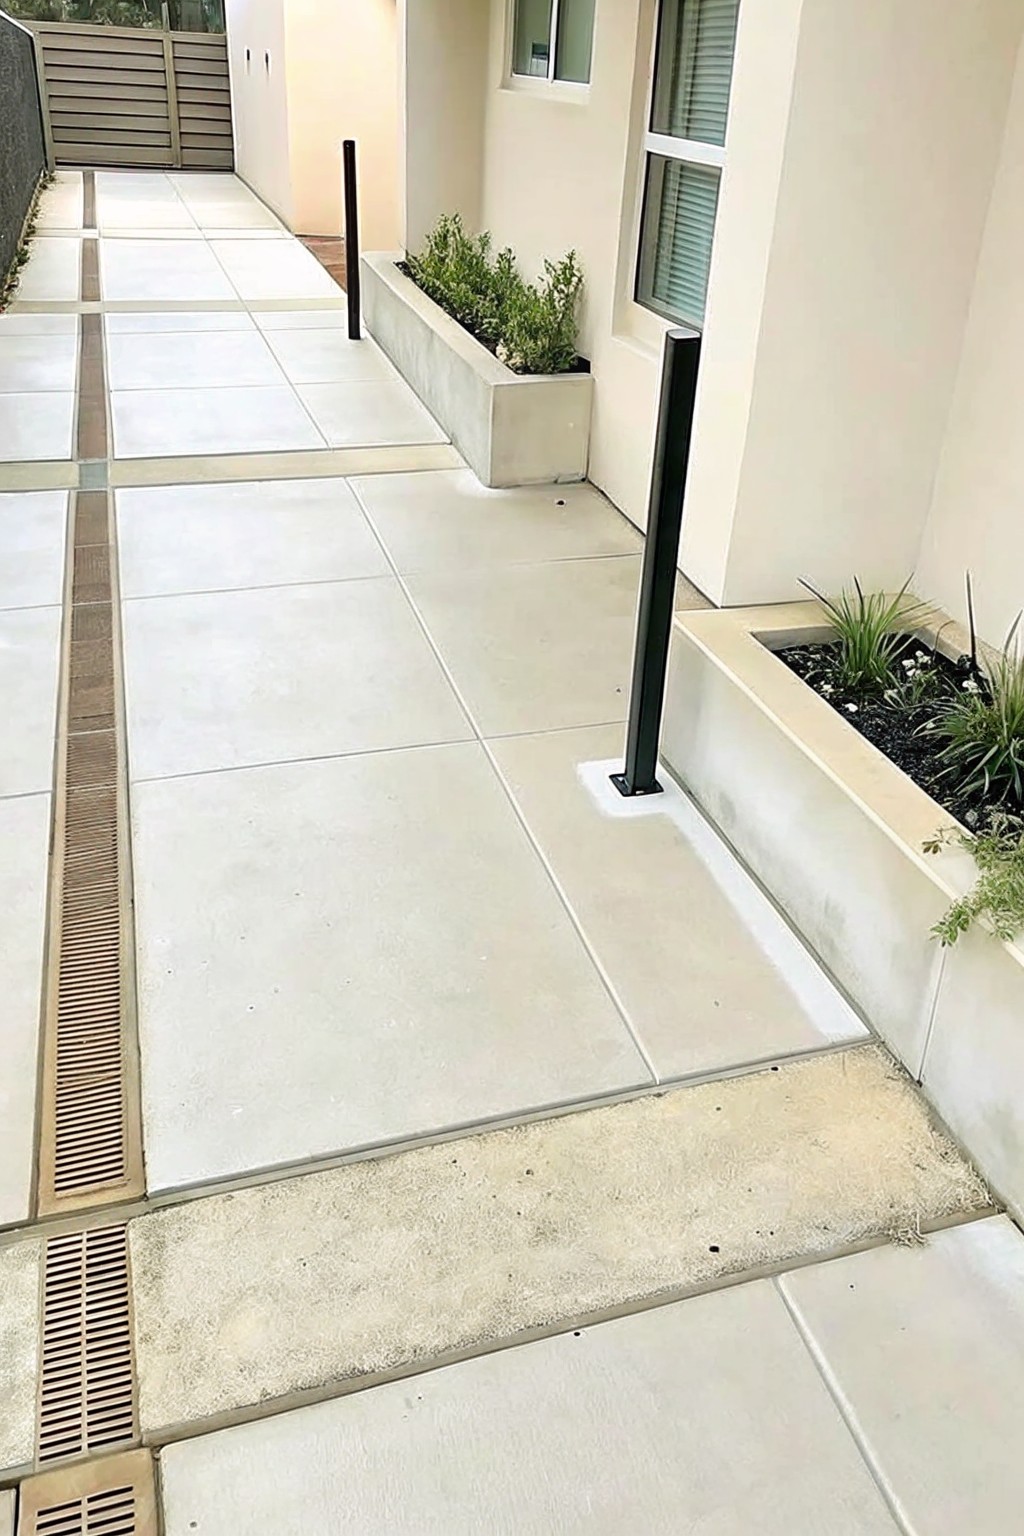
Raised concrete planters work well as a simple border along a paved walkway. They give a clear separation between the walking surface and the planting areas without needing lots of extra materials or upkeep. The straight lines help the whole space look tidy and intentional.
This approach suits homes with modern or minimalist exteriors where you want low-maintenance garden edges. You can build similar borders with basic concrete forms or precast blocks, then fill them with easy plants. Just make sure the height stays low enough to step over if needed and allow for drainage at the base.
Gravel Edging Along A Stone Path
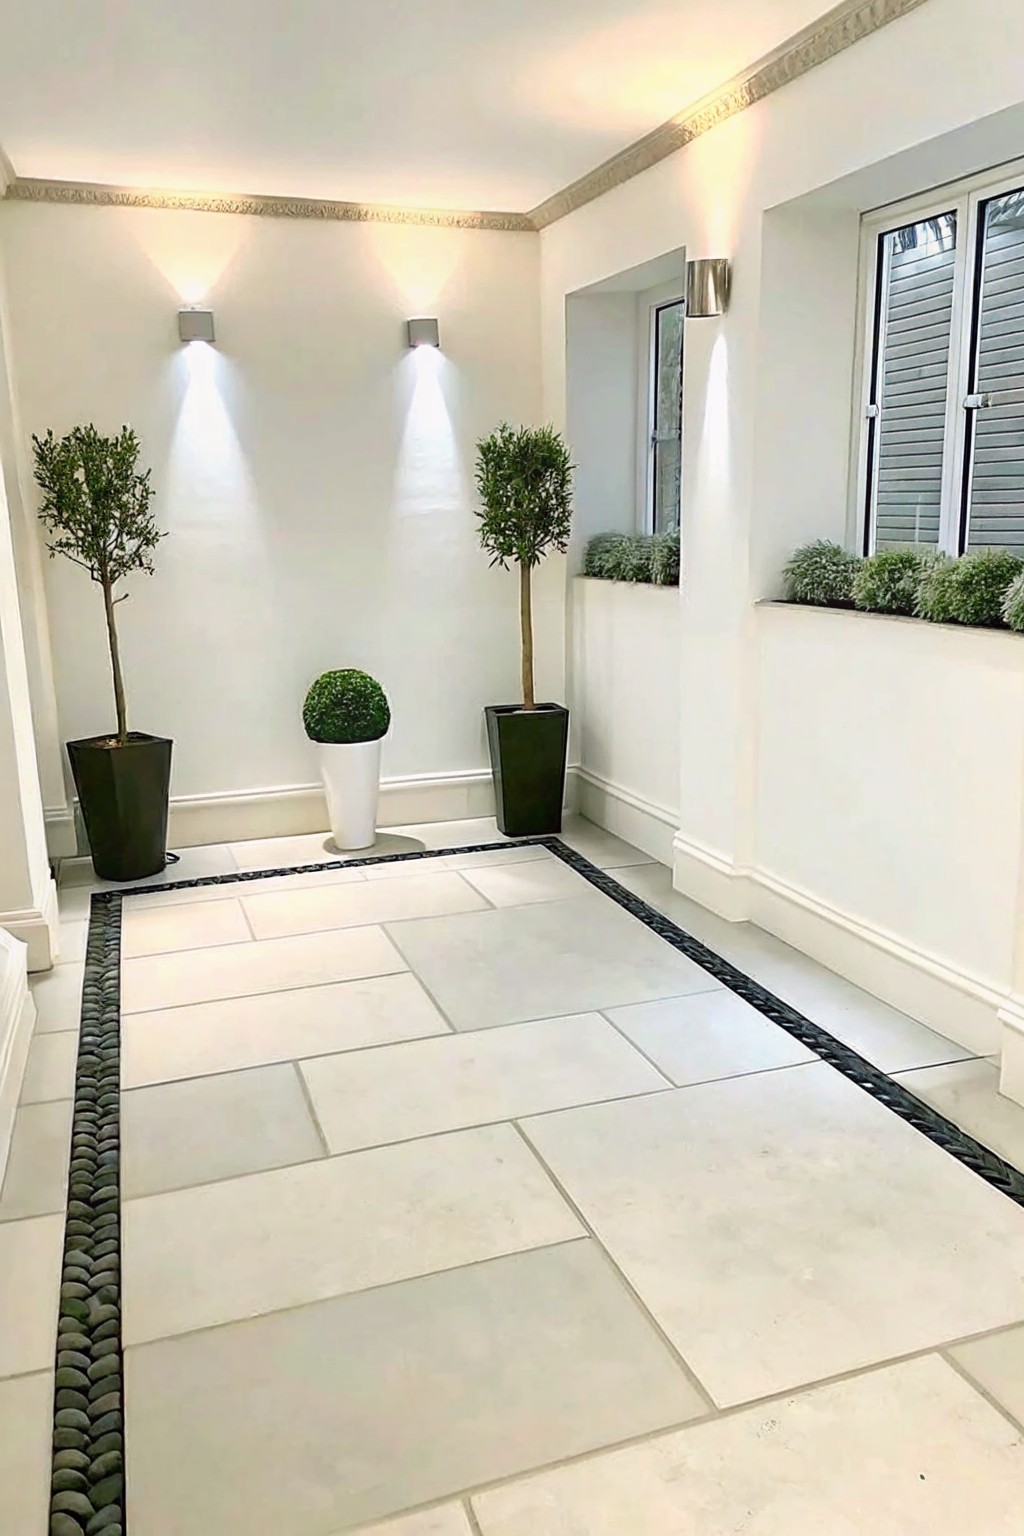
A strip of small pebbles makes a simple border that keeps the edges of a paved walkway looking neat. It separates the path from the surrounding area without needing fancy materials or much work.
This approach works well on a front entry or side garden path where you want a clean line that still feels natural. Lay the pebbles in a narrow trench along each side of the paving and keep the depth shallow so they stay in place.
Timber Boxes For Simple Ledge Borders
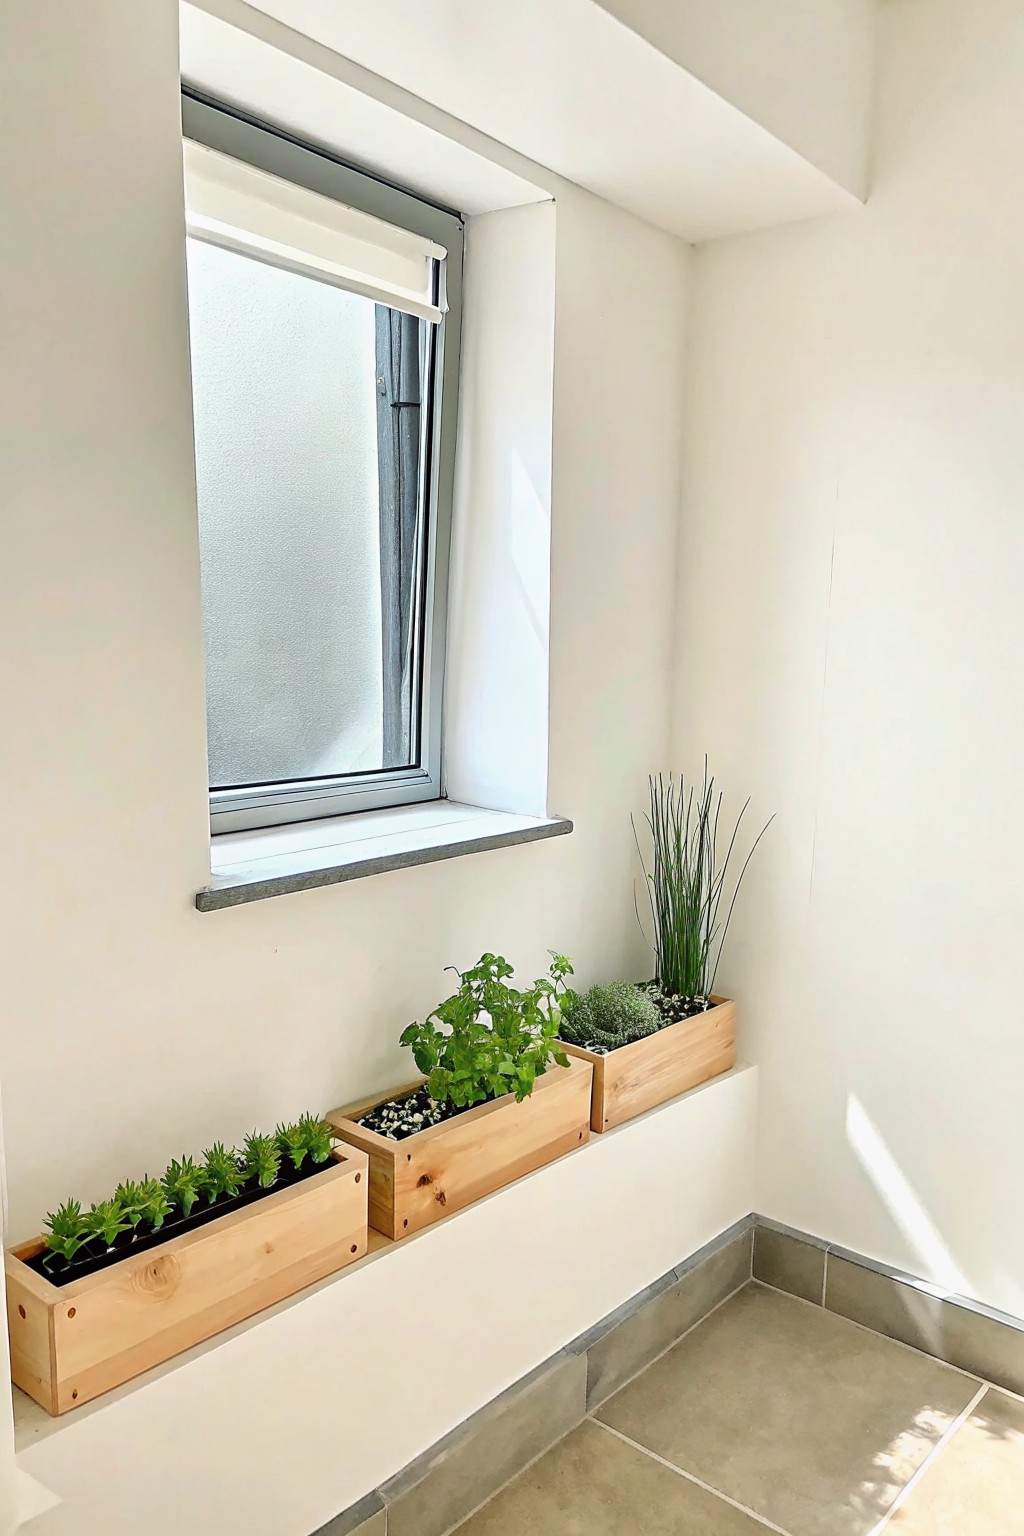
A row of plain wooden boxes can turn a windowsill ledge into a tidy plant border without much work. The timber gives a clean edge that keeps everything in line, and the boxes are easy to move if you want to change the layout later. This approach works well when you want some greenery indoors but still like the look of a structured border.
It suits homes with deep sills or built-in ledges where soil would be messy. Fill the boxes with a mix of low plants so the line stays full without much trimming. Just watch that the wood stays dry if the ledge gets any moisture from the window.
Frequently Asked Questions
Q: Should I dig a trench first for the timber?
A: Yes, a shallow trench keeps the wood level and hides the bottom edge. Use a string line to mark it straight. Then pack soil back around the timber once it’s in place.
Q: How do I stop weeds growing through the gravel later?
A: Lay down weed barrier fabric before adding gravel. It blocks most growth while still letting water through. Pull any stragglers by hand when you spot them.
Q: Will this border work if my soil is mostly clay?
A: Clay drains slowly so add extra gravel depth for better flow. The timber still edges it fine once secured. Mix in some sand at the base if water pools often.
