
Ever found yourself staring at your riding lawn mower, wondering why it won’t start? You’re not alone. Many people face this frustrating moment, especially when it’s time to tackle that overgrown lawn.
Key Takeaways
- Understanding Components: Familiarize yourself with essential parts of a riding lawn mower, such as the engine, blades, and safety features, to enhance operation and maintenance.
- Preparation is Key: Always check fuel and oil levels, battery condition, and connections before attempting to crank your mower to prevent starting issues.
- Proper Cranking Steps: Engage the parking brake and adjust the throttle to the “fast” position before starting your mower to ensure a smooth ignition.
- Troubleshooting Tips: Common starting problems include battery issues, stale fuel, and faulty spark plugs. Regular inspection can help diagnose and resolve these issues.
- Maintenance Practices: Regularly check oil levels, clean the air filter, sharpen blades, and maintain tire pressure to keep your mower in optimal working condition.
- When to Seek Help: If troubleshooting fails, consult a professional for complex repairs to ensure your riding lawn mower’s longevity and performance.
Understanding Riding Lawn Mowers
Riding lawn mowers are efficient machines designed for cutting grass over large areas. Understanding their components and safety features enhances your experience and ensures a smooth operation.
Components of a Riding Lawn Mower
- Engine: Powers the mower. Choose between gas or electric engines depending on your needs.
- Blades: Rotating blades cut the grass. Regularly check for wear to maintain performance.
- Deck: Houses the blades and provides a platform for grass cutting. Keep it clean to prevent rust.
- Transmission: Transfers power from the engine to the wheels. Consider hydrostatic or manual options for ease of use.
- Steering Wheel: Controls the direction. Ensure it’s comfortable for long mowing sessions.
- Seats: Provide comfort during use. Look for adjustable options for a better fit.
- Wheels: Ensure good traction and stability. Replace tires as needed for the best performance.
- Seatbelt: Keeps you secure while operating. Always buckle up before starting.
- Rollover Protection System (ROPS): Protects you in case of accidental tip-overs. Ensure this feature is present on your mower.
- Blade Brake: Stops the blades when you stop moving. Check that it functions correctly to avoid accidents.
- Safety Switches: These prevent the mower from starting unless in the correct position. Test these regularly.
- Reflectors and Lights: Improve visibility if mowing near roads. Invest in additional lighting if necessary.
- Emergency Stop: Allows immediate shutdown. Familiarize yourself with its location for quick access.
Preparing to Crank the Mower
Before cranking your riding lawn mower, ensure it’s ready for operation. Performing a few checks can prevent frustration and ensure a smooth start.
Recommended Products

【THE PERFECT WINTER BATTERY CHARGING SOLUTION】Corebox automatic battery trickle charger with 8 charging protections is an all-in-one solution: charger, maintainer, trickle charger and desulfator. It ensures perfect maintenance of battery charging safety during the winter or vacation months, avoiding battery failure in advance. Temp compensation in hot or cold climates, reverse protection, cooling system, overcurrent, fireproof material, overcharge, short circuit.

【10-AMP QUICK BATTERY CHARGER】12V 10-Amp and 24V 5-Amp 7-stage quick battery charger and maintainer, charging speed is much faster than 8-Amp or 5-Amp automatic chargers also harmless to the battery cycle life. Charge or repair all 12-volt and 24-volt lead-acid automotive, marine and deep-cycle batteries including AGM, GEL, SLA, and Flooded in cars, trucks, SUVs, motorcycles, lawn mowers, boats, etc. NOTE: Charging current exceeding 15A could lead to overcharging of the battery and damage to the internal chemicals, choosing the appropriate battery charger is essential!
MEET THE GENIUS1 — Similar to our G750, just better. It's 35% smaller and delivers over 35% more power. It's the all-in-one charging solution - battery charger, battery maintainer, trickle charger, plus desulfator.
Checking Fuel and Oil Levels
Checking the fuel and oil levels is essential for optimal performance.
- Inspect the fuel tank, ensuring it contains gasoline. Use fresh fuel without additives for best results.
- Verify the oil level by pulling out the dipstick. If the oil is low, fill it with the manufacturer-recommended oil type.
- Look for any signs of oil contamination, such as a milky appearance, which could indicate a problem.
Inspecting the Battery and Connections
Inspecting the battery and connections helps maintain electrical integrity.
- Examine the battery terminals for corrosion. If corrosion exists, clean the terminals using a mixture of baking soda and water.
- Ensure the battery cables are tight, preventing any wiggle or loose connections.
- Check the battery charge. If it’s weak, consider jump-starting or replacing the battery.
By confirming these aspects, you prepare your riding lawn mower properly, increasing the chances of a successful start.
Steps to Crank a Riding Lawn Mower
Cranking a riding lawn mower involves a few straightforward steps. Follow these instructions to ensure your mower starts smoothly.
Recommended Products

【Compatibility】831-0796A Throttle Control Handle Compatible with MTD cut models 132431-E06 with 36" decks, cut models 132-657-F062, 139-652-352 with 38" decks and cut model 140-848-H062 with 46" decks, providing broad usability across various mower models.

[Construction Details]This Throttle Lever is crafted from a combination of plastic and metal materials, selected for their resilience and ability to withstand regular use in outdoor environments. It is designed to offer consistent performance over time, making it a reliable component for lawn care equipment. The robust build ensures it can handle the demands of daily operations without compromising functionality.
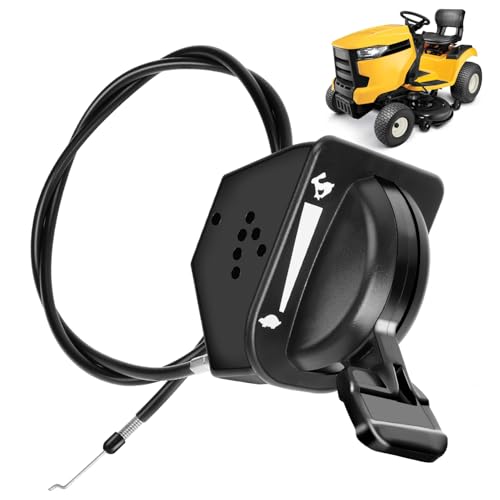
OEM Part Number: 946-05098C, 946-05098A 946-05098B, 946-05098, 746-05098, 746-05098C, 746-05098B, 746-05098A
Engaging the Parking Brake
- Locate the parking brake lever. This lever is usually positioned near the seat or on the dashboard.
- Pull the lever up or push it down to engage. Ensure it clicks into position; this step prevents the mower from moving unexpectedly.
- Verify the parking brake is active. Check if the brake indicator light is illuminated on the dashboard.
- Identify the throttle control. This control is often situated on the right side of the steering wheel or dashboard.
- Set the throttle to the “fast” position. Move it to an upright position for optimal engine performance.
- Confirm the throttle adjustment. Look for the indicator or markings on the throttle to ensure it’s in the correct position.
These steps prepare your riding lawn mower for cranking and help avoid starting issues.
Troubleshooting Cranking Issues
Sometimes, your riding lawn mower might resist starting despite your best efforts. Understanding common problems can help you diagnose and resolve these issues efficiently.
Recommended Products

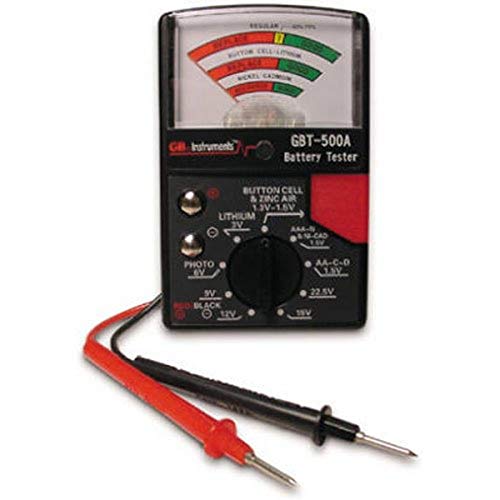
Battery capacity indicator ---- Three LED indicators, “FULL”, “Middle”, and “Low”, respectively indicate that the battery status is strong, normal, and weak.3 indicator colors are green, yellow, red, clear and easy to view.

✅【Car Battery Tester】 BR502 can test all 6V/12V/24V 100-2000CCA batteries including regular flooded, AGM flat plate, AGM spiral, or gel batteries, compatible with cars, SUVs, Pickups, Boats, Motorcycles and etc. Provide overall analysis of batteries’ health and help you know its status in advance before it dies.
Common Problems and Solutions
- Battery Issues: If the engine cranks slowly or not at all, your battery might be weak or dead. Check the voltage with a multimeter; it should read around 12.6 volts when fully charged. If not, jump-start or replace the battery.
- Fuel Problems: Stale or contaminated fuel can prevent starting. Check the fuel for clarity and odor. If it’s old, drain the fuel tank and refill it with fresh gasoline.
- Spark Plug Failure: A faulty spark plug can lead to ignition issues. Remove the spark plug, inspect it for wear or carbon buildup. Clean or replace it as necessary for optimal performance.
- Safety Switch Malfunctions: If the safety switches, like the seat switch or the blade engagement switch, are malfunctioning, the mower won’t start. Check these mechanisms to ensure they’re in the correct position and functioning properly.
- Clogged Air Filter: A dirty air filter can choke the engine, making it hard to start. Inspect the air filter, clean it or replace it if necessary to ensure proper airflow.
When to Call a Professional
If troubleshooting doesn’t resolve the starting issue, consider reaching out to a professional. Situations like persistent electrical problems, complex engine repairs, or persistent fuel system issues signal that expert help is required. Do not hesitate to consult a local technician who specializes in riding lawn mowers. They can diagnose and repair problems safely and effectively, ensuring your mower is up and running smoothly.
Maintenance Tips for Smooth Operation
Regular maintenance is crucial for keeping your riding lawn mower running smoothly. Here are some key tips to ensure optimal performance.
Check the Oil Level
Check the oil level before each use. Look for the dipstick to determine the oil quality. If the oil appears dirty or low, change it.
Clean the Air Filter
Inspect the air filter frequently. If it’s clogged with dirt or debris, clean or replace it. A clean air filter promotes better engine performance.
Sharpen the Blades
Sharpen the mower blades at least once per season. Sharp blades cut grass cleanly, promoting healthy growth and reducing stress on the mower.
Inspect the Belts and Cables
Check the belts and cables for wear and tear. Replace damaged or fraying belts promptly. Properly functioning cables ensure effective steering and operation.
Battery Maintenance
Keep the battery connections clean and tight. Inspect the terminals for corrosion. If you notice any build-up, clean it with a wire brush.
Fuel System Care
Use fresh fuel in your mower. Old or contaminated fuel can lead to engine problems. Drain fuel at the end of the mowing season if you won’t use the mower for a while.
Tire Pressure Check
Check the tire pressure monthly. Properly inflated tires provide better traction and a smoother ride. Refer to the user manual for the correct pressure specifications.
Regular Cleaning
Clean the mowing deck after each use. Grass clippings can build up and cause rust. A clean deck improves airflow and cutting efficiency.
Implementing these maintenance tips enhances your mower’s longevity and ensures a smooth operation every time you head out to mow.
Conclusion
Getting your riding lawn mower cranked and ready for action doesn’t have to be a hassle. By following the steps outlined and keeping up with regular maintenance you can enjoy a smooth start every time.
Remember that a little preparation goes a long way in ensuring your mower runs efficiently. Whether it’s checking fuel levels or inspecting the battery connections taking these simple steps helps you avoid frustration down the road.
When in doubt don’t hesitate to reach out for professional help if you encounter persistent issues. With a bit of care your mower will be your reliable partner in keeping your lawn looking its best. Happy mowing!
Frequently Asked Questions
What are the main reasons a riding lawn mower won’t start?
Many factors can prevent a riding lawn mower from starting, including battery issues, low fuel, dirty spark plugs, and malfunctioning safety switches. Regular maintenance and checks can help avoid these issues.
How can I prepare my lawn mower for starting?
Before cranking your riding lawn mower, check the fuel and oil levels, inspect the battery and connections, and ensure the parking brake is engaged. Following these steps can promote a smooth start.
What maintenance steps should I take for my riding lawn mower?
Regular maintenance includes checking oil levels before each use, cleaning or replacing the air filter, sharpening blades seasonally, and inspecting belts and cables. Consistent upkeep enhances performance and longevity.
When should I call a professional for lawn mower repairs?
Seek professional help for persistent electrical issues, complex repairs, or if you’re uncomfortable troubleshooting. Expert assistance ensures your mower operates safely and effectively.
What safety features should I look for in riding lawn mowers?
Key safety features include seatbelts, rollover protection systems, blade brakes, safety switches, reflectors, and emergency stop mechanisms. These features enhance user safety during operation.