

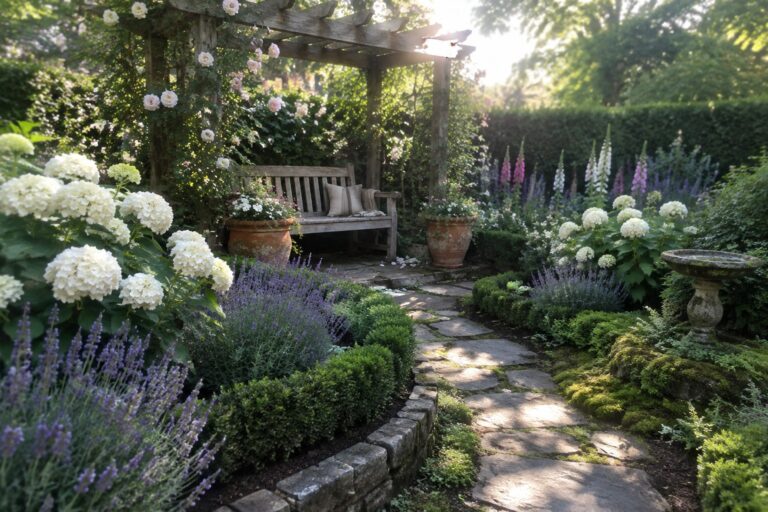
I have learned that a backyard garden starts to feel more complete once the planting beds get some actual layers instead of everything sitting at the same height.
Working with different plant heights and textures right from the beginning shapes how the space feels as you walk through it and how it matures over the seasons.
Pathways and simple edging play a quiet but steady role in holding the whole layout together without drawing too much attention.
Layering is worth trying.
In my own yard I would begin by testing a few beds near the seating area to see how the structure holds up through a full year.
Layer Plants Along Garden Paths
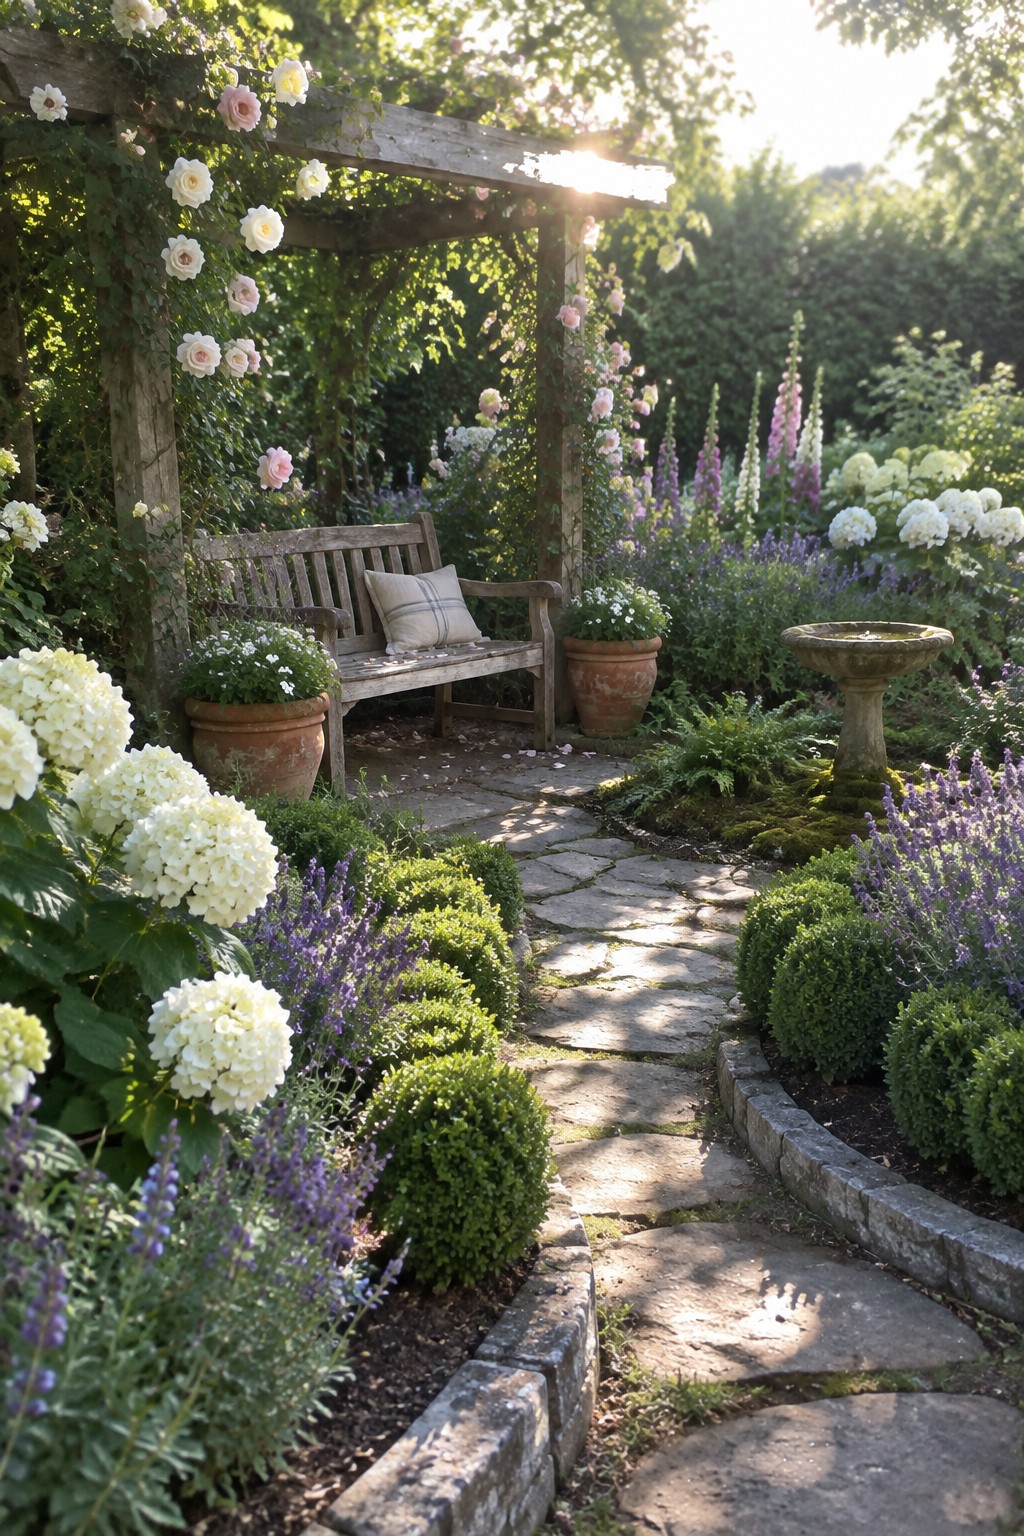
Layered beds give a path more presence without making the garden feel crowded. Low shrubs sit right at the edge while mid-height plants and taller blooms rise behind them, creating a natural frame that changes with the seasons.
This works best in smaller yards where you want the path to feel like part of the garden rather than a separate walkway. Mix a few evergreens with flowering perennials so the layers stay full even in winter.
Metal Edging For Layered Planting Beds
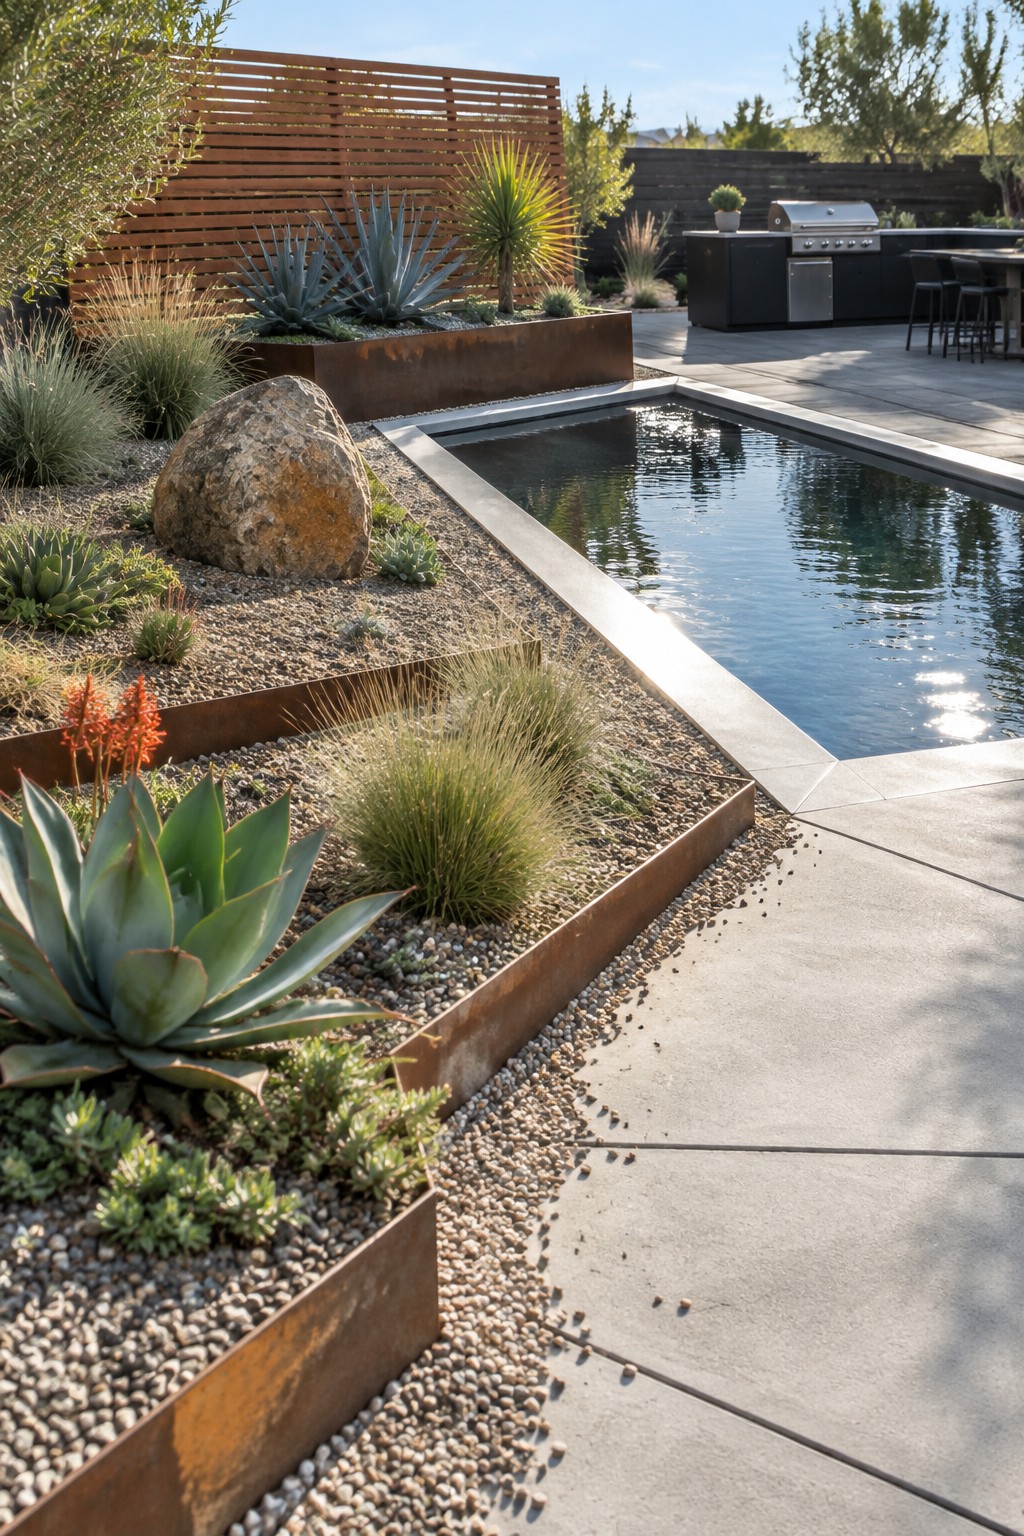
Metal edging gives planting beds a clean, lasting shape while letting you stack different plants in clear layers. The rusted finish blends into the gravel and concrete without standing out too much, and it keeps the beds from shifting over time.
This works best in sunny backyards where you want low care structure around a pool or patio. Keep the beds narrow enough to reach across and use a mix of low ground covers with a few taller accents so the layers stay visible instead of filling in flat.
Layer Planting Beds Around Outdoor Seating

Layered planting beds give an outdoor seating area a settled, full look without needing a huge yard. Mixing taller shrubs and small trees with mid-height perennials and low flowers creates depth that makes the space feel more private while still open to the view.
This works best on patios that sit right against the garden edge. Use large pots near the seating to start the layers, then fill beds behind them with plants of different heights so nothing feels flat or sparse. Keep taller pieces to the back so they frame rather than block the area.
Layer Plants Along Low Stone Walls
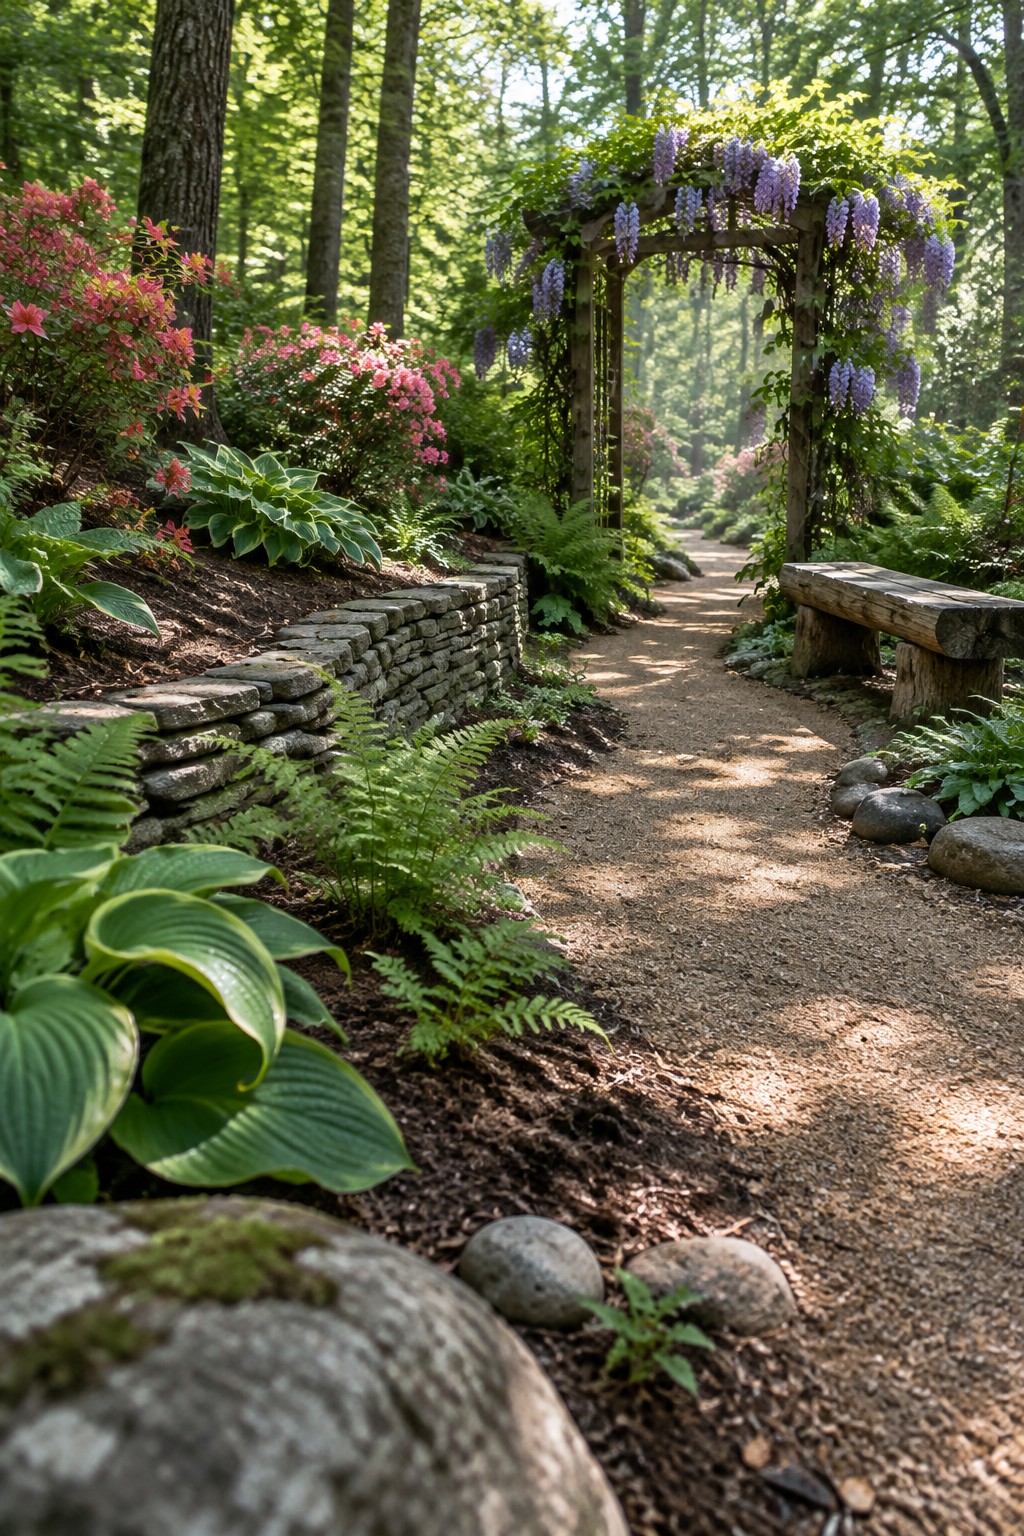
A low stone wall gives you a simple way to build layers in a garden bed without much fuss. It holds the soil in place and creates a clear edge that lets taller plants sit behind shorter ones, so everything shows up instead of getting lost in a flat mix.
This works best on sloped yards or along paths where you need a bit of structure. Keep the wall low, around knee height, and fill the bed behind it with ferns at the front, then hostas and taller shrubs farther back. The stones add just enough hardscape to make the planting feel intentional.
Raised Beds With Layered Planting

Raised beds with layered planting give a garden a clear shape while keeping it full and lively. The mix of heights and textures makes the beds feel complete without crowding the space or relying on too many extras.
This setup works best in smaller yards or open areas where you want to mark off planting zones and control growth. Stick with a few plant types at different levels and let the beds do the rest of the work.
Layer Planting Beds With Stone Edging
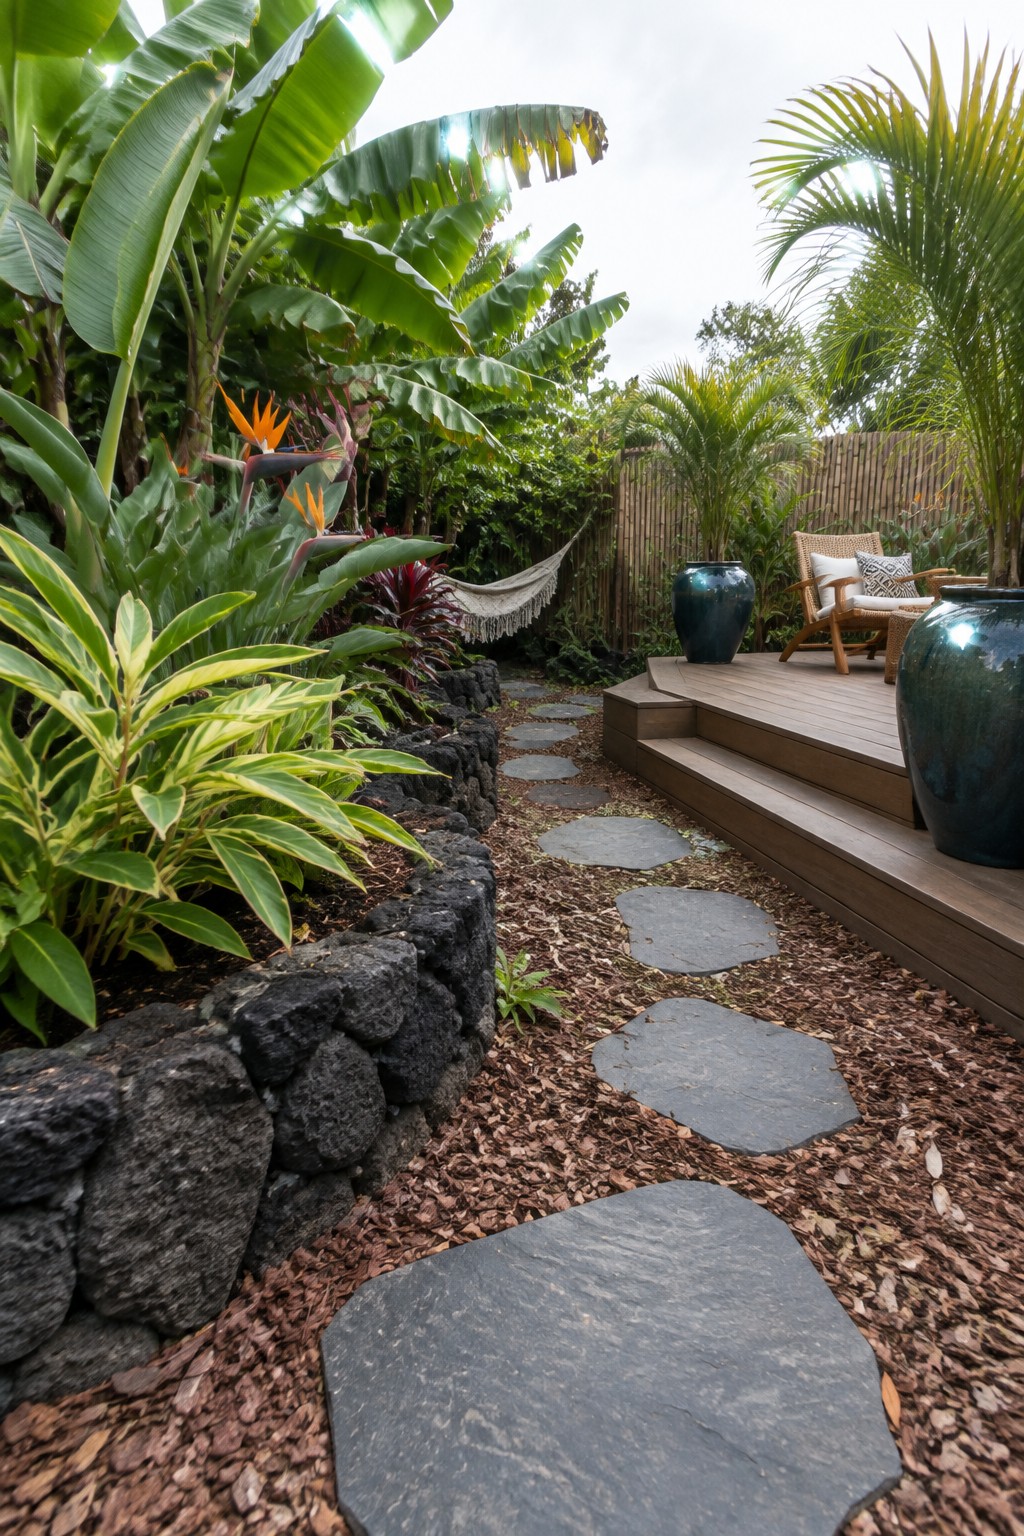
Layering plants by height and texture gives a garden real depth without needing a lot of space. A low rock border holds the beds in place and keeps the mulch from spreading while letting the foliage spill forward in a natural way.
This setup works best in backyard gardens that already have a path running through them. Place taller plants toward the back, mid sized shrubs in the middle, and lower leafy varieties up front so the layers stay visible from the walkway.
Layered Planting Beds Add Depth To A Garden
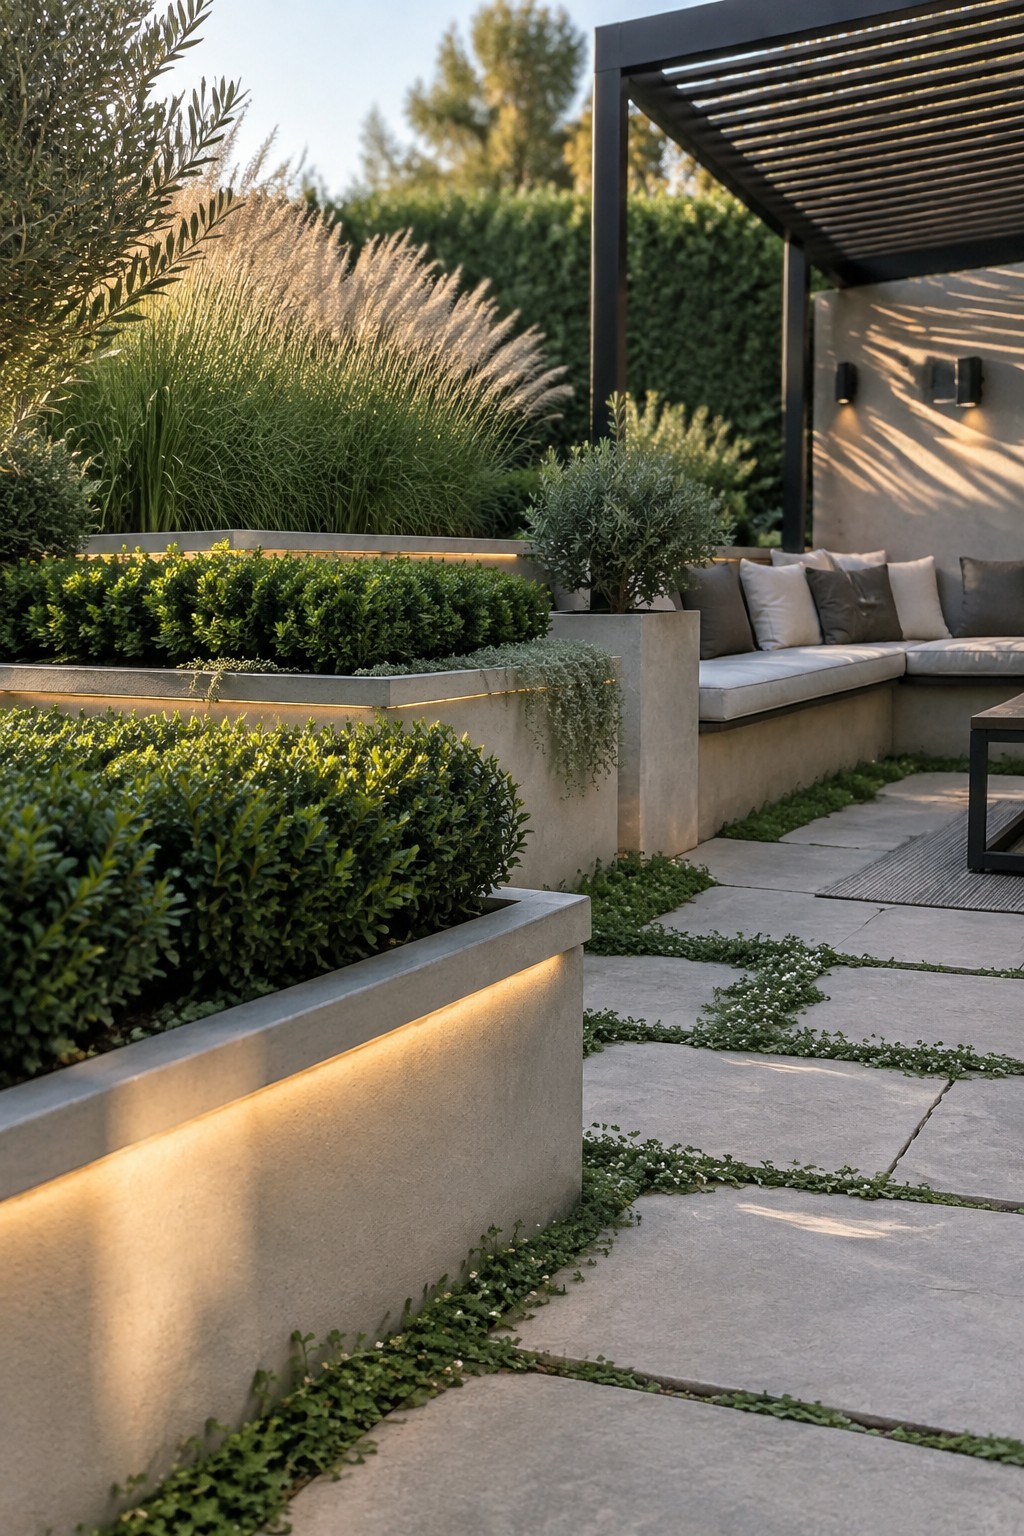
Raised concrete beds let you stack plants at different heights so the garden feels fuller and more interesting. Low ground covers spill over the edges while taller shrubs and grasses sit higher up, creating that natural layered look without crowding the space.
This approach suits smaller yards or modern backyards where clean lines matter. Place the beds along paths or seating areas, keep the plant mix simple, and add a few lights along the edges so the layers stay visible in the evening.
Raised Beds For Layered Planting
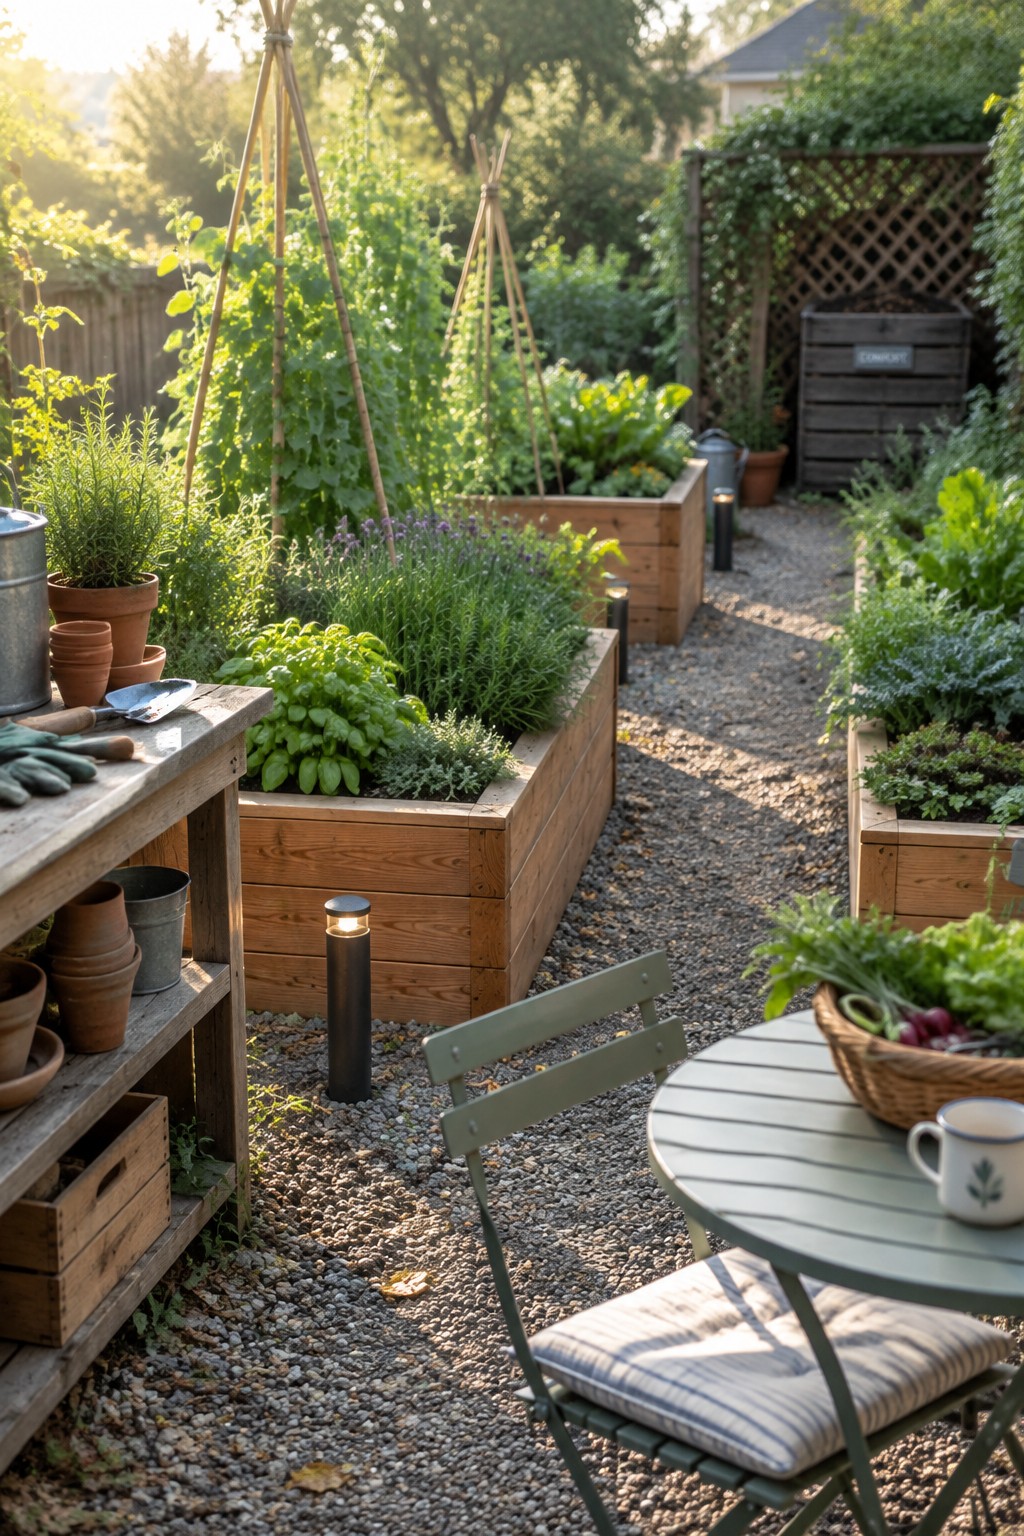
Raised beds give you a simple way to layer plants by height and type in one contained space. Taller crops stay in the back, mid-size herbs fill the middle, and low growers line the edges, which keeps the beds full and productive without looking messy.
They suit most backyard layouts because the wood frames hold the soil neatly and make it easier to reach everything. Place them along gravel paths so you have room to walk and tend the plants without compacting the beds.
Curved Brick Edging For Layered Beds
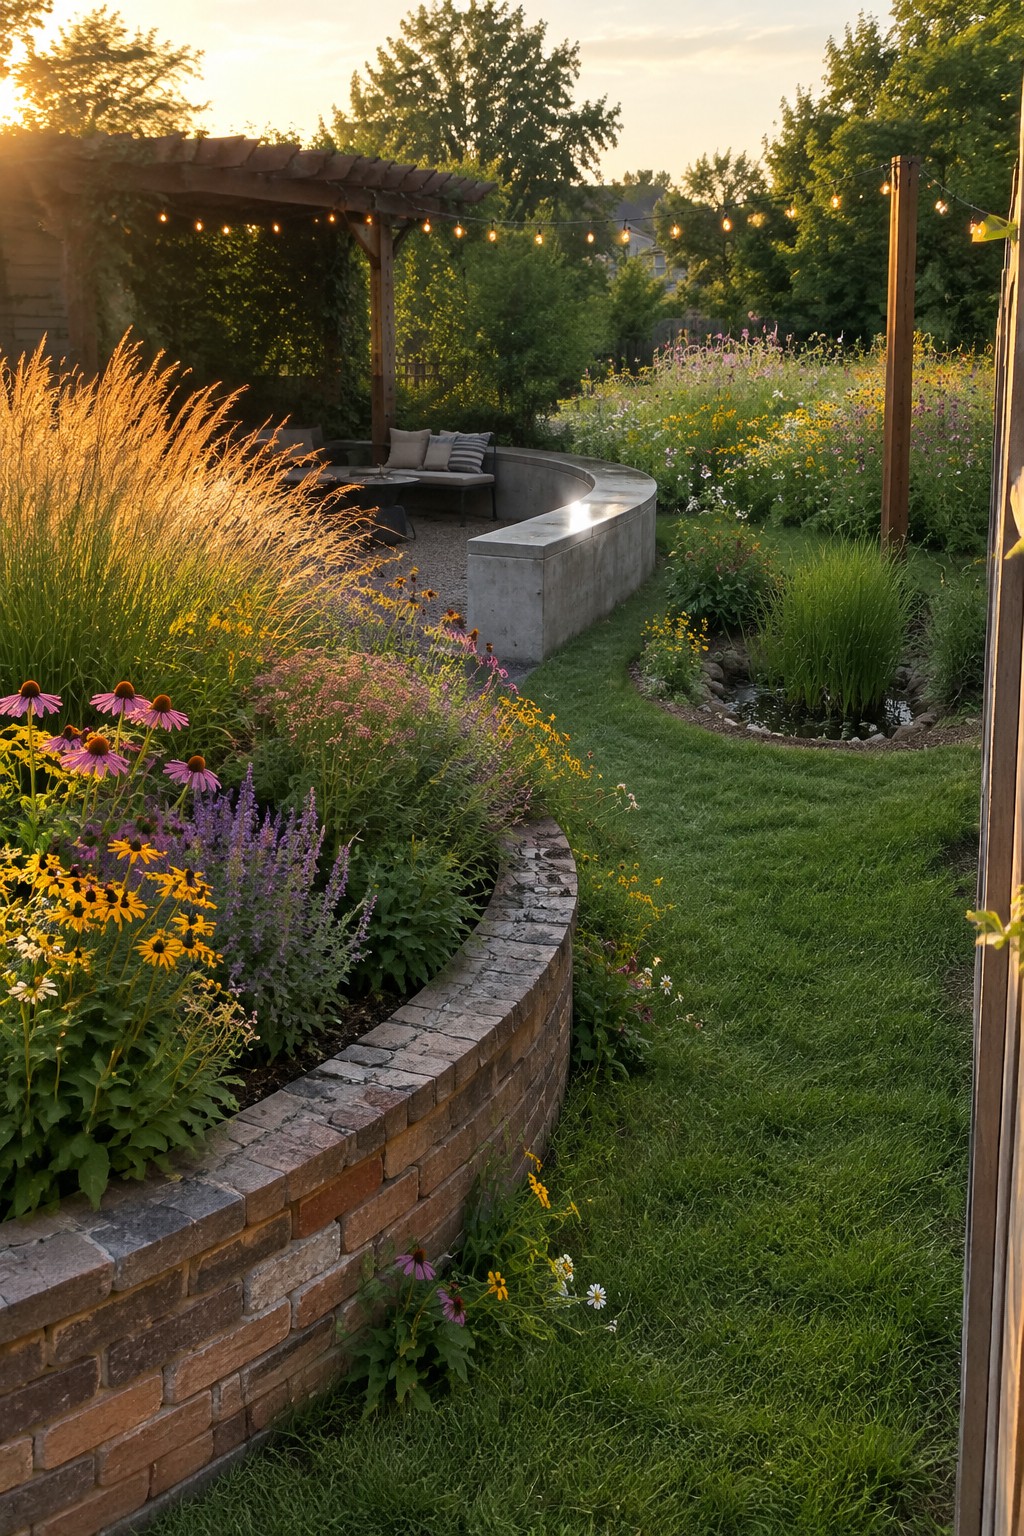
Curved brick borders give a garden a softer shape and make it easier to layer plants at different heights. The low brick walls here keep the beds tidy while letting taller grasses and shorter flowers sit together without looking crowded.
This approach suits backyards that already have some hardscape like paths or seating walls. Keep the curves gentle, use a simple brick or stone edge, and plant in drifts so the layers show up from a distance.
Layer Shrubs by Height Around Water Features
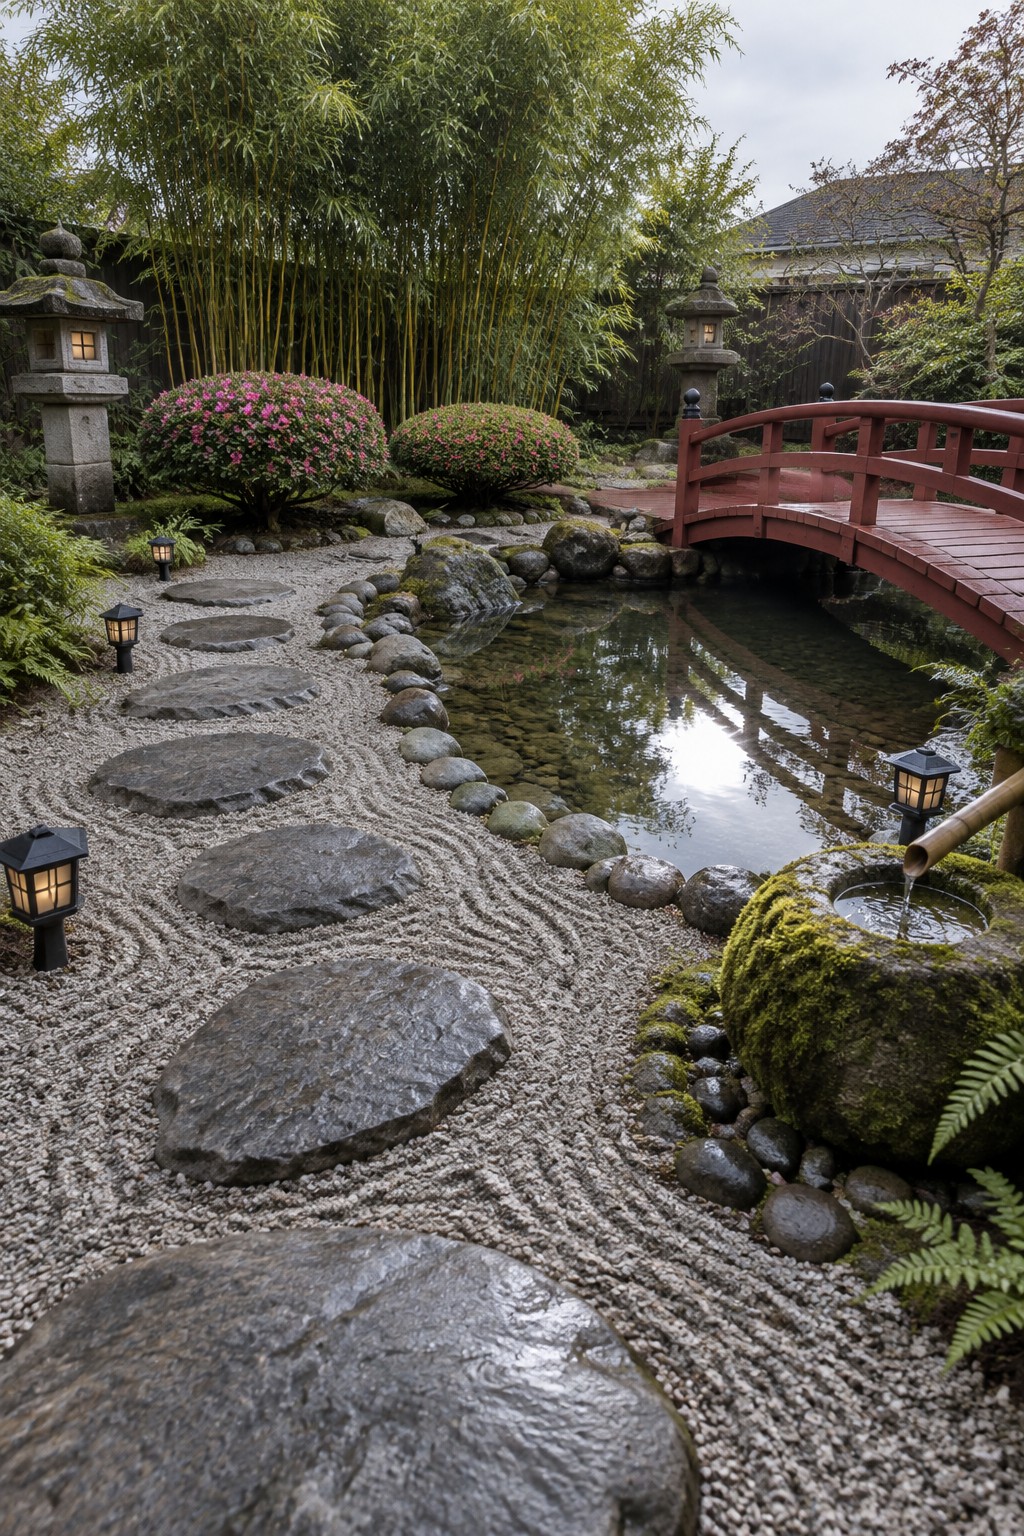
Grouping plants in layers of different heights gives a garden more depth without needing a lot of extra space. Low ferns and groundcovers sit near the water, medium shrubs fill the middle, and taller bamboo or trees form the back line. This setup makes even a small backyard feel more established and balanced.
It works well in most home gardens that already have a pond or wet area. Keep the lowest plants closest to the edge, then step up the sizes as you move back. Avoid overcrowding the front layer or the whole effect starts to look messy.
Layer Plants by Height for More Depth

Many backyard beds end up looking flat when all the plants sit at one level. Layering taller stems in the back, midsize flowers in the middle, and low grasses or ground covers in front adds depth without needing a lot of extra space.
This approach works especially well along a path, where the eye can move through the layers as you walk. It suits most home gardens and helps keep the beds looking full even when some plants finish blooming.
Raised Beds For Layered Planting

Raised beds give you a simple way to build layers without the plants fighting for space. The wood frames keep everything contained so you can mix taller stems at the back with lower spreading plants in front.
They suit narrow yards best because the beds run along the edges and leave room for a path down the middle. Keep the soil mix rich and add plants in stages so the layers fill in over a season or two.
Curved Raised Beds For Layered Planting
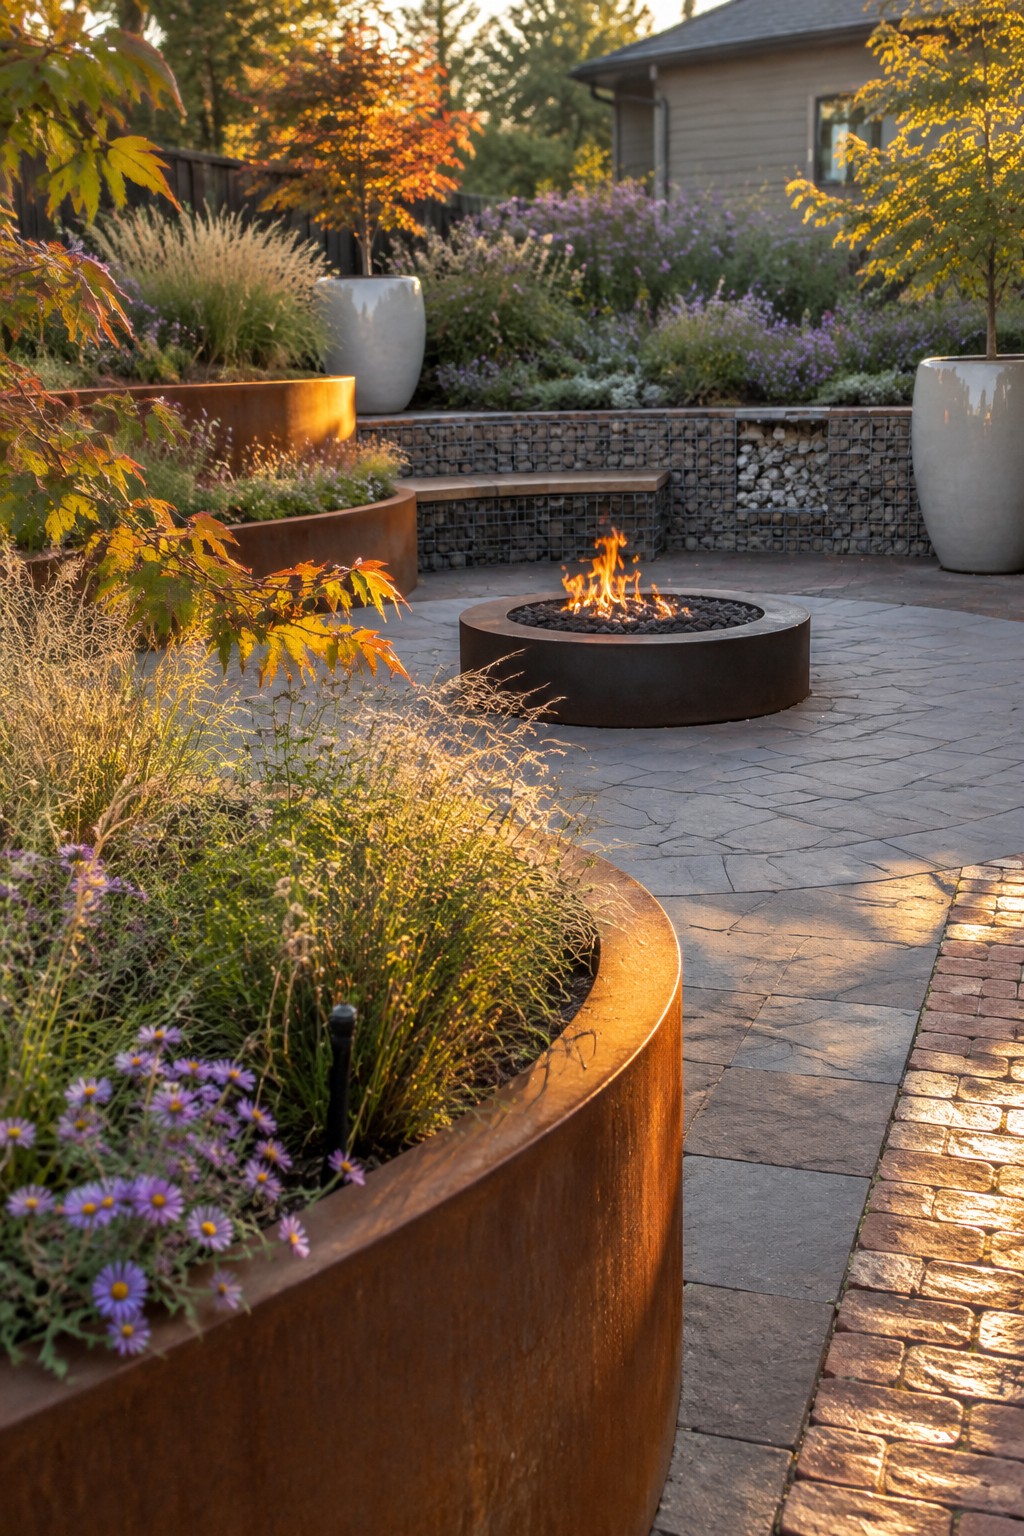
Curved metal raised beds give a garden clear structure while still letting plants grow in layers. The rounded edges make it easier to group taller grasses behind shorter flowers without the whole bed looking boxy or flat.
This setup works especially well in backyards that need to feel both organized and soft. Keep the beds at least a foot deep so the root systems of the taller plants have room, and stick to two or three main plant heights so the layers stay easy to read.
Layered Raised Beds On A Slope
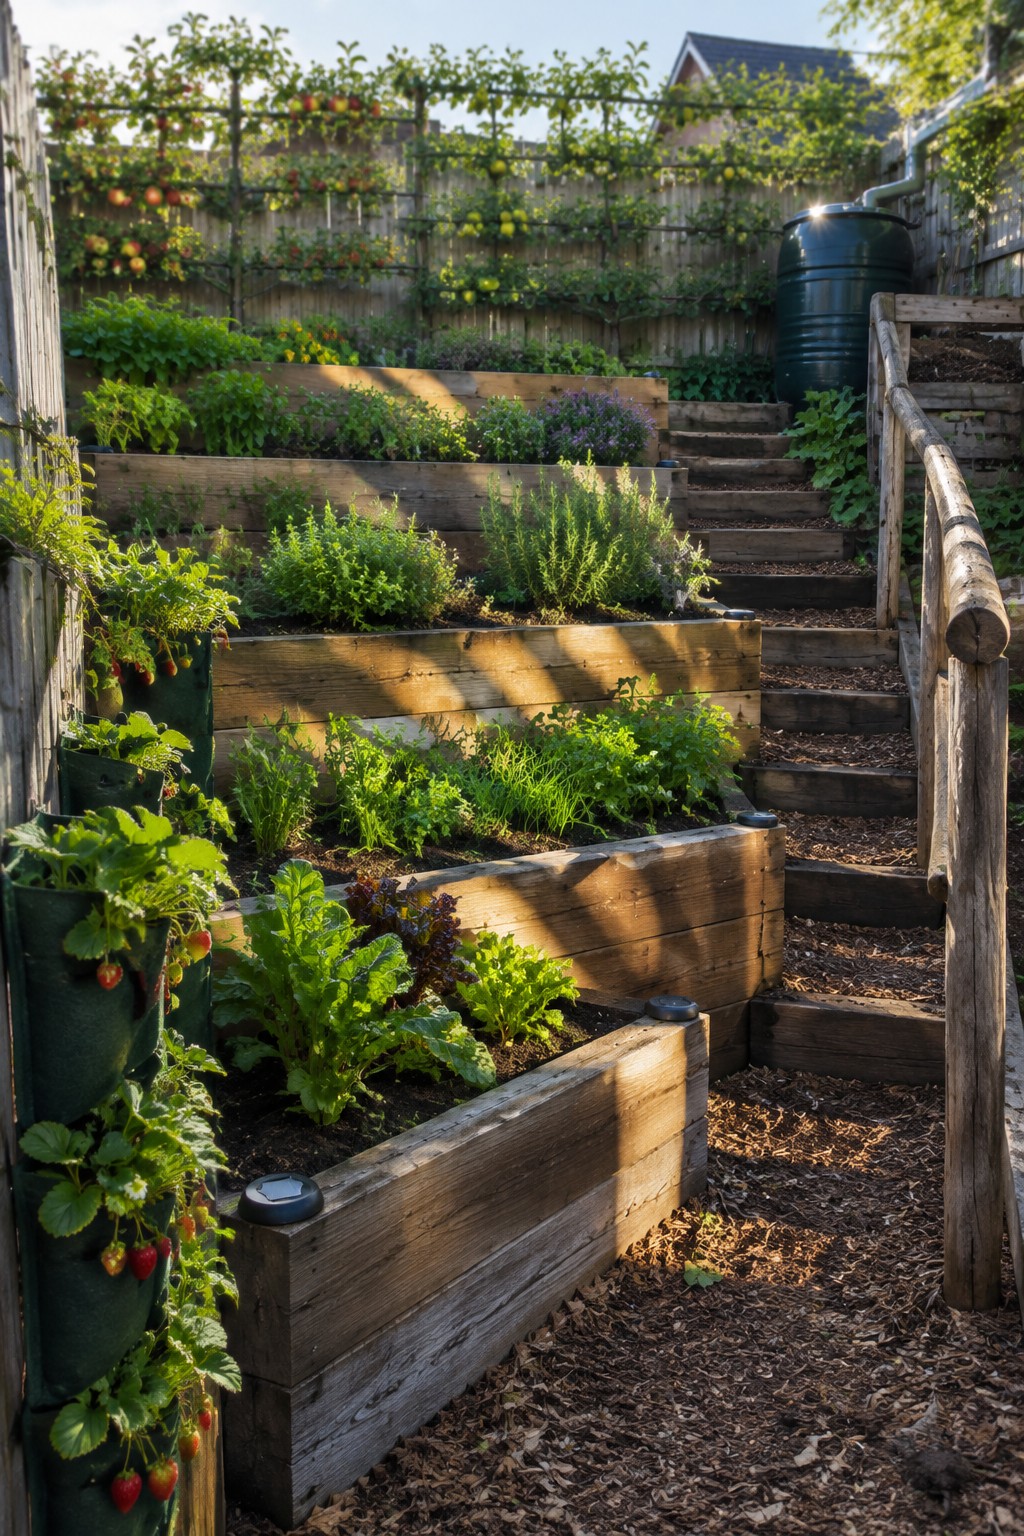
Raised beds stacked in tiers make the most of a sloped yard without losing planting space. The levels keep soil in place and let you grow different plants at each height, which adds variety without crowding one flat area.
This approach suits homes with gentle backyard slopes where a single large bed would feel off balance. Build the frames from sturdy wood and add simple steps between tiers so you can reach everything easily.
Layered Planting Beds Add Depth To A Garden

Layered beds work well because they let you show off more plants in a small area while keeping the look organized. Low shrubs in front, mid height flowers in the middle, and taller shapes behind create that full effect without crowding.
This setup suits most backyard spaces and helps control weeds and water runoff. Stone edging keeps the beds in place and makes it easier to maintain the gravel paths around them.
Terraced Beds Create Layers In The Garden

Terraced beds give a garden more structure by stacking plants at different heights. The stone walls hold the soil and let smaller plants sit lower while taller ones get room to spread above them.
This setup works best on a slight slope or in a compact yard where flat space runs short. Start with one low wall and add pots on the upper level so you can swap plants easily without digging new beds.
Layered Beds Along Paths Add Garden Depth
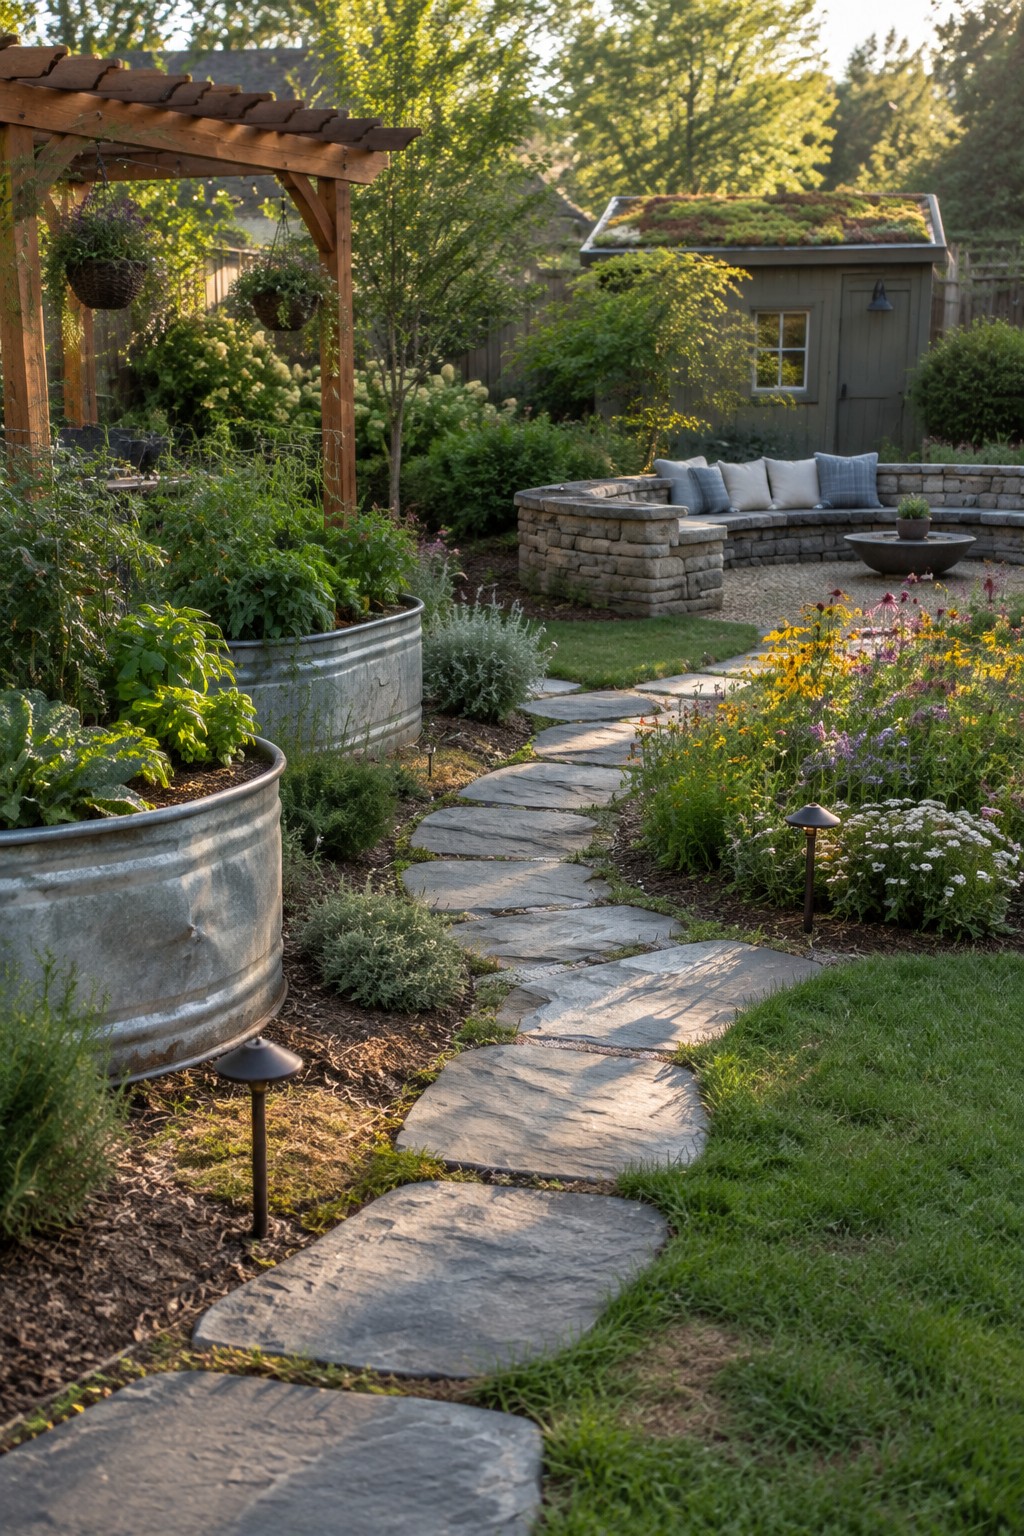
Layering plants by height is one of the simplest ways to make a backyard feel more established without crowding it. In this garden the beds step up from low ground covers and flowers near the path to taller shrubs and leafy containers farther back. That gradual rise gives the space more dimension and keeps the view open while still feeling full.
This approach works especially well along walkways because it guides the eye forward without blocking movement. It suits modest yards best since it packs a lot of planting into a narrow strip. Keep the front layer light and the back layer denser, and use a few sturdy containers to hold the shape through the seasons.
Frequently Asked Questions
Q: How do I pick plants so the layers fill in without crowding each other out? A: Choose one tall backbone plant for the back, then mid-height fillers and low spreaders in front. Space them based on their mature width so each layer has room to grow into the next. Check bloom times too so something always looks full.
Q: What if my soil stays pretty wet after rain? A: Mix in some grit or compost before planting to improve drainage across the bed. Put moisture-loving plants in the lowest layer where water collects most. Skip heavy mulching right against stems until the soil dries out a bit.
Q: Do I need to water each layer differently once everything is in the ground? A: Water the whole bed at the same time and let the top inch dry between soakings. The taller plants usually pull from deeper roots while the front ones catch surface moisture. Adjust only if one section starts to wilt faster than the rest.
