

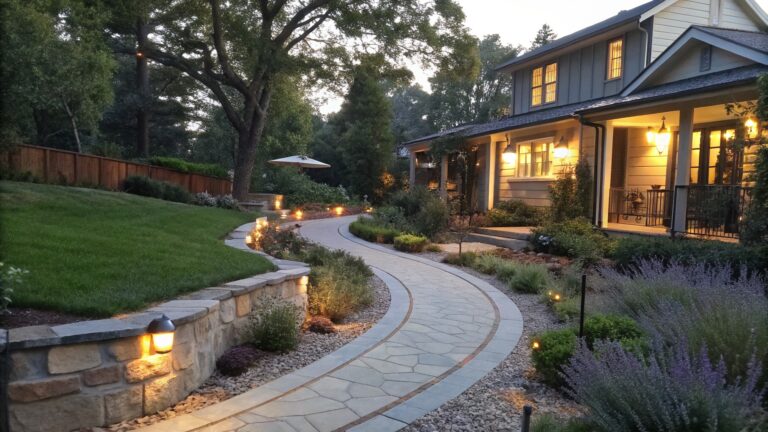
I often find that garden paths become much harder to navigate once the sun goes down if the lighting creates too much contrast along the edges.
The way lights are placed can either highlight the planting beds nicely or turn the whole walkway into a series of bright patches that feel disconnected from the rest of the yard.
In my own space I have learned to check how new fixtures affect the ground level before committing to a full set.
Low glare designs tend to blend the path into the landscape instead of making it stand out like a runway.
Trying one section at a time helps me see what actually improves safety without changing the mood of the garden.
Low Path Lights Along Winding Walkways
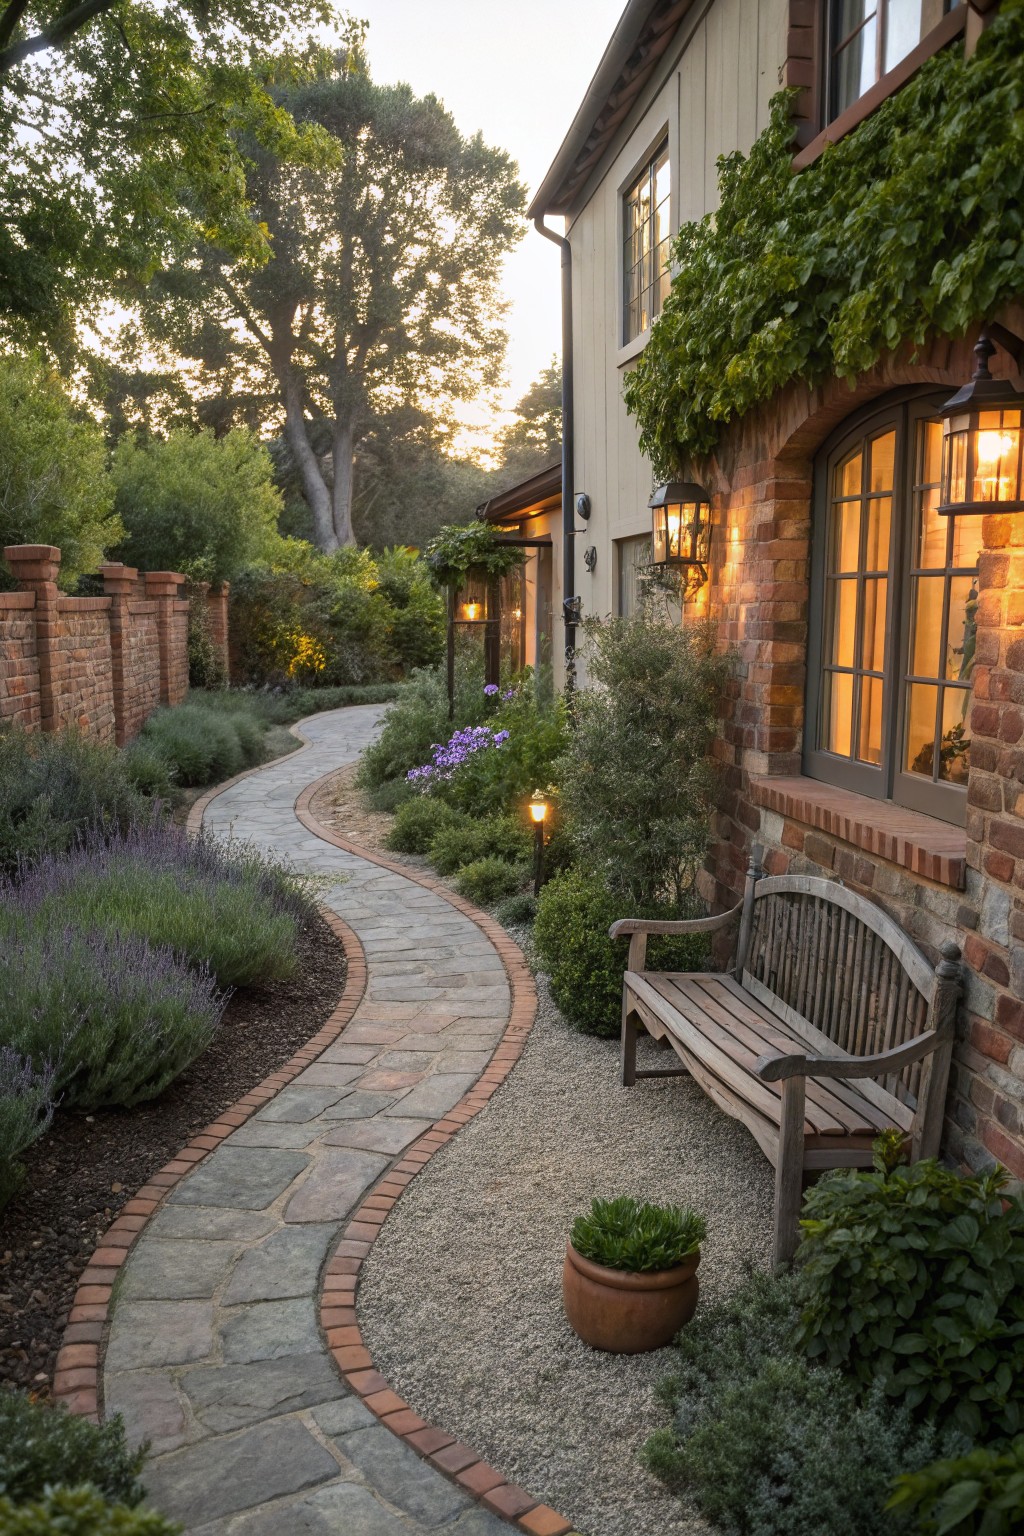
Low lights placed right at the edge of a path give just enough light to walk safely after dark without creating glare. They sit low to the ground so the beam stays focused on the surface underfoot rather than shining into eyes or windows.
This setup works best on curved stone paths that already have a clear border, like brick or gravel edging. Space the lights a few feet apart and angle them slightly inward so the walkway stays visible but the surrounding garden stays softly lit.
Low Lights Along Narrow Garden Paths
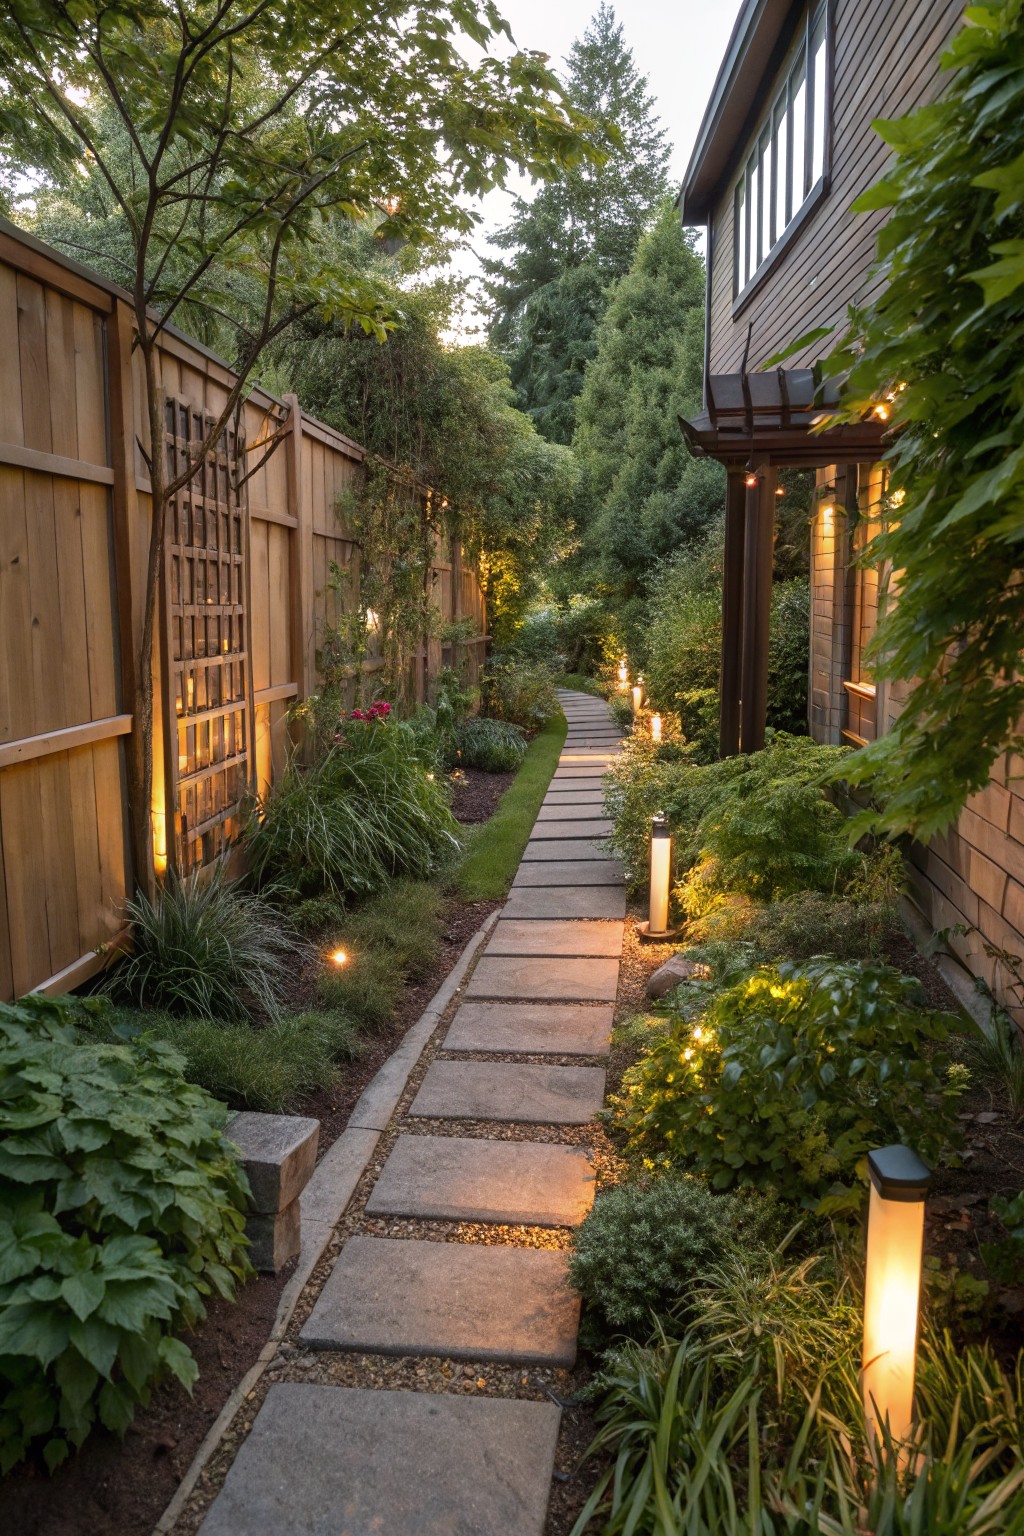
Placing short bollard lights right beside a stone path gives enough light to walk safely at night without creating glare. The fixtures stay low and direct the glow downward, so the light stays on the ground instead of shining into eyes or up into the trees. This setup works especially well in side yards or long garden walks where space is tight and you want to keep the feeling natural.
It suits homes with established landscaping or wooded lots because the lights blend into the planting rather than standing out. Space the lights every few steps and keep them under three feet tall so the path stays easy to follow without looking overdone.
Wall Lights Along Garden Paths
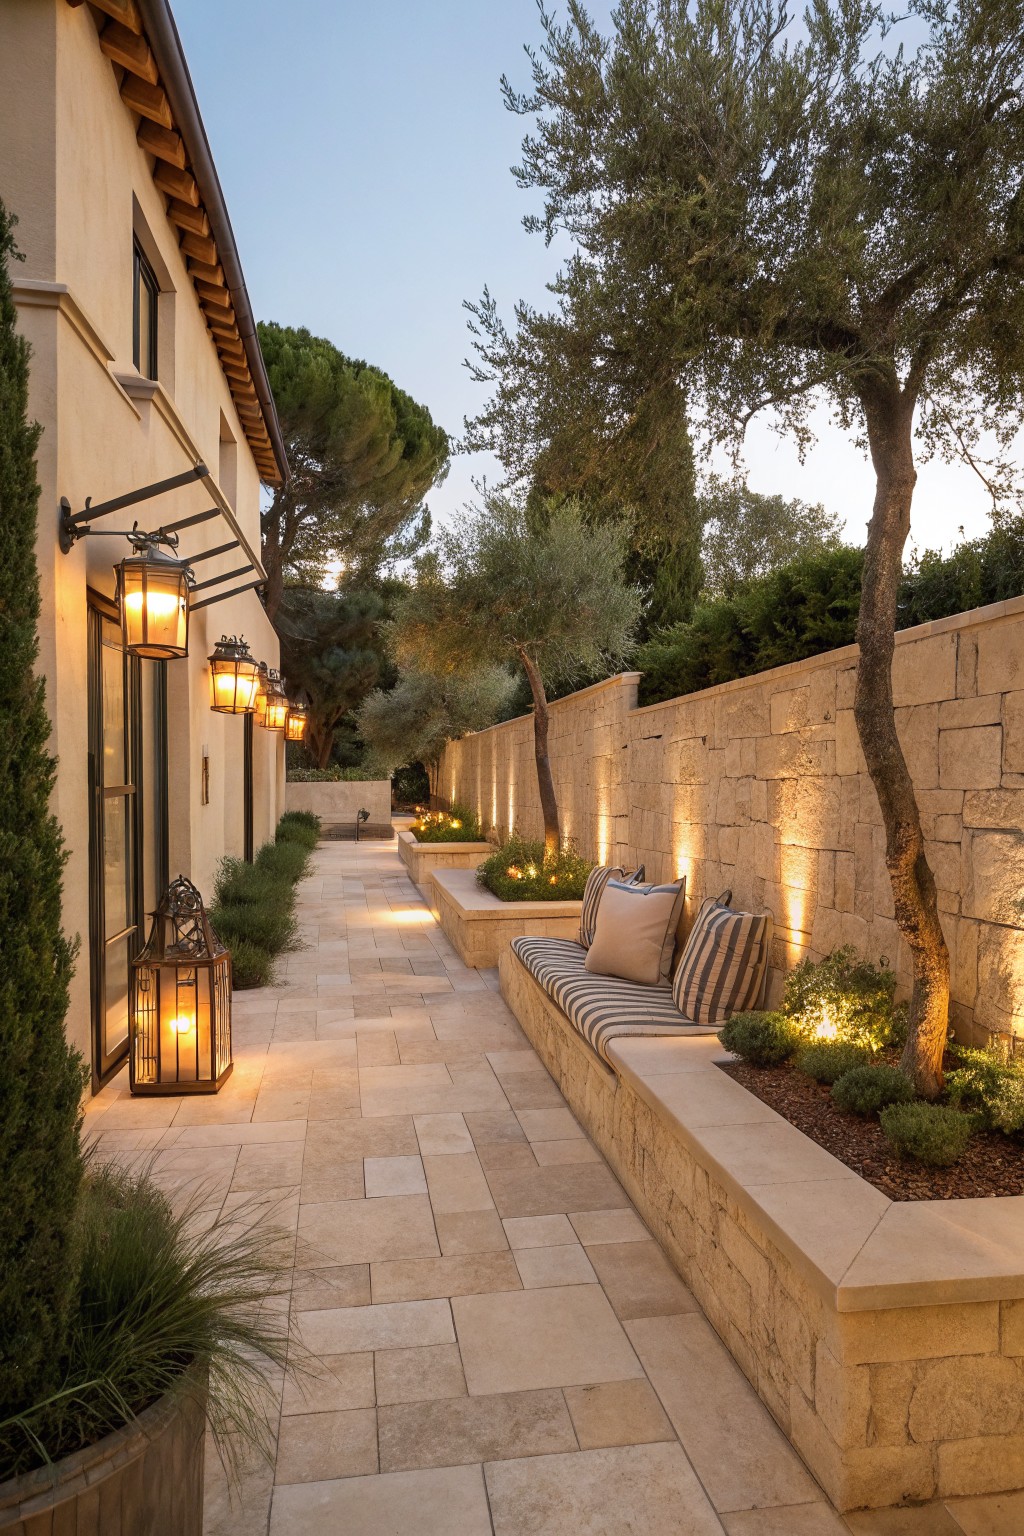
Wall mounted lights work well for garden paths because they direct light downward onto the walkway itself. This keeps the glow low and even so people can see where they are stepping without bright spots hitting their eyes.
The approach suits homes with stone or masonry walls that already run beside a path. Place fixtures at different heights along the wall and add a few lower lanterns near the ground for extra safety on longer stretches.
Lighting a Path from the Side
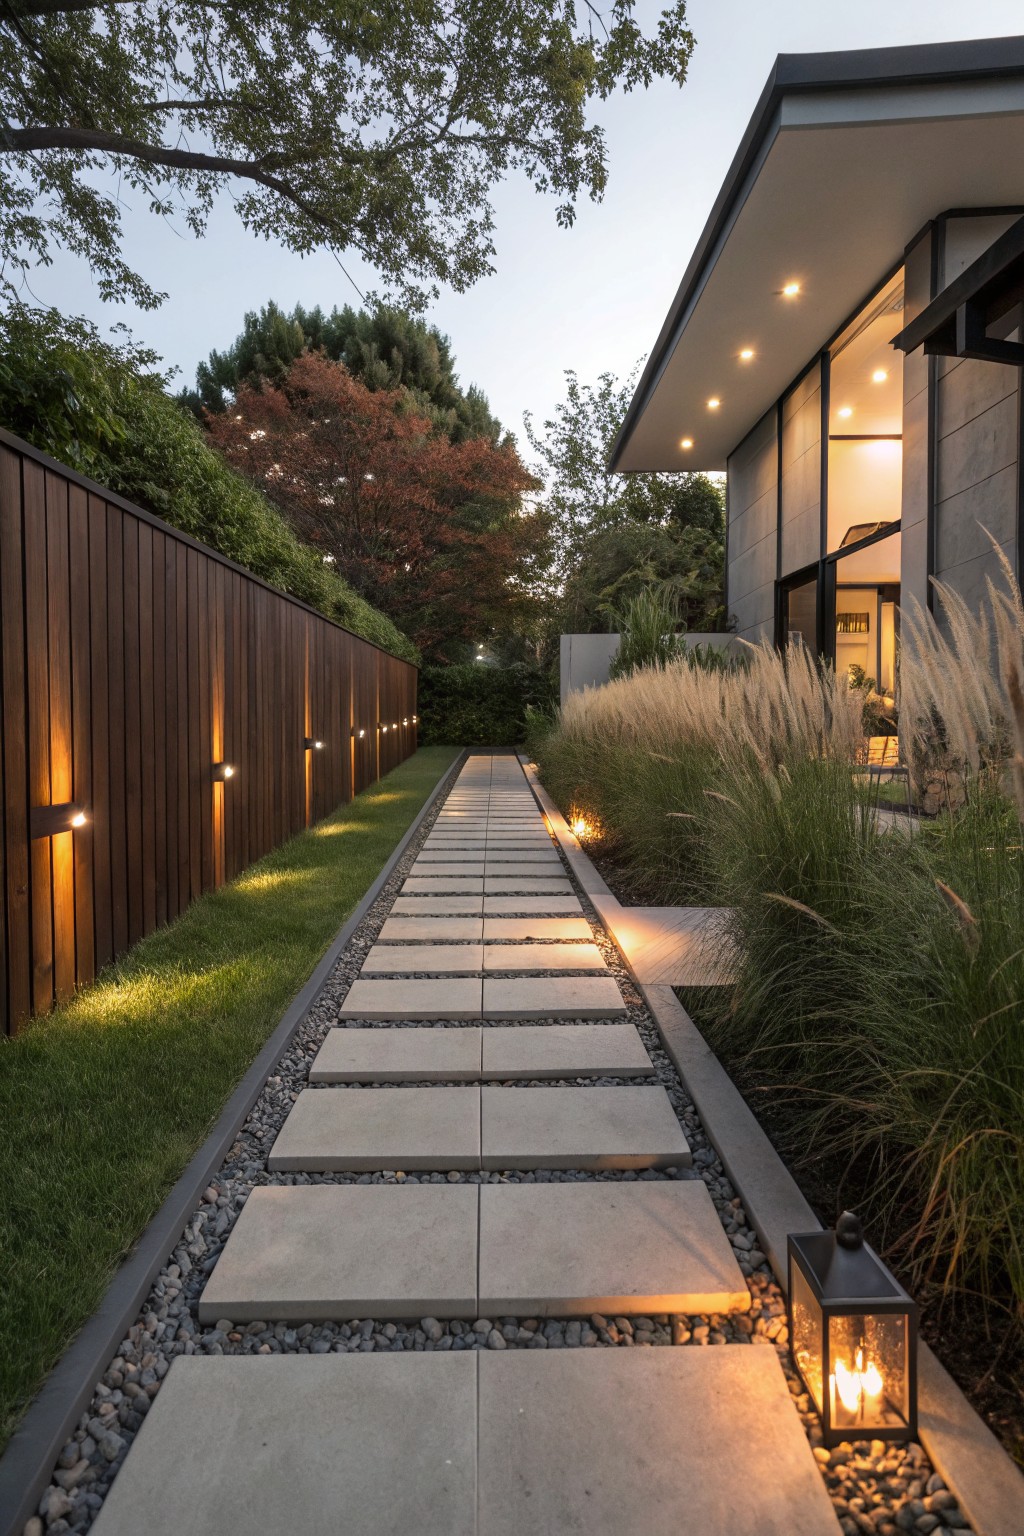
Side lights keep the walkway visible without shining directly at eye level. Placing fixtures low on a fence or wall lets the light wash across the path surface, which reduces glare and makes the route feel more secure after dark.
This setup works best on narrow garden paths that run beside a solid boundary. Space the lights evenly so there are no long shadows between them, and choose warm bulbs that stay gentle on the eyes.
Recessed Step Lights For Safer Garden Paths
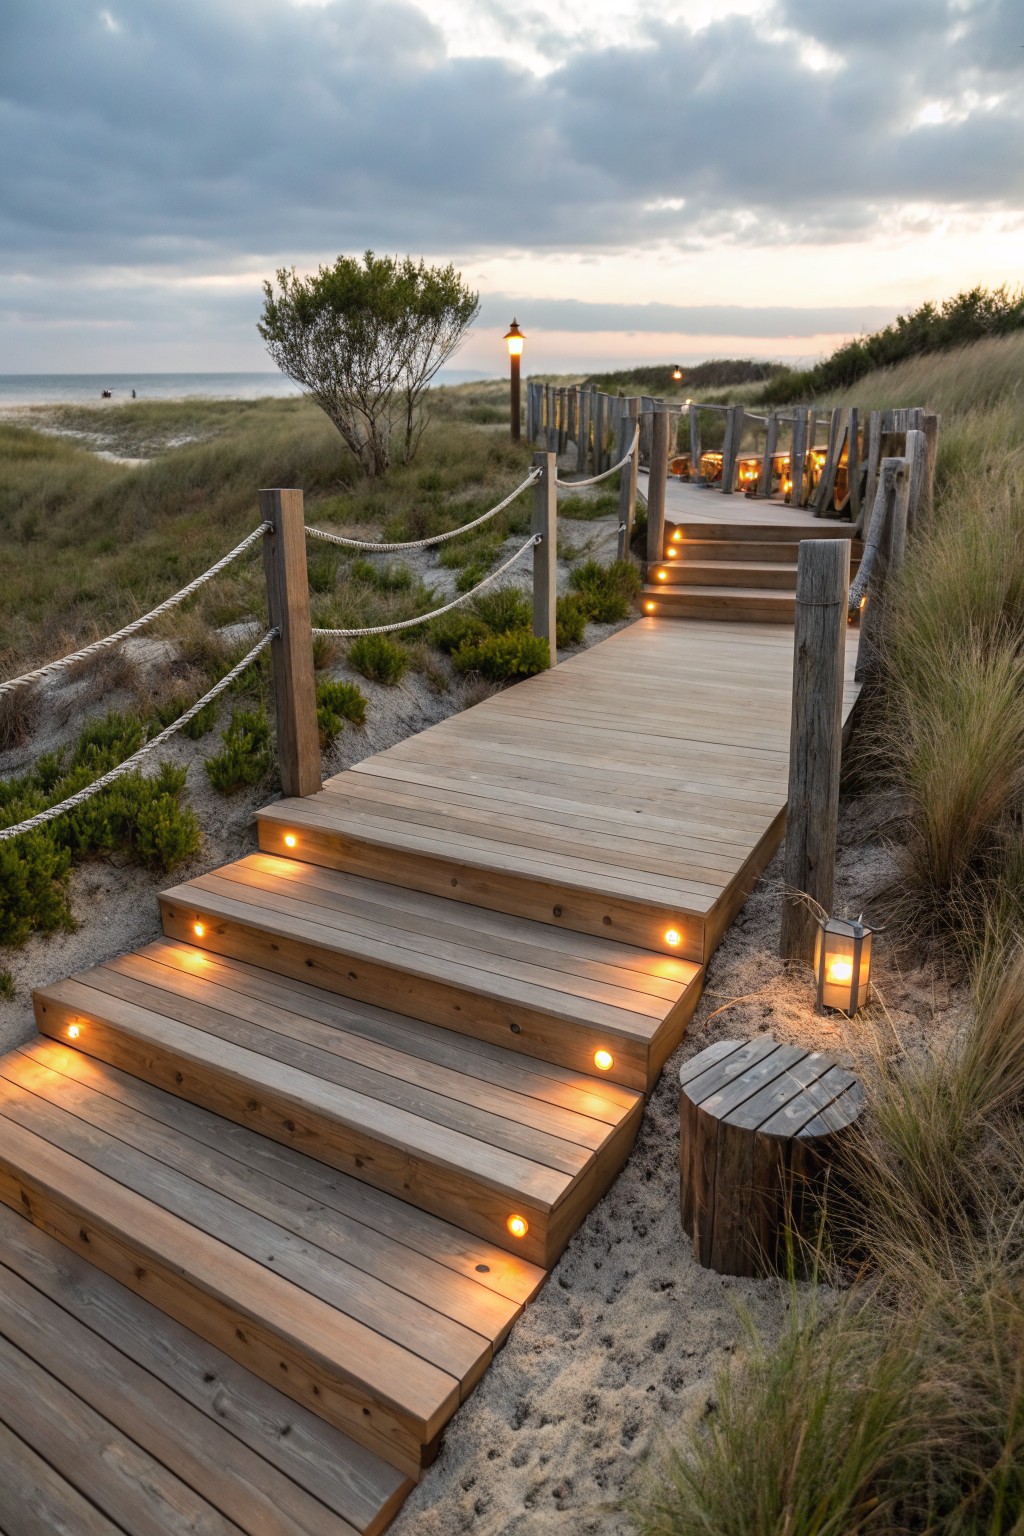
Many people add small lights directly into the front of each step on a raised path. This gives just enough light to see the surface underfoot without shining upward or creating bright spots that make it harder to see at night.
This works best on wooden walkways and deck stairs in gardens or coastal areas. Keep the lights low and warm, and space them evenly so the path stays easy to follow without extra fixtures along the sides.
Low Lights Along Path Edges
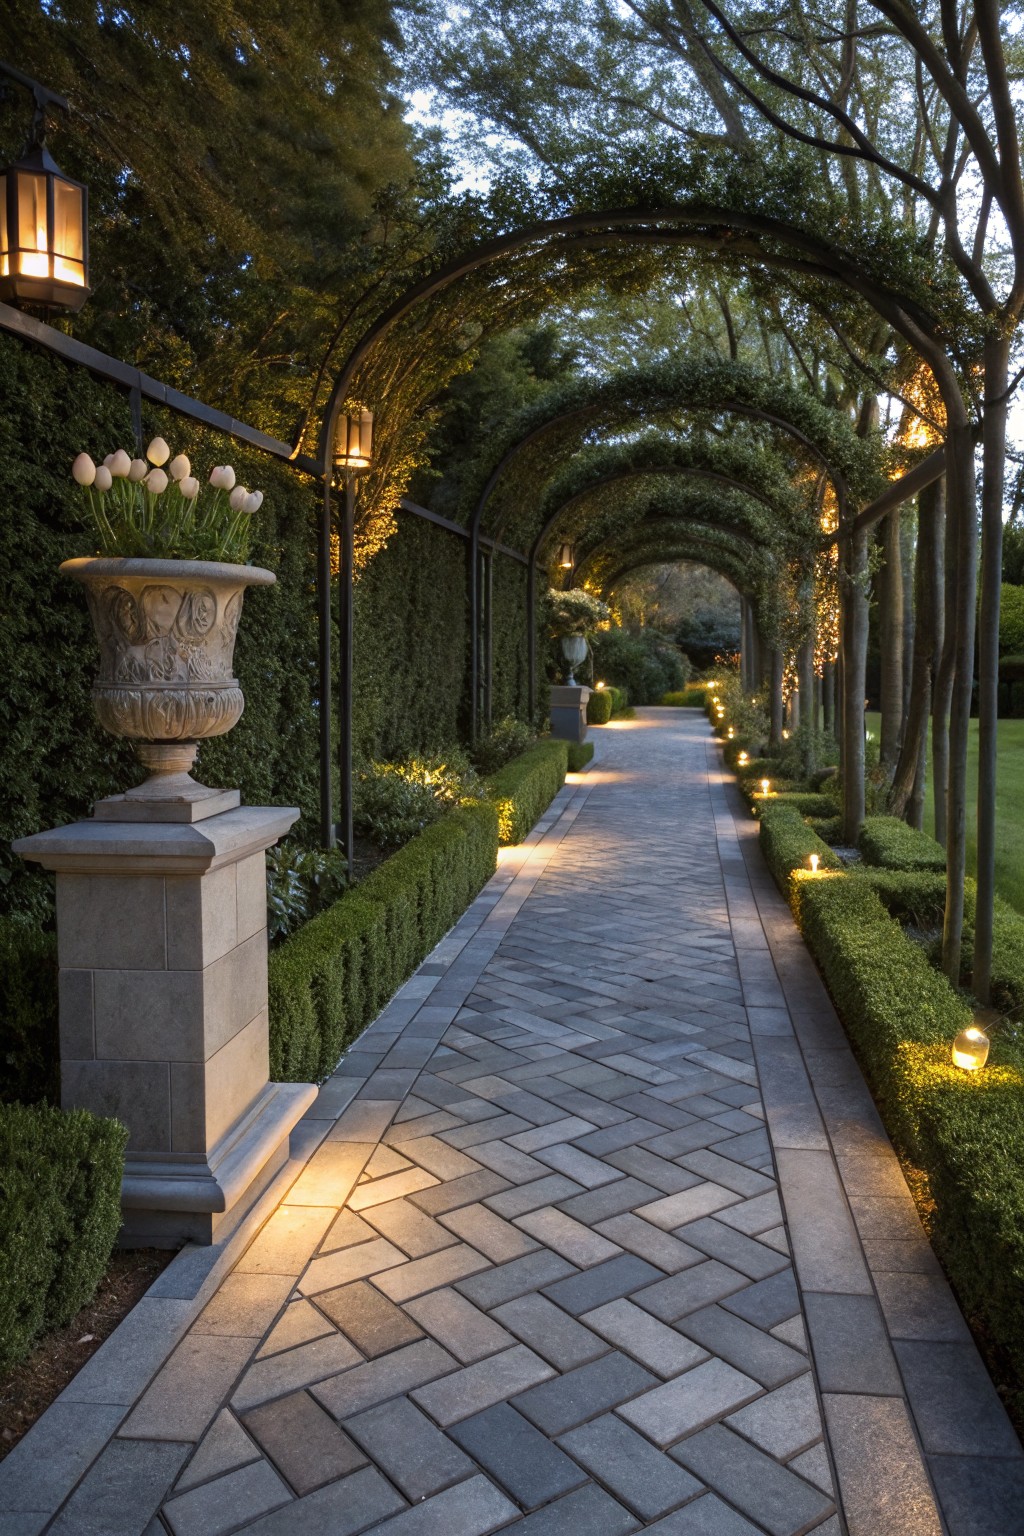
Keeping lights low and close to the ground helps mark the edges of a path without creating glare. Small fixtures tucked along the borders give just enough light to see where you are stepping while leaving the rest of the garden in softer shadow.
This setup works well on longer walkways that lead through trees or hedges. Space the lights evenly and aim them slightly downward so the surface stays visible even on darker nights.
Lighting A Curved Garden Path
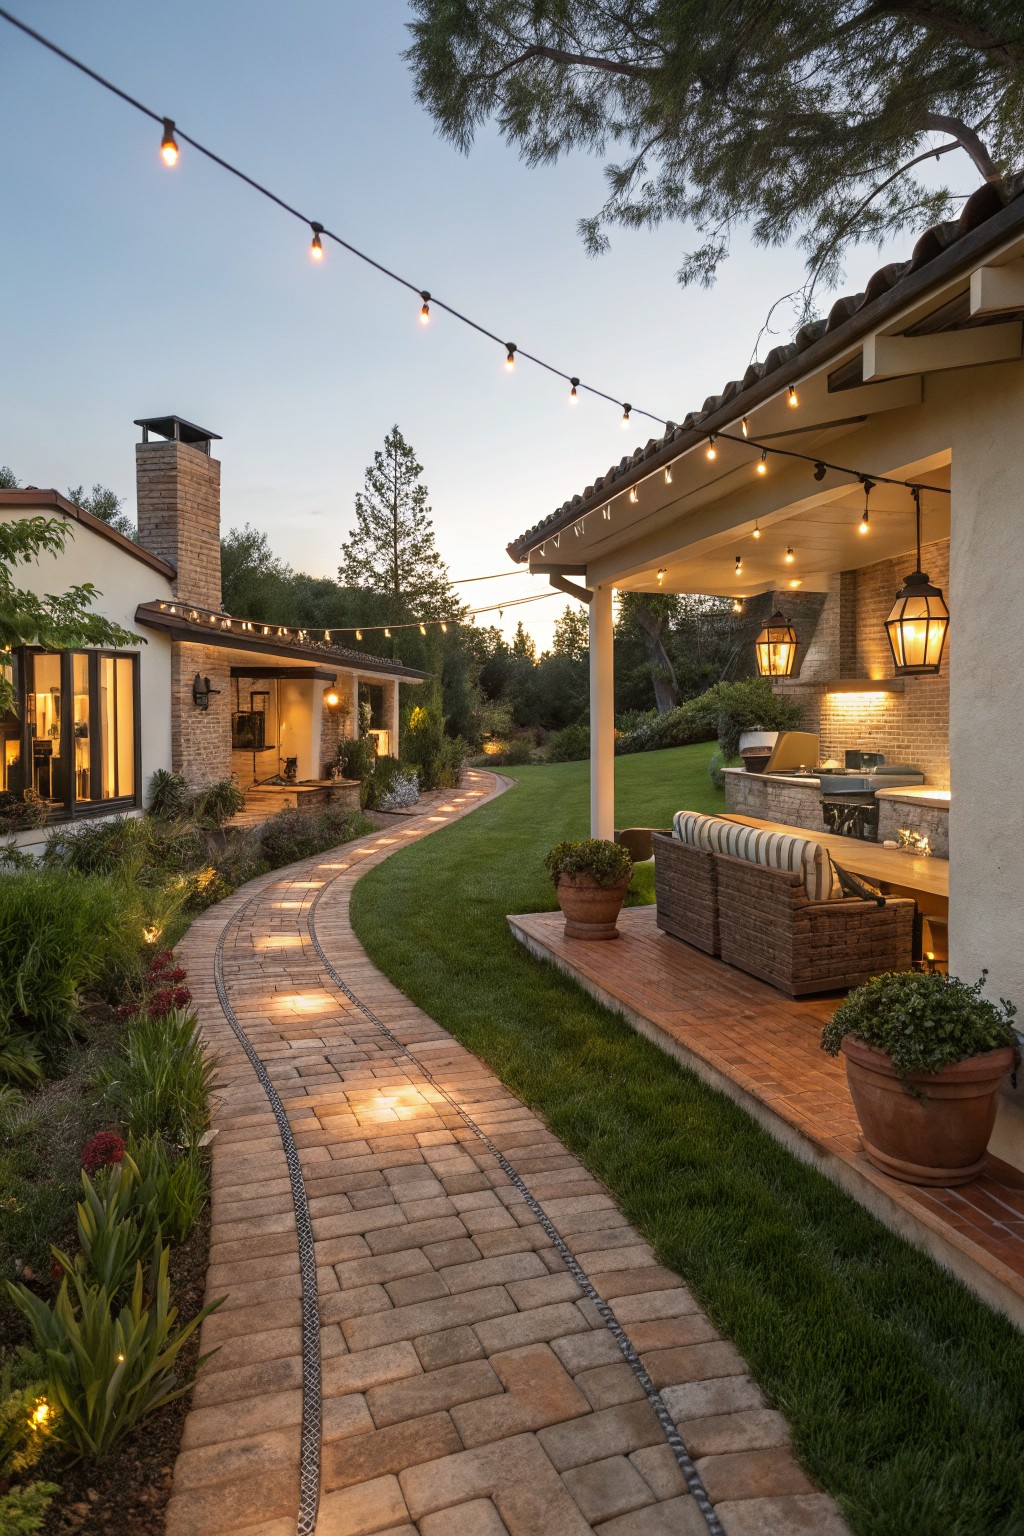
A gently curving path with small lights set right at the edges helps people see where they are going without bright spots hitting their eyes. The low placement keeps the glow on the ground and makes the walk feel steady even when the light is fading.
This approach works well on homes with longer side yards or sloped lots where a straight line would feel too formal. Keep the fixtures small and spaced evenly so the path stays the main focus instead of the lights themselves.
Low Lanterns Along Garden Paths
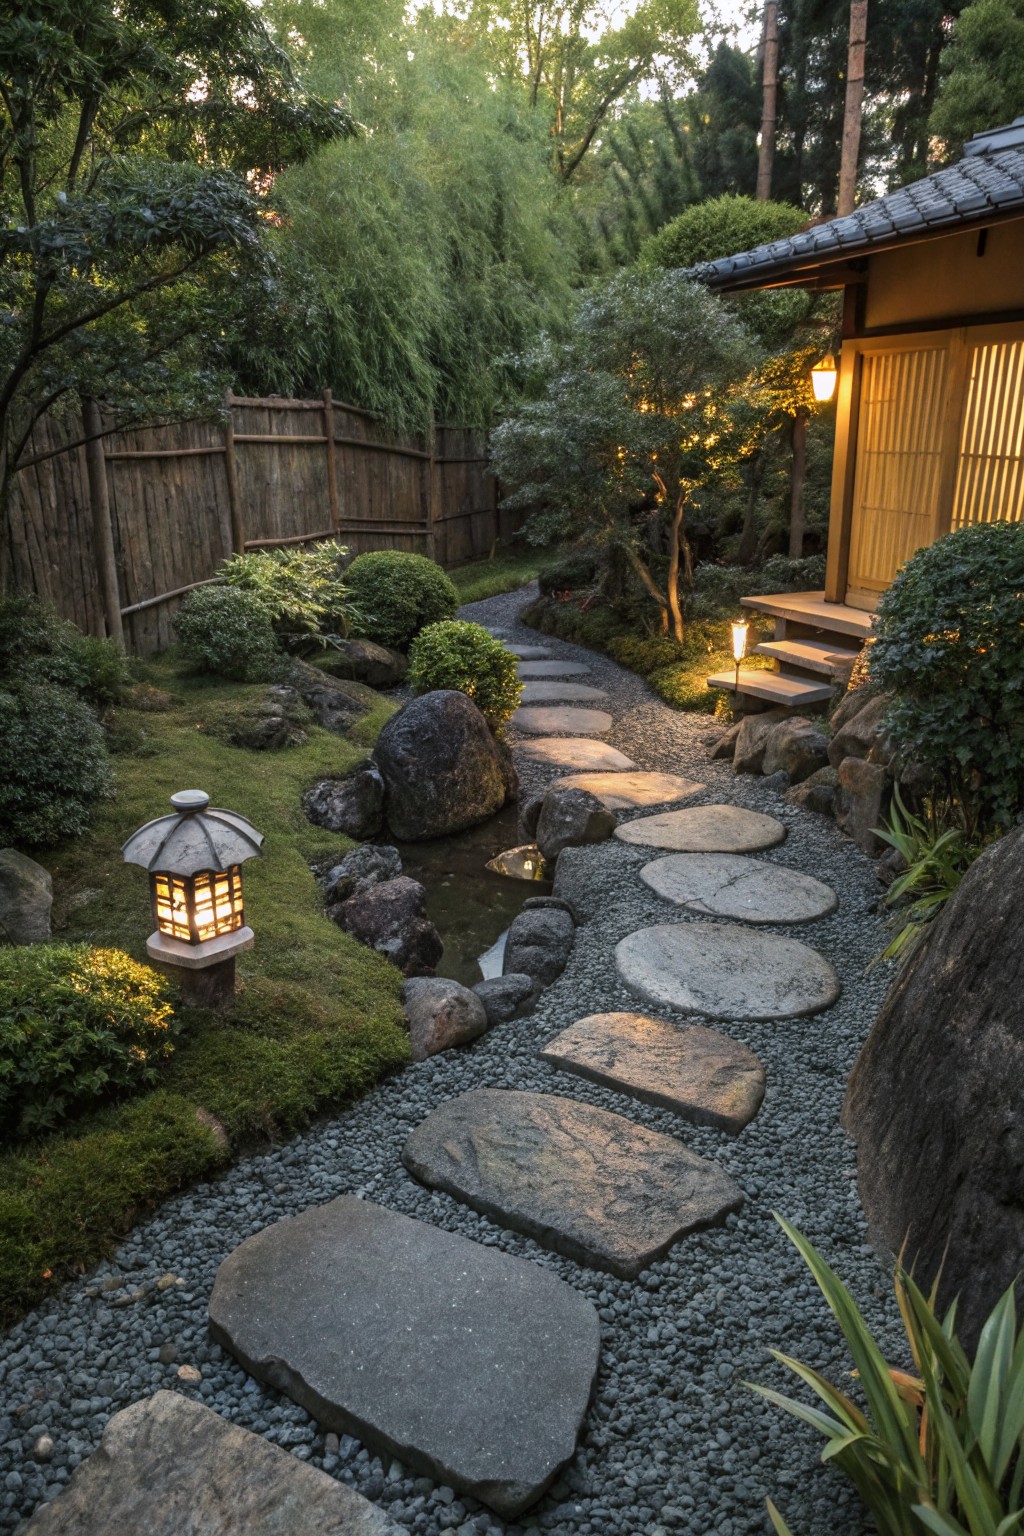
Many people choose low lanterns set right beside a path because they light the ground without creating glare in your eyes. The gentle glow helps you see each step clearly while keeping the rest of the garden feeling calm at night.
This approach works best in smaller yards or along side paths where you want steady footing without bright overhead lights. Place the lanterns every few paces on the outer edge so the light stays low and follows the stones.
Let a Stone Path Wind Through Your Garden
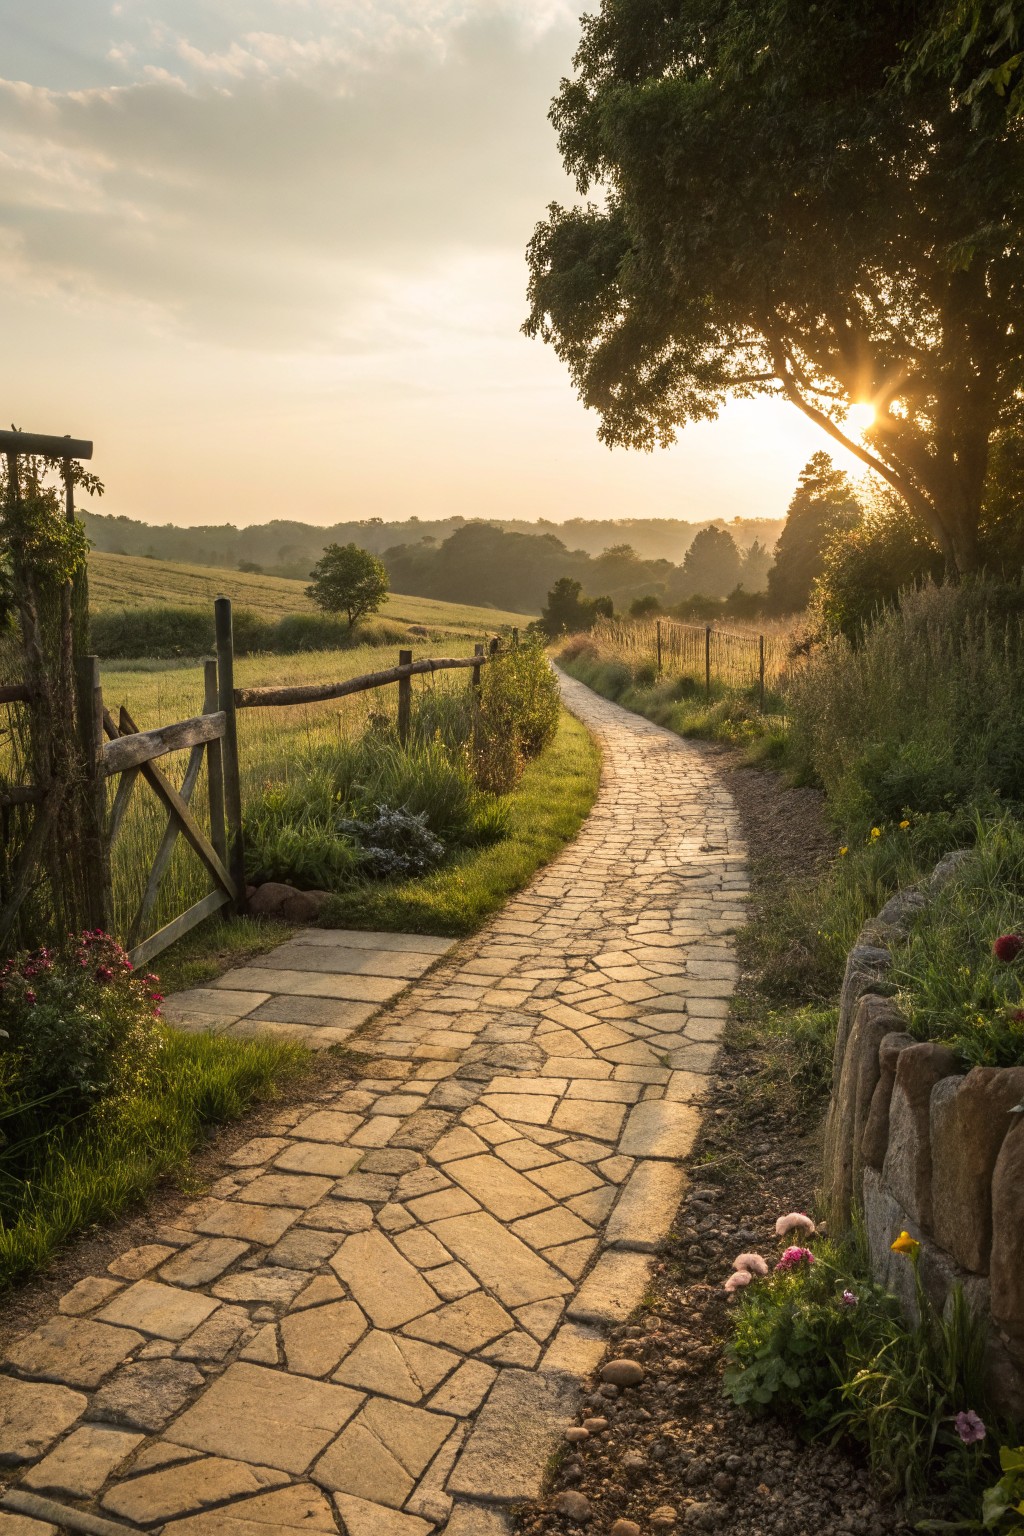
A curving stone path gives a garden a quiet sense of direction without forcing straight lines. The irregular stones sit low to the ground and pick up light gently, which helps reduce harsh glare while still showing the way clearly at dusk or dawn.
This layout works best on properties with gentle slopes or open views. Lay the stones to follow the natural lay of the land rather than cutting across it, and keep low plantings along the edges so the path stays easy to follow without extra fixtures.
Wall Lighting That Guides The Path
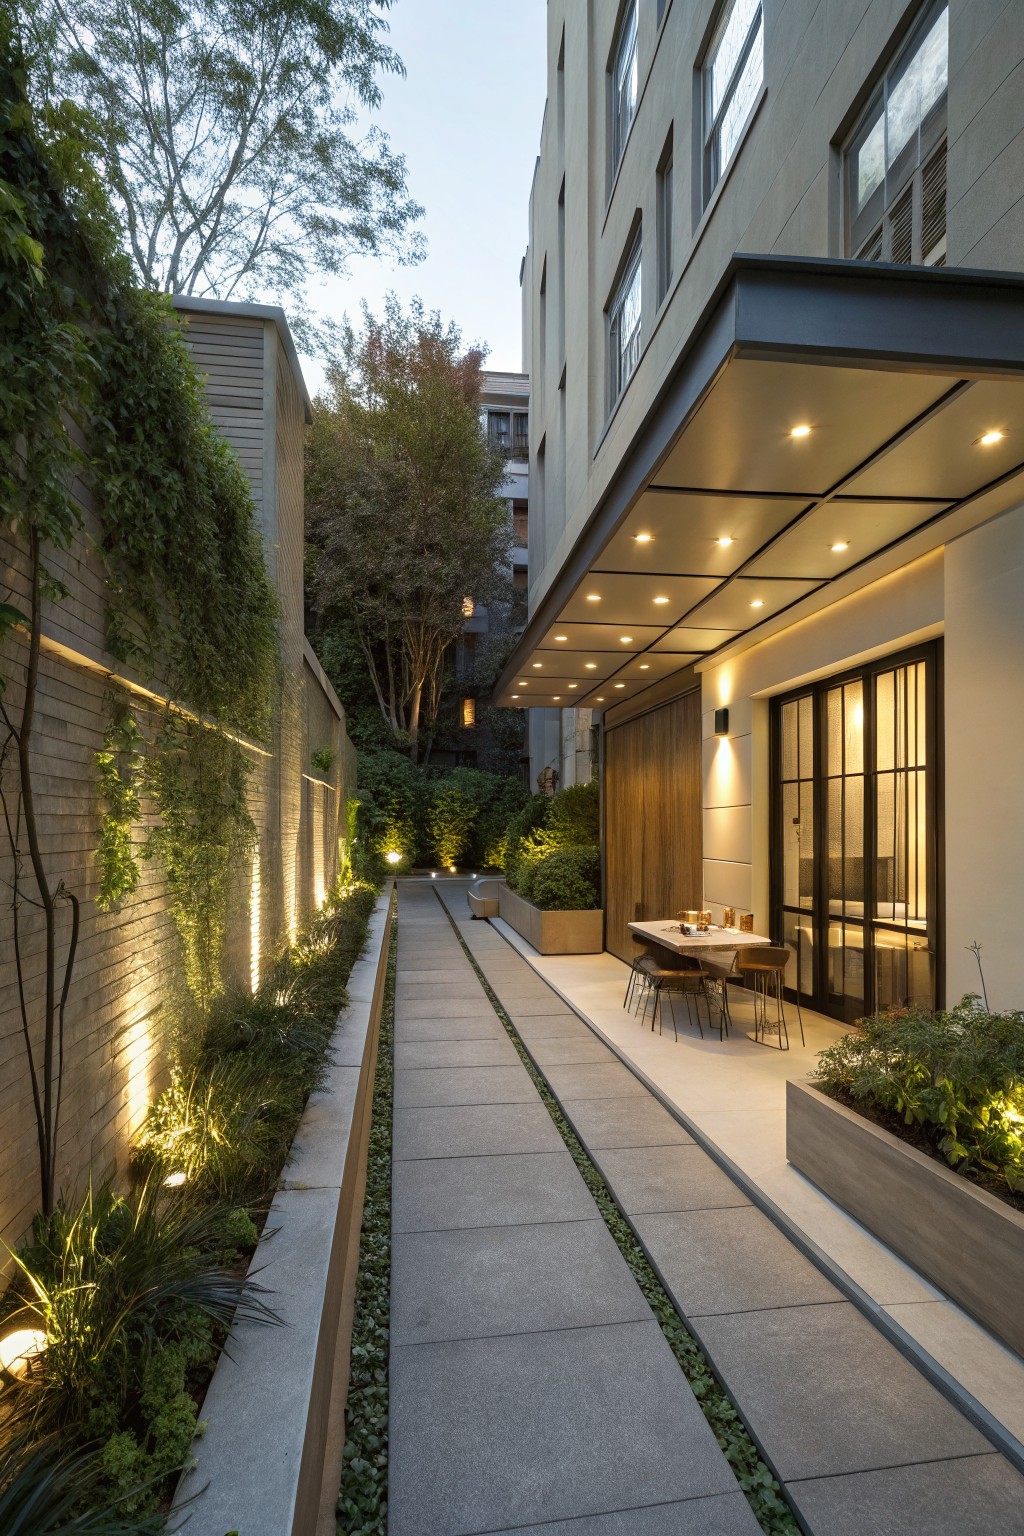
One simple way to light a long garden path is to run fixtures vertically along the flanking walls. This spreads a soft wash of light across the walkway surface and edges without shining straight into your eyes as you walk.
It works especially well in narrow side yards or between buildings where overhead lights would create harsh spots. Place the fixtures low and space them evenly so the path stays evenly lit from one end to the other.
Path Lighting That Follows The Garden Route
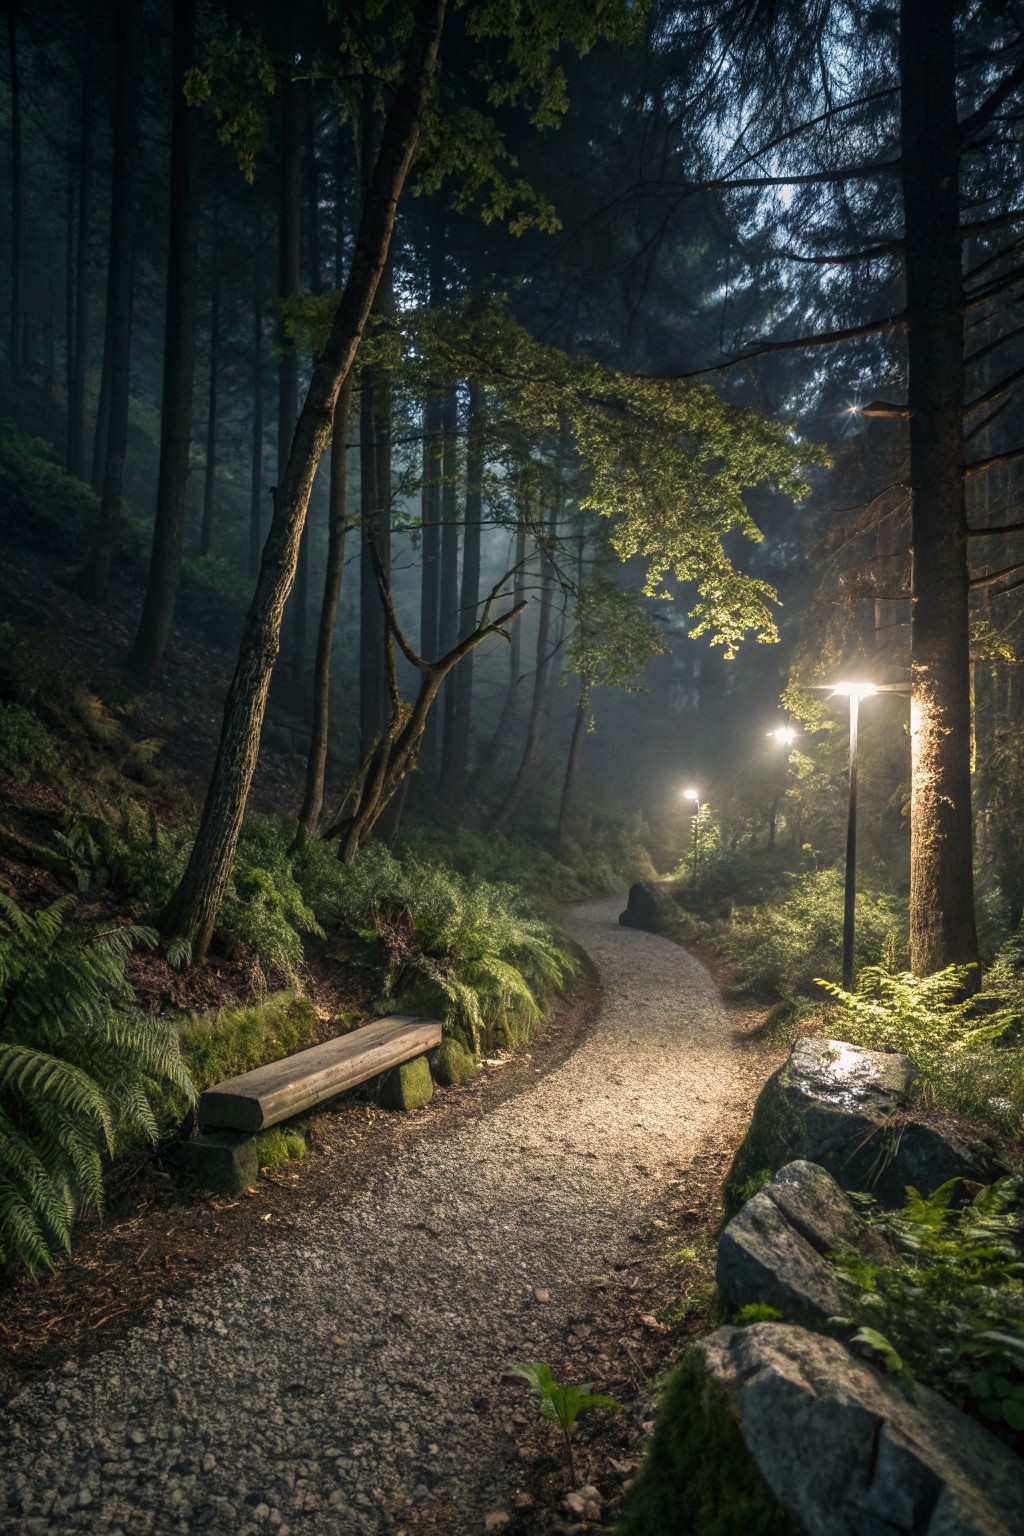
Placing lights along the edges of a garden path helps people see the surface clearly at night. The fixtures stay low enough to light the ground without flooding the whole area, which makes walking safer when the path curves or dips.
This approach suits wooded yards or any space with natural shade. Keep the lights spaced evenly and choose shielded bulbs so the glow stays directed downward rather than straight into the eyes.
Step Lights For Sloped Garden Paths
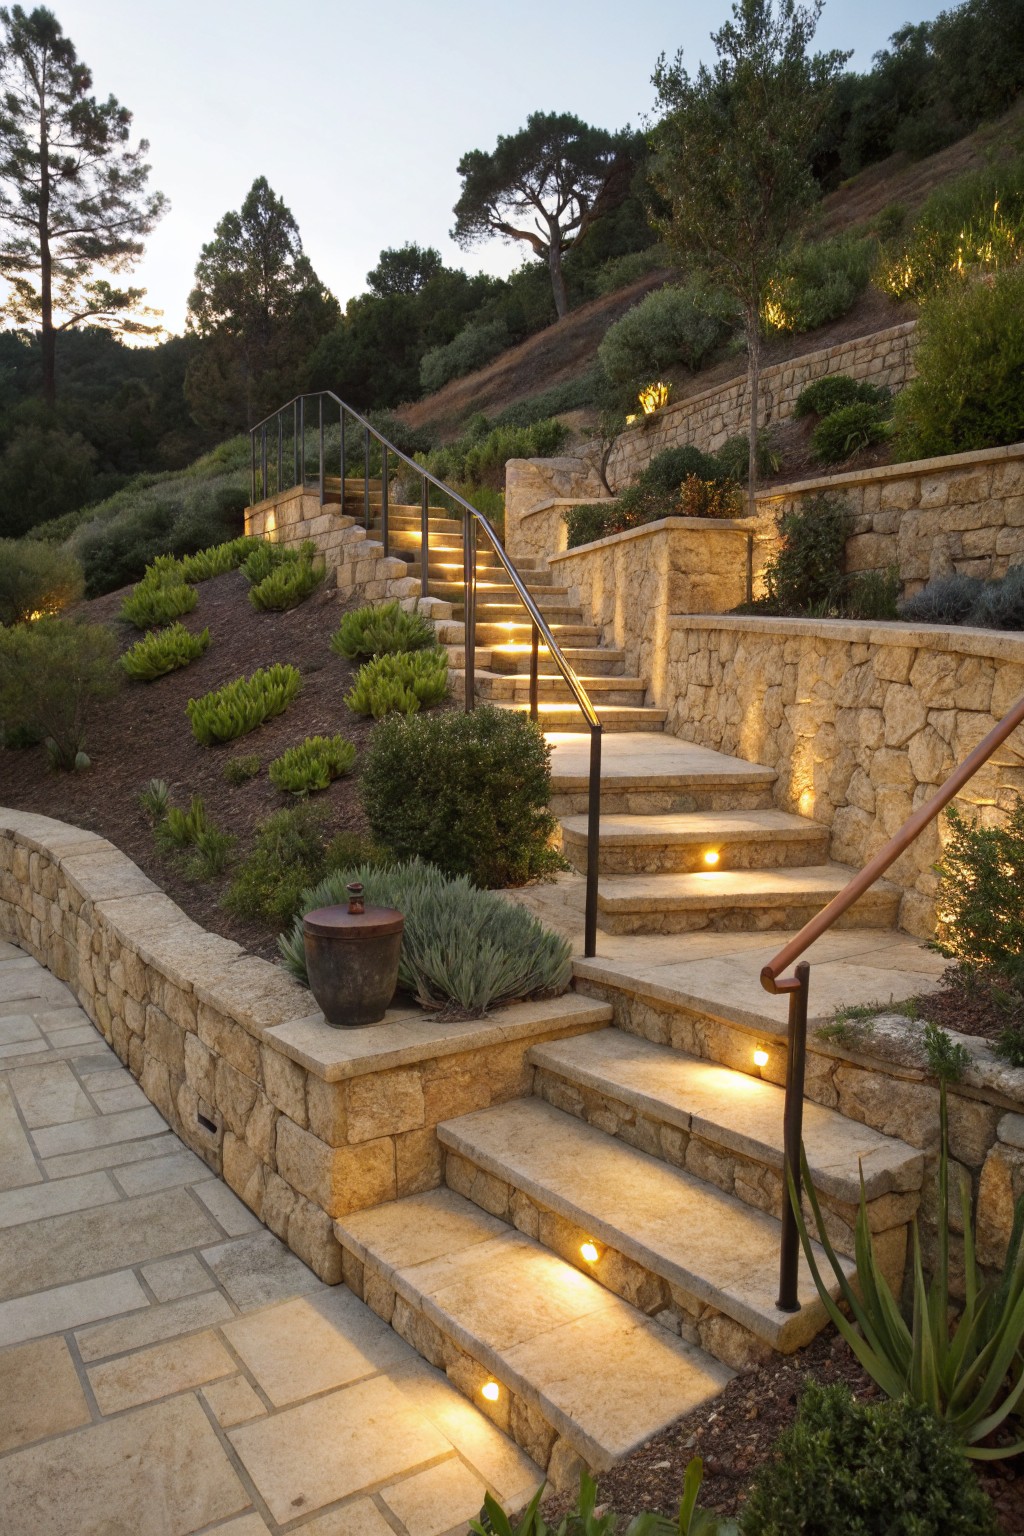
Stone steps on a slope can turn risky once the light fades. Small fixtures set into the risers mark each tread clearly without throwing light upward or creating glare for anyone climbing.
This approach suits homes with hillside gardens where paths connect different levels. Keep the lights low and spaced evenly, and add a simple rail where the drop is steepest so the walkway stays practical rather than decorative.
Low Path Lights Along Garden Edges
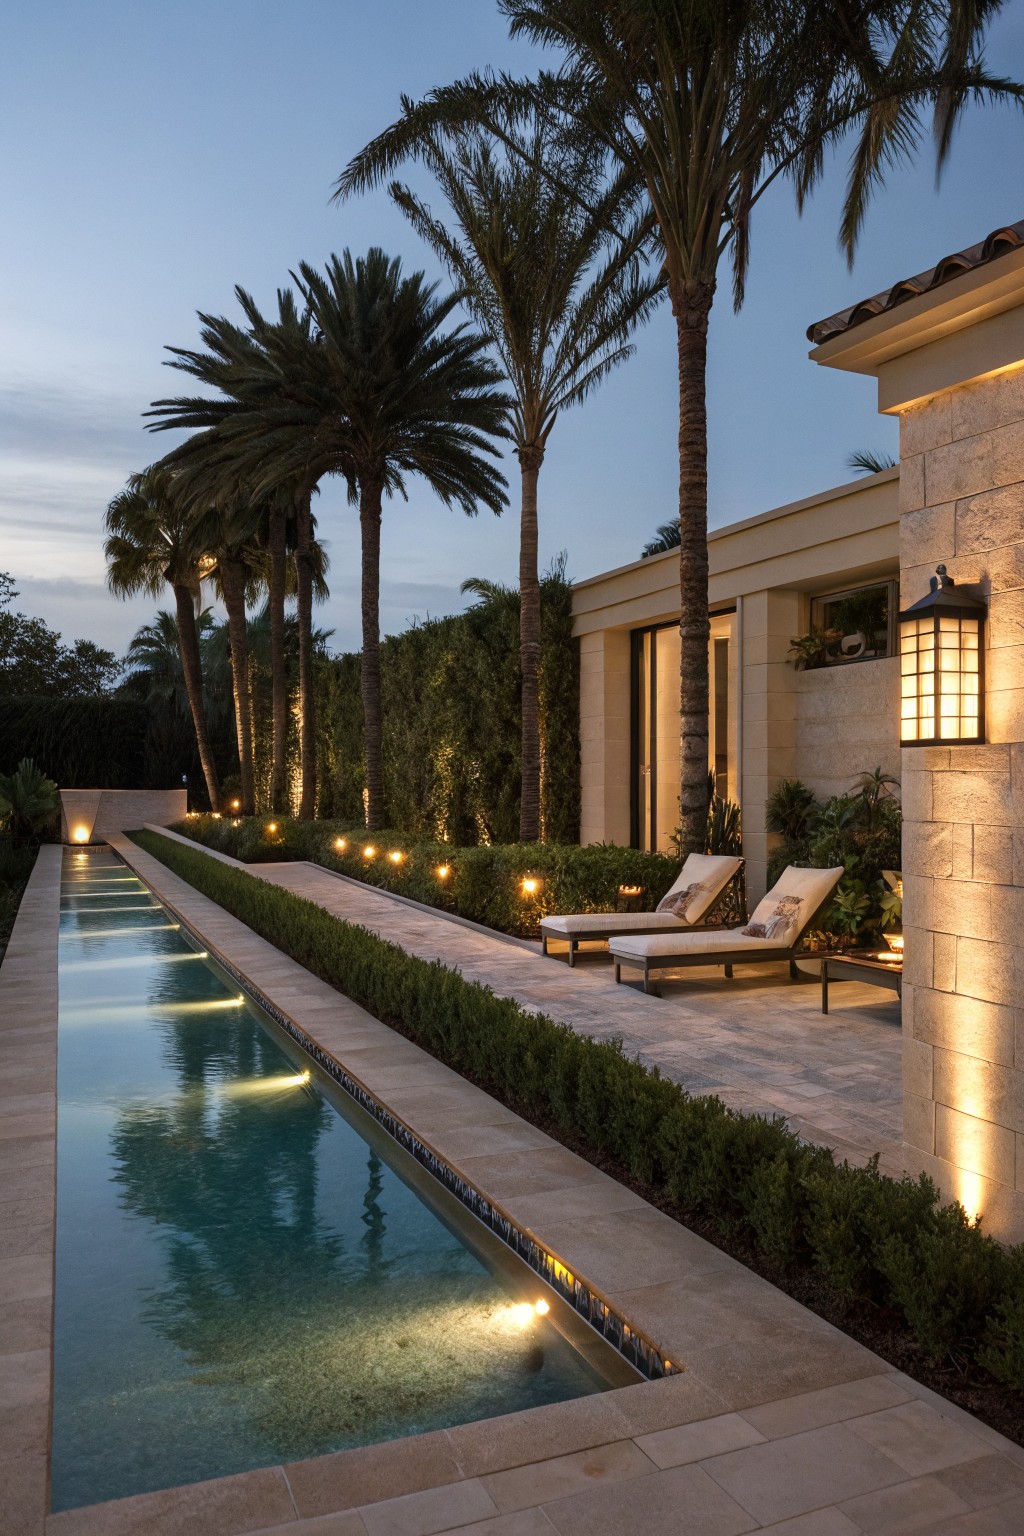
Low lights placed right at the edge of paths and pool borders give enough light to walk safely without creating glare. They sit low to the ground and point downward, so the light stays where it is needed most.
This approach works best on longer walkways or around water features where you want steady guidance at night. Space the lights evenly along the hard edge and choose warm bulbs that stay gentle on the eyes.
Low Lanterns Along Winding Paths
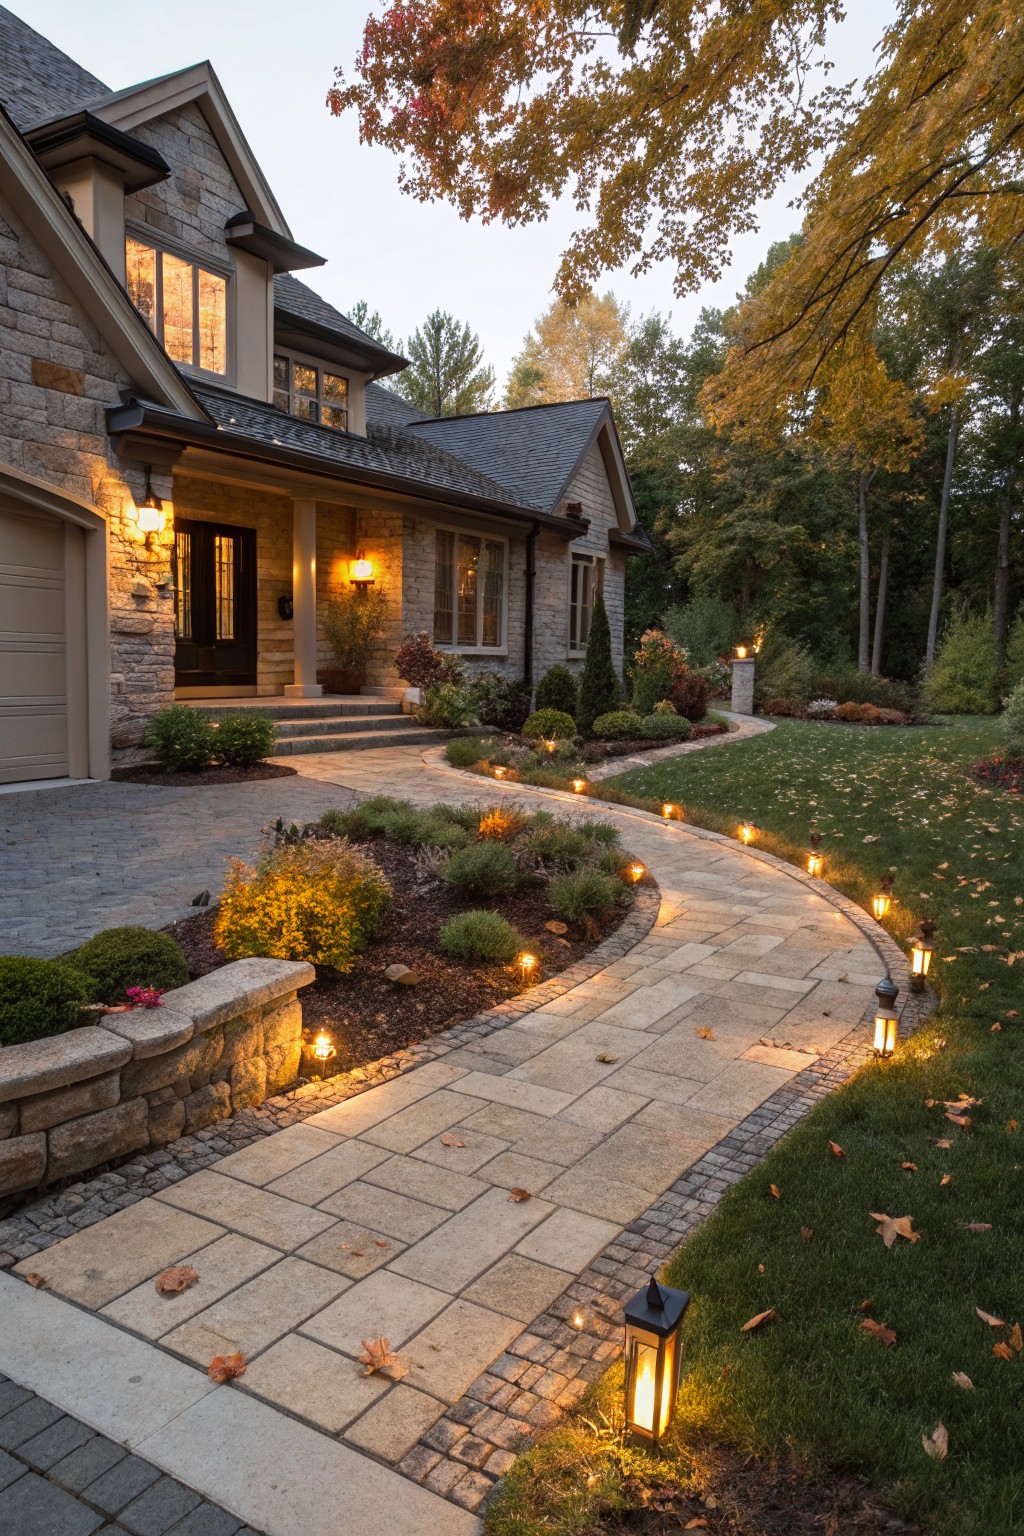
Low lanterns placed right at the edge of a stone path give just enough light to see the way without creating harsh spots or glare. The fixtures stay close to the ground so the light spreads softly across the surface and fades into the surrounding beds. This setup works especially well on curved walks where taller lights might shine straight into your eyes.
The same approach suits homes with long entry paths or side yards that get used after dark. Keep the spacing even and choose warm bulbs so the light feels calm rather than bright. Avoid placing lights too close to seating areas if you want the path itself to stay the main focus.
Low Path Lights For Safer Evening Walks
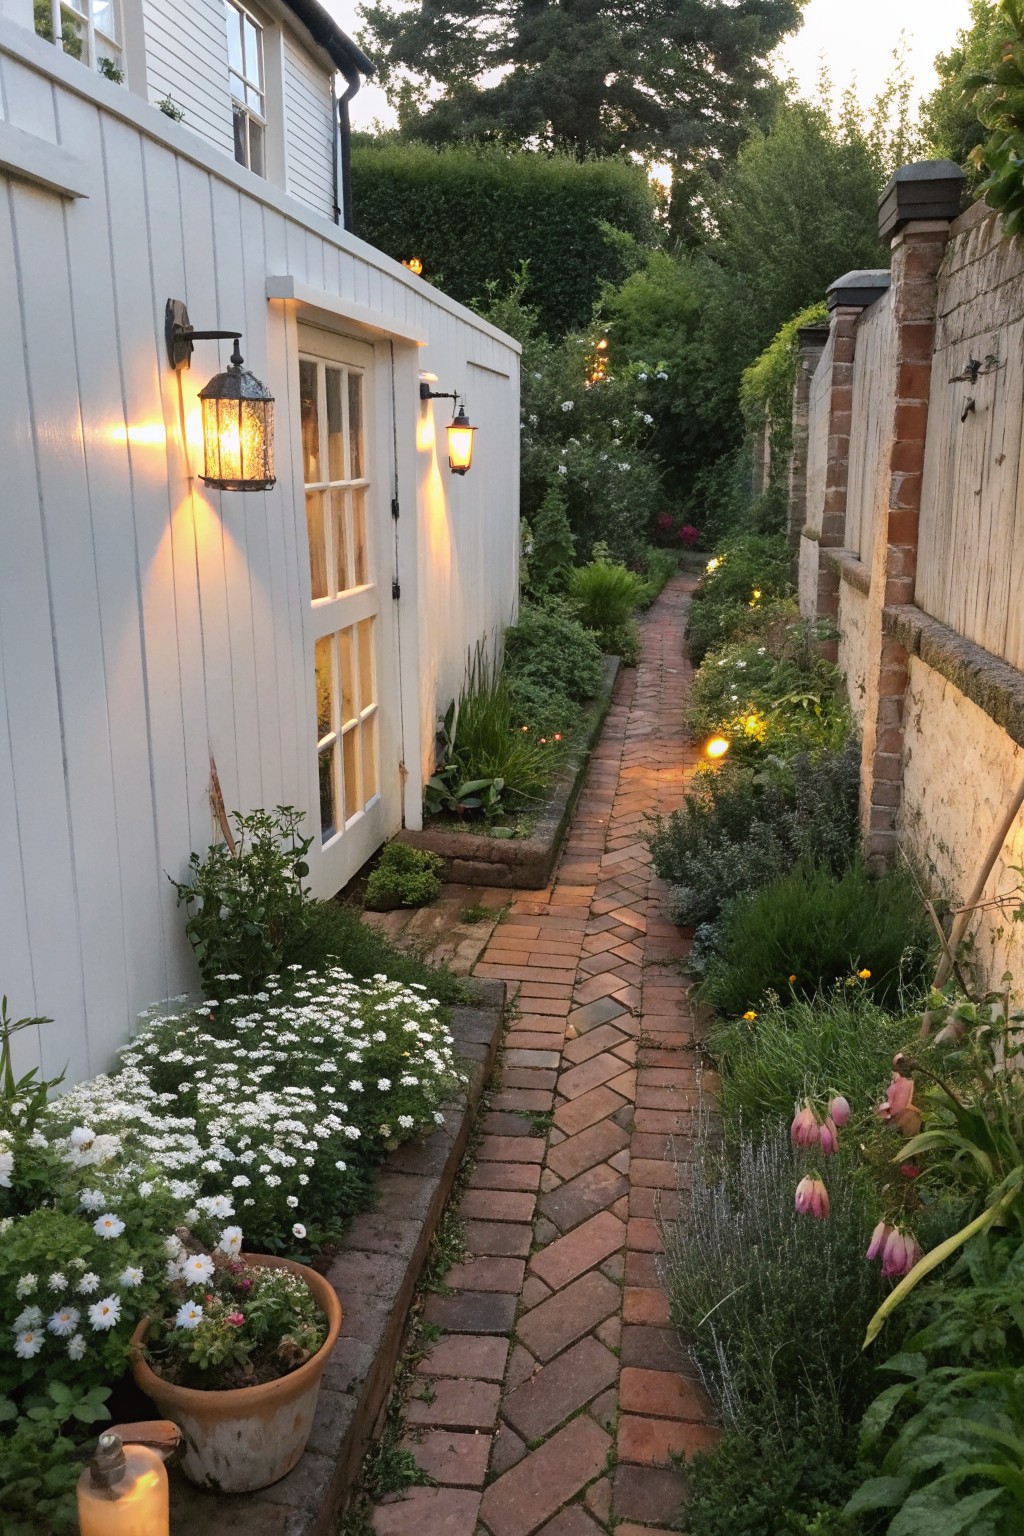
Many people add small lights right along the edges of a garden path because they mark the route without creating glare. The lights stay close to the ground so they guide your steps while keeping the overall scene calm.
This approach suits narrow walks that run beside a house or fence. Place the lights at even intervals and choose a warm tone so the path stays easy to follow after dark without lighting up nearby windows or plants.
Low Step Lights For Safer Evening Walks
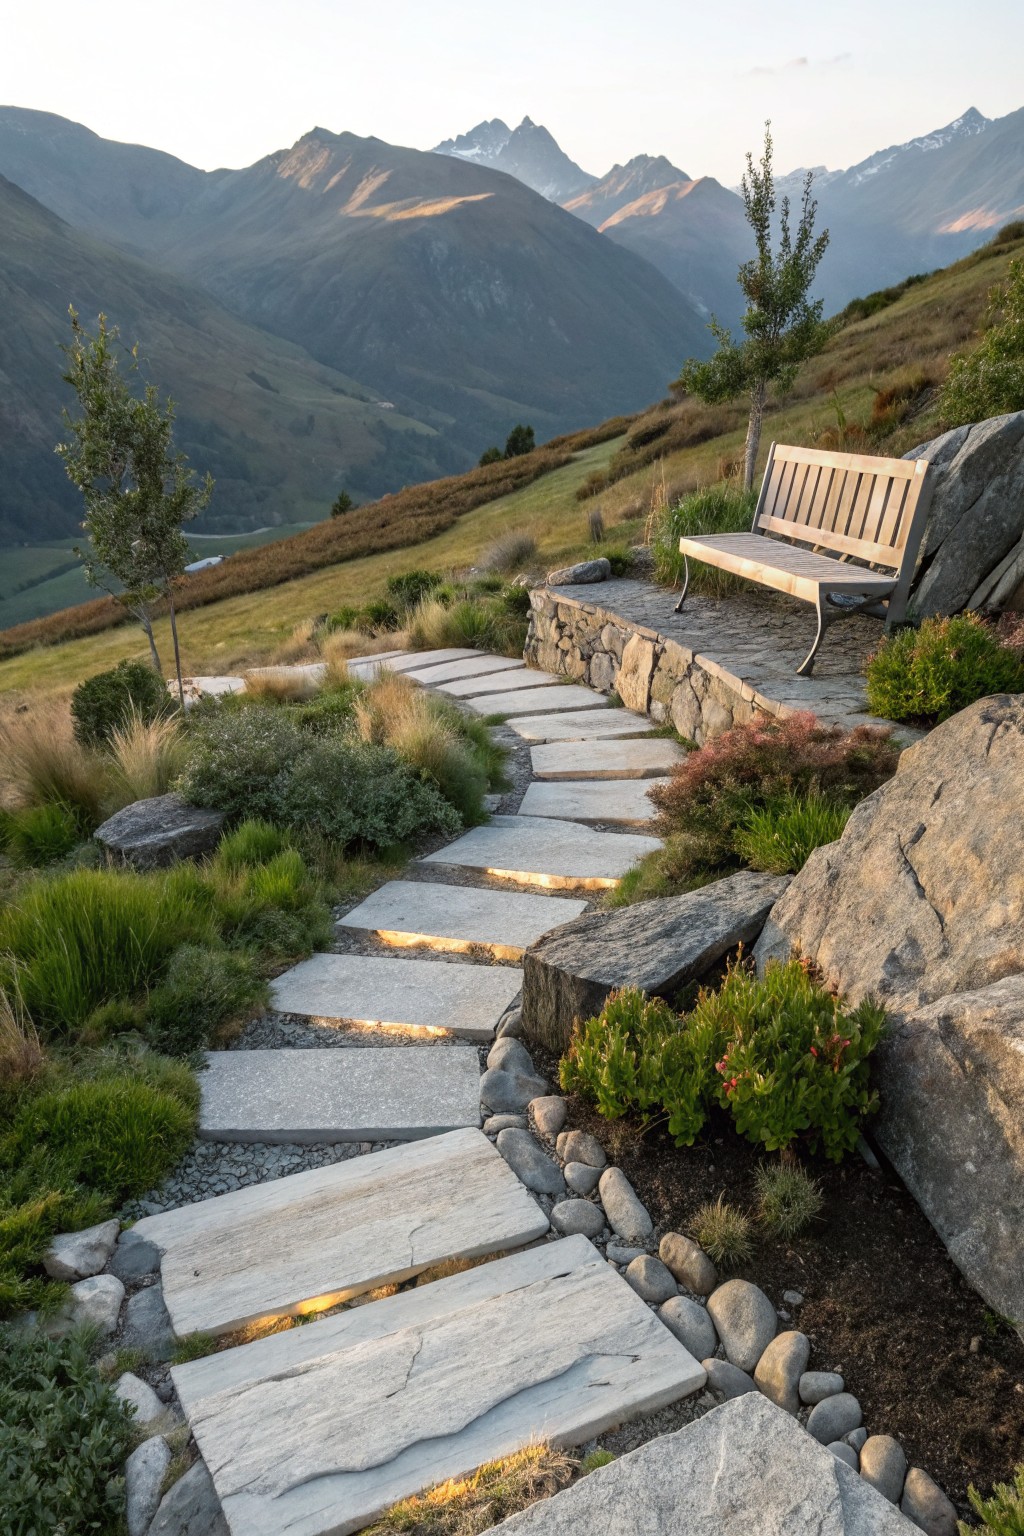
Low lights tucked under the edge of each step give just enough glow to see the path at night. This approach avoids the harsh beams that often come from taller fixtures and keeps the light focused where it is needed most.
It works especially well on sloped sites with stone paths like this one. Tuck small fixtures beneath the tread so the light washes gently down the next step. The setup suits homes with natural landscapes and winding garden routes.
Low Lights Along Garden Paths
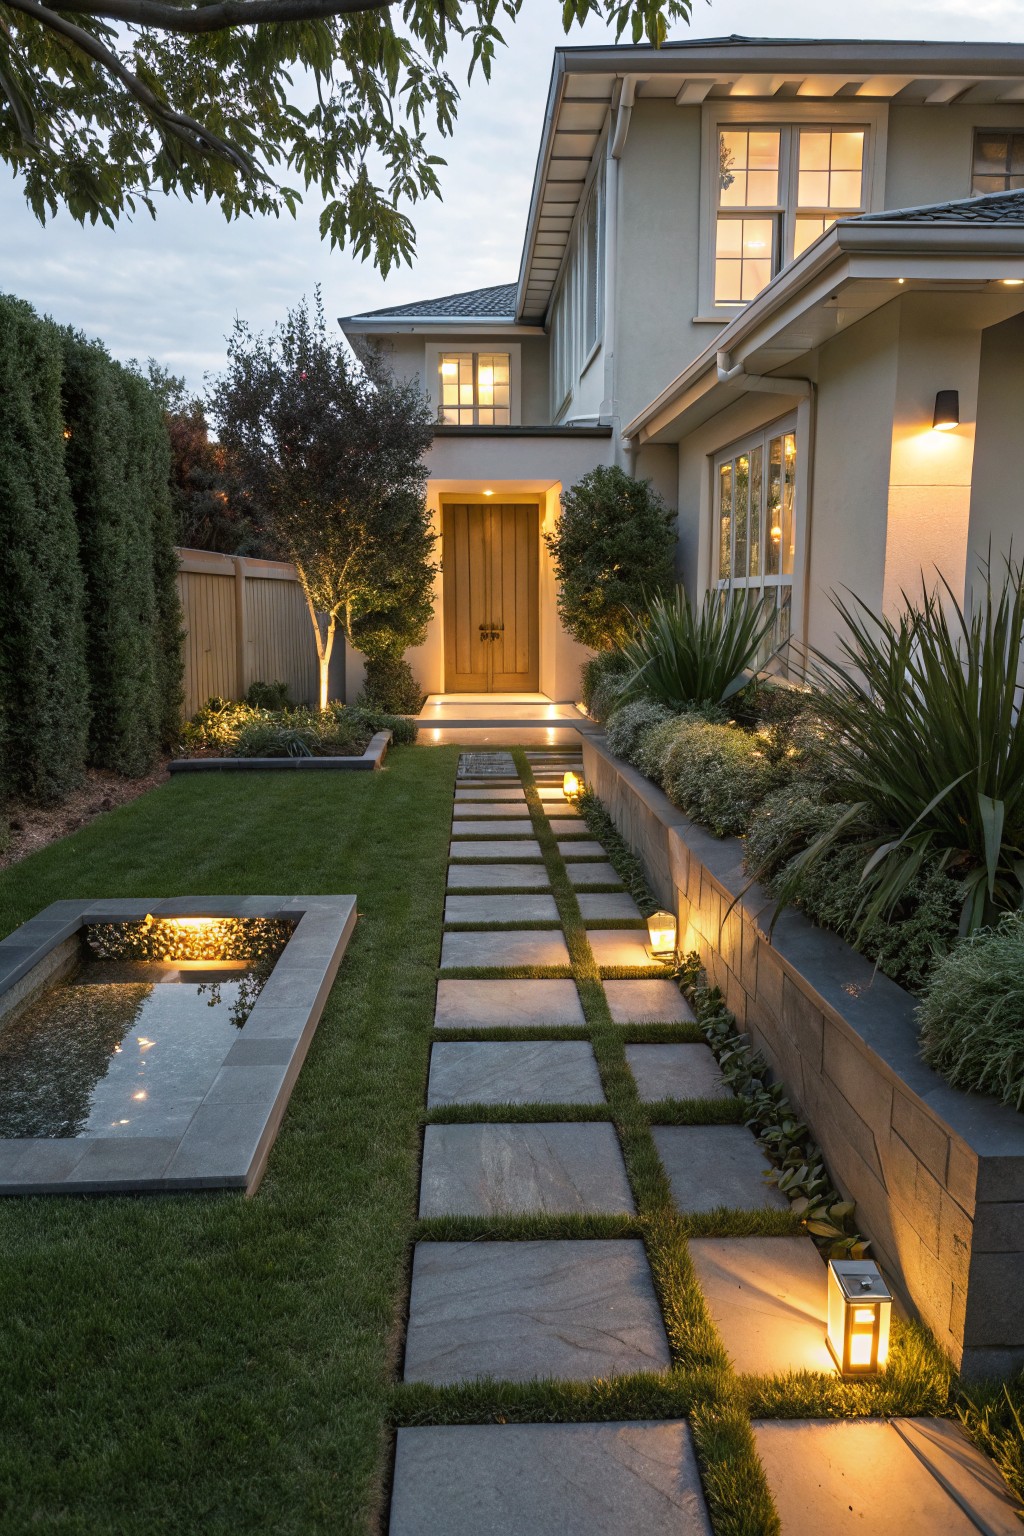
Low lights placed right along the edges of a path give enough light to walk safely without shining into your eyes. They sit low to the ground so the glow stays on the stones and plants instead of flooding the whole area. This approach works especially well on longer front paths that lead to the door.
It suits homes with natural landscaping and simple stone or paver paths. Keep the fixtures small and spaced evenly so the light stays even. Avoid taller or brighter lights that can create glare or feel harsh at night.
Low Path Lights Along Garden Paths
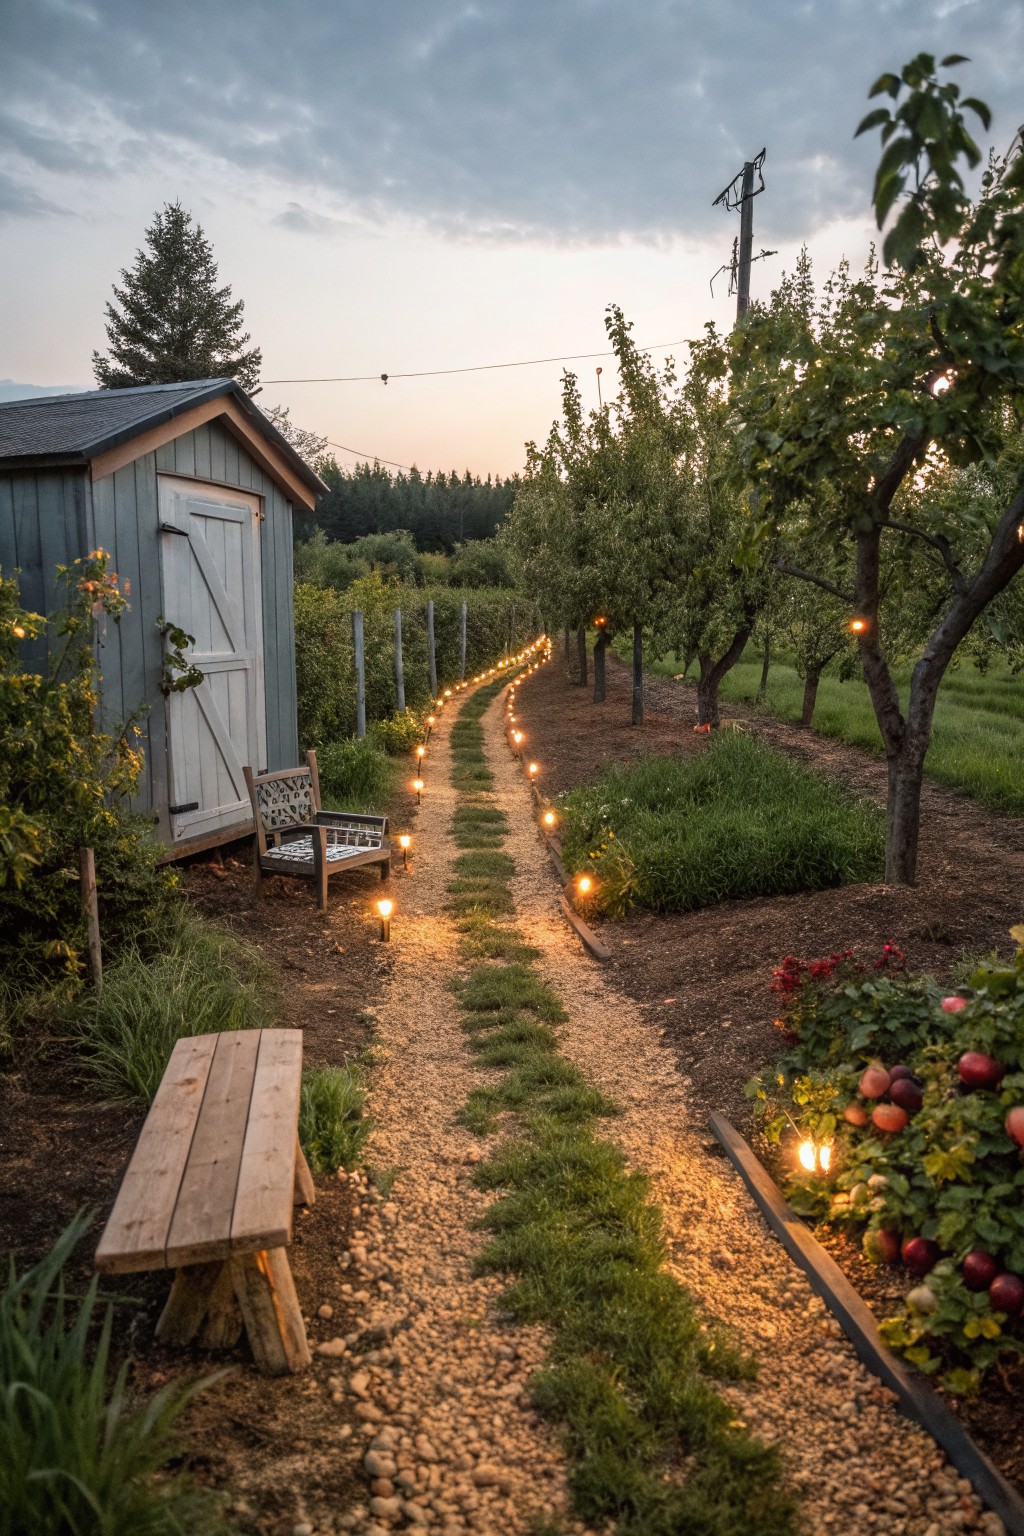
Many gardeners add small lights right along the edges of a gravel path so the route stays visible after dark. This approach gives enough light to walk safely without throwing harsh glare into the surrounding plants or up into the trees.
It works best on winding paths in established gardens where you want a simple, low profile solution. Space the fixtures every few feet at ground level so the light stays focused downward on the walking surface.
Low Lanterns Along Garden Paths
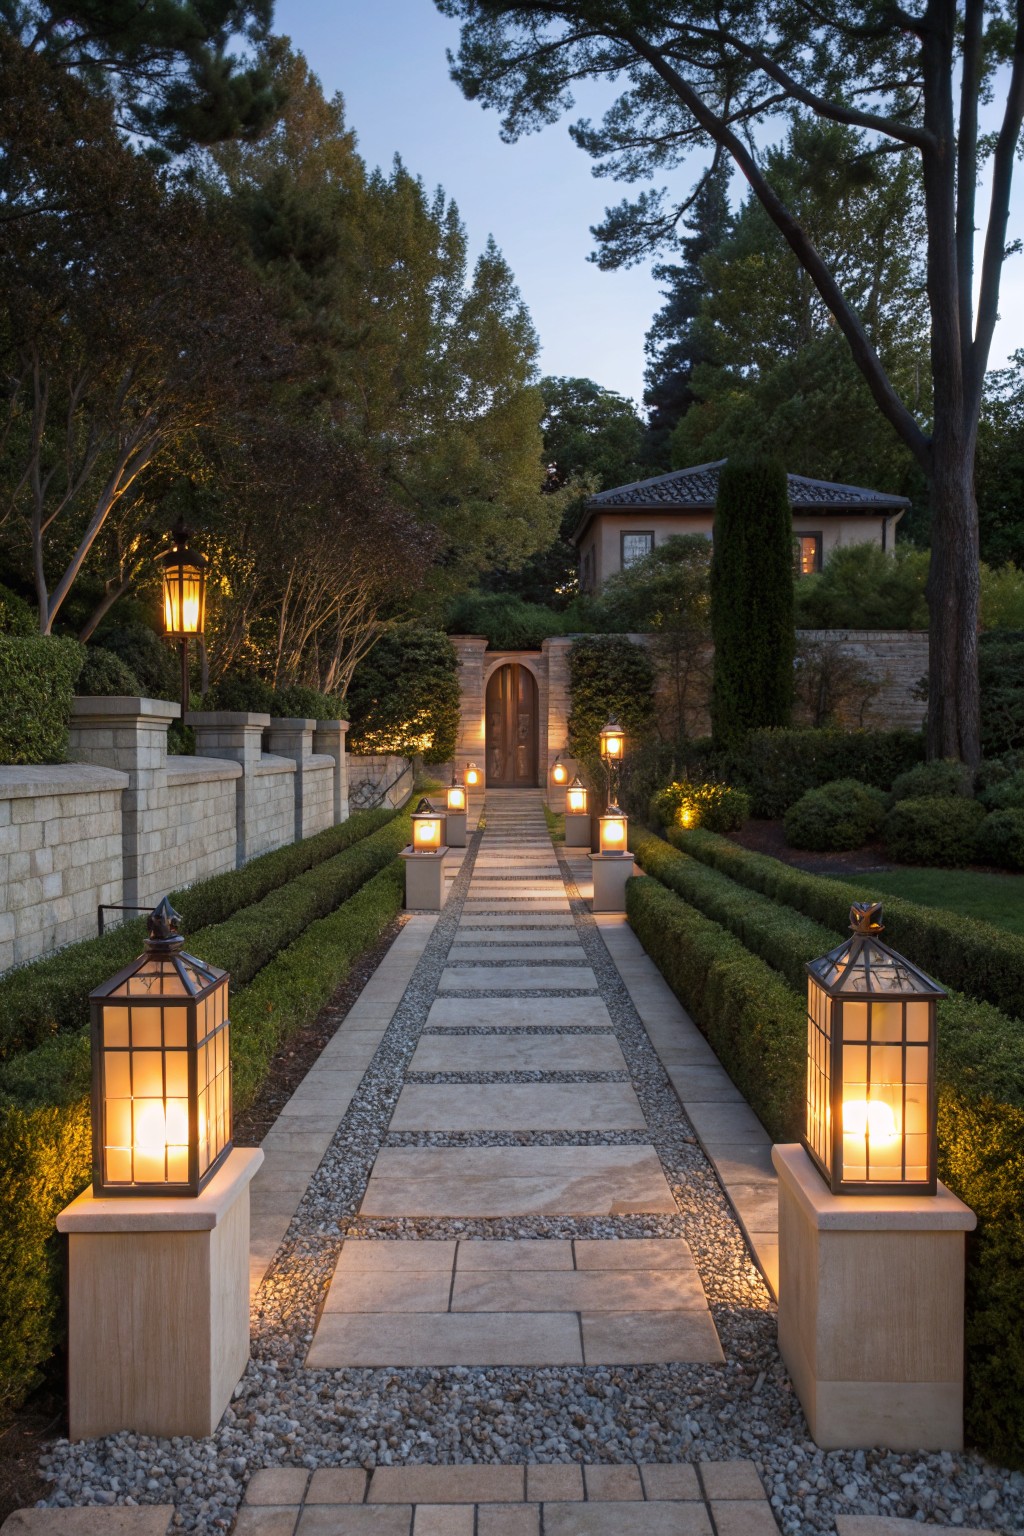
Low lanterns set on short pillars give just enough light to follow a path without creating harsh glare. The glow stays close to the ground, so walkers can see the surface clearly while the surrounding garden stays calm and dark.
This setup works best on straight or gently curving paths with some kind of edging, like gravel or low hedges. Keep the pillars spaced evenly and choose warm bulbs so the light feels soft rather than bright.
Lighting Garden Paths With Subtle Edge Lights
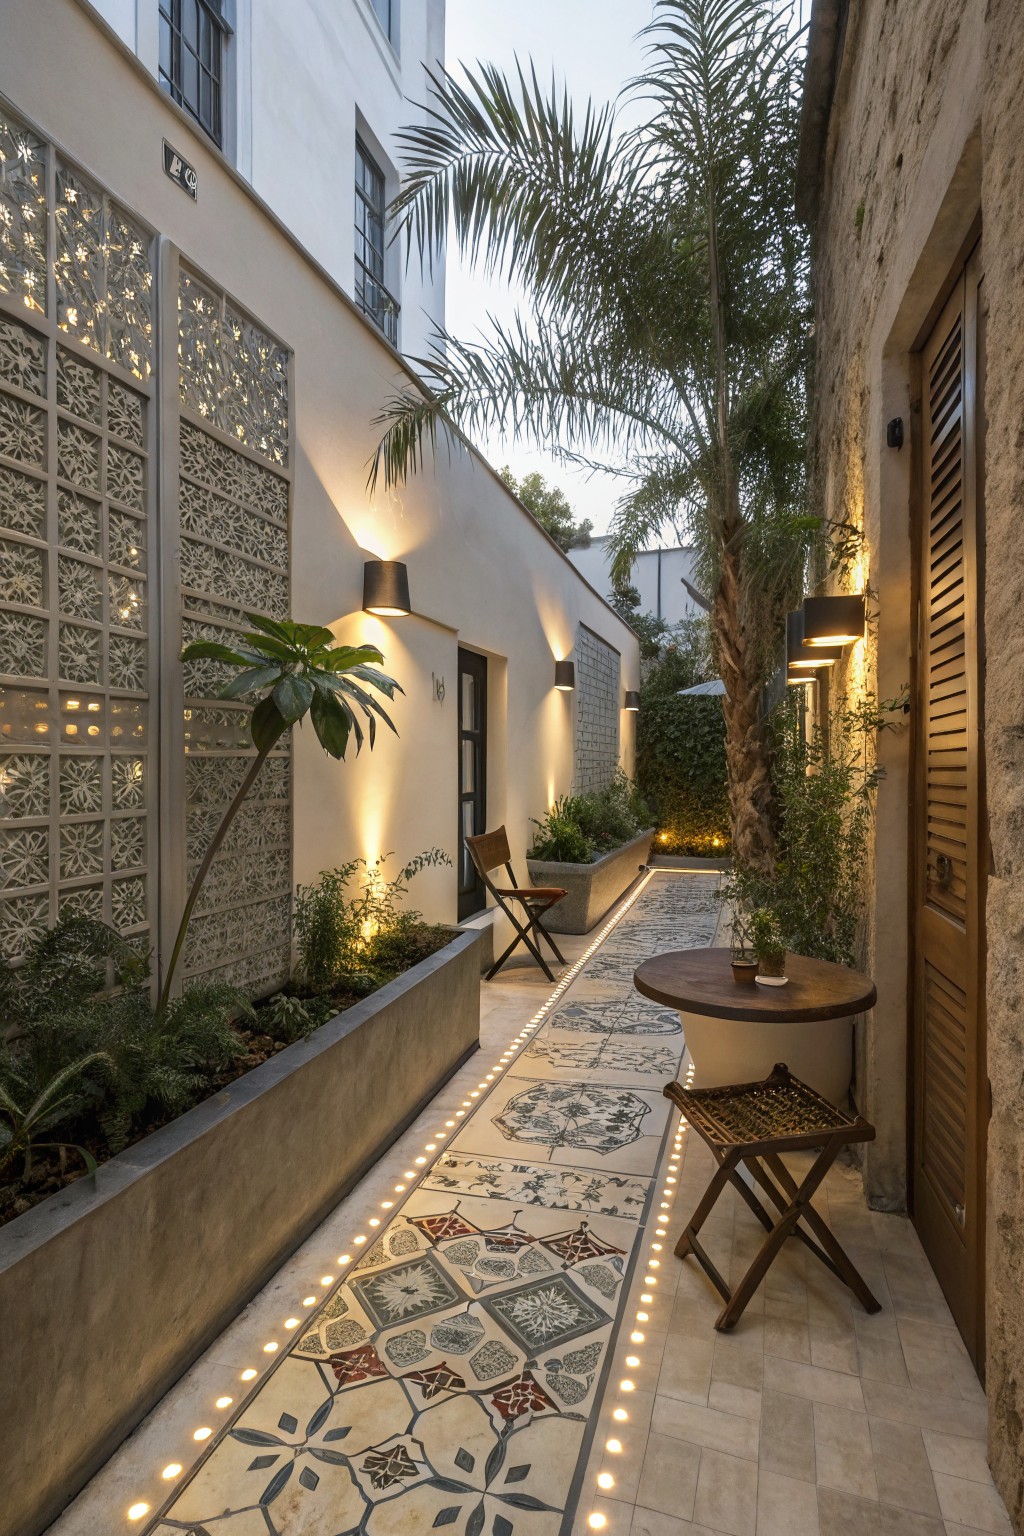
Small lights set right into the edges of a path give enough light to walk safely without creating glare. This approach works well in tight outdoor spaces where overhead lights would feel too bright or harsh.
It suits homes with narrow side passages or garden routes between buildings. Keep the fixtures low and spaced evenly so the light stays focused on the ground and the path remains easy to follow after dark.
Low Lights Along a Garden Path
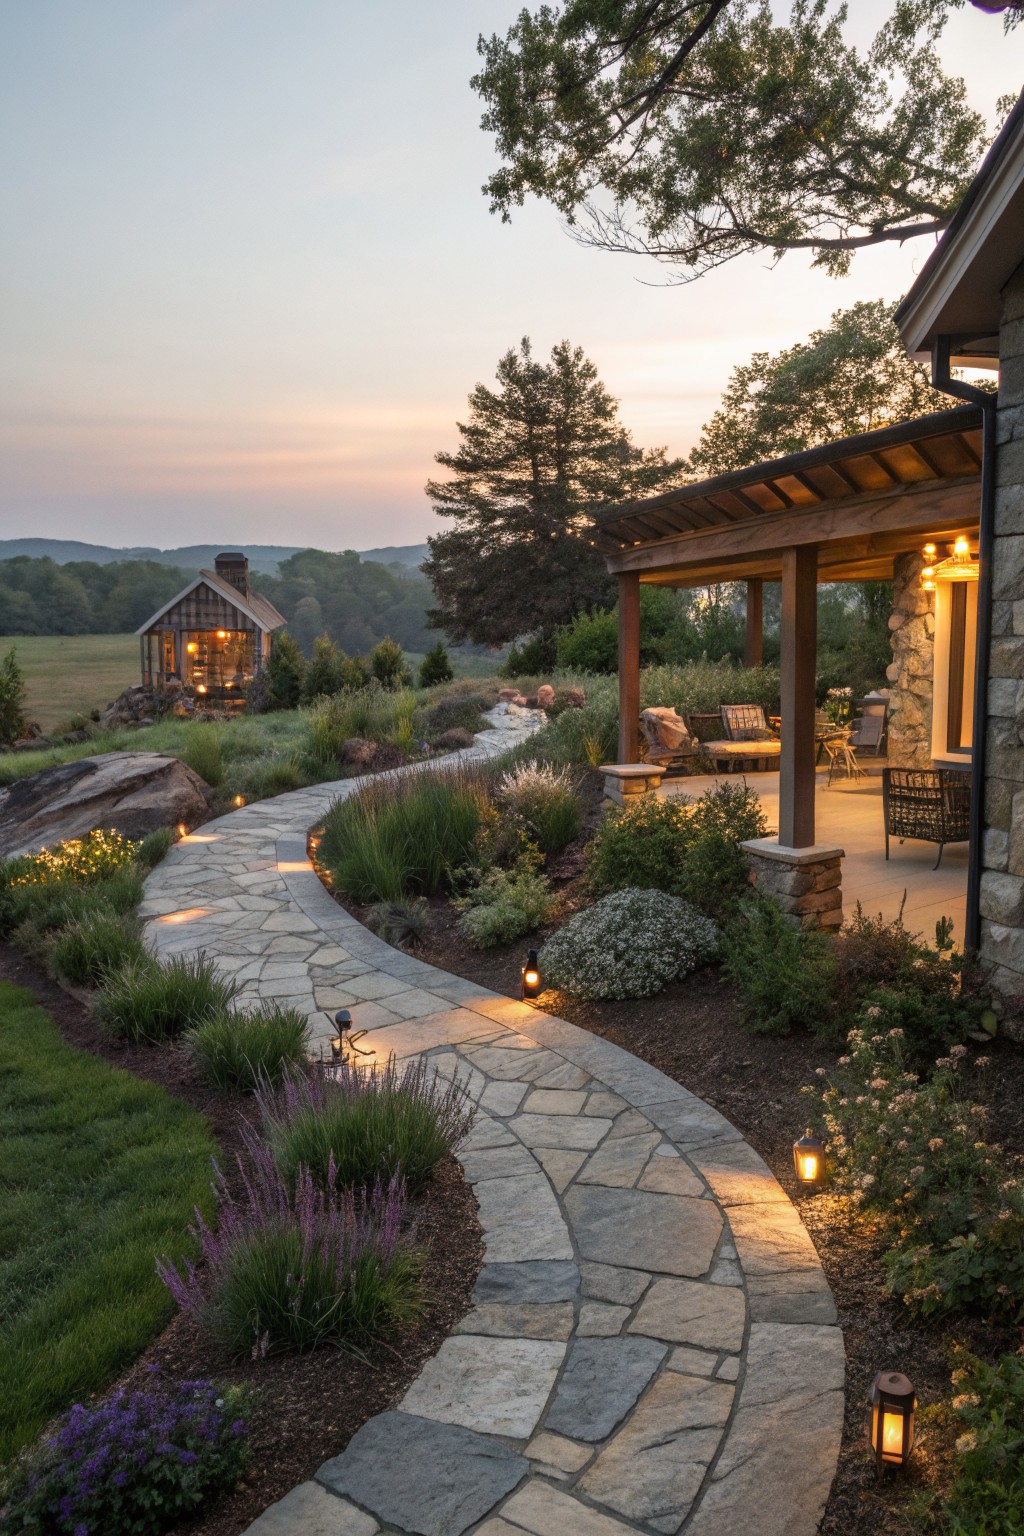
Small lights placed right at the edge of a path make it much easier to walk safely once the sun goes down. They give just enough glow to show the surface underfoot without throwing bright beams into your eyes or washing out the surrounding plants.
This approach suits homes where the walkway connects the main house to a guest space or another seating area. Space the fixtures evenly and keep them low so the light stays soft and the path remains the main focus instead of the lights themselves.
Frequently Asked Questions
Q: How low should I set the lights to avoid glare on a straight path?
A: Place them about knee high or below so the light spreads out along the ground instead of hitting your eyes. Walk the path at night and shift any that feel too bright until the beam stays gentle.
Q: Do solar lights work if trees cast shade over part of the walkway?
A: They do fine as long as you put the panels where they catch sun for most of the day. Move a couple of units around until each one charges well.
Q: What if the path curves past low plants or shrubs?
A: Stagger lights on both sides so each curve gets light from the opposite direction. This fills in shadows without extra fixtures (even with low bushes nearby).
