

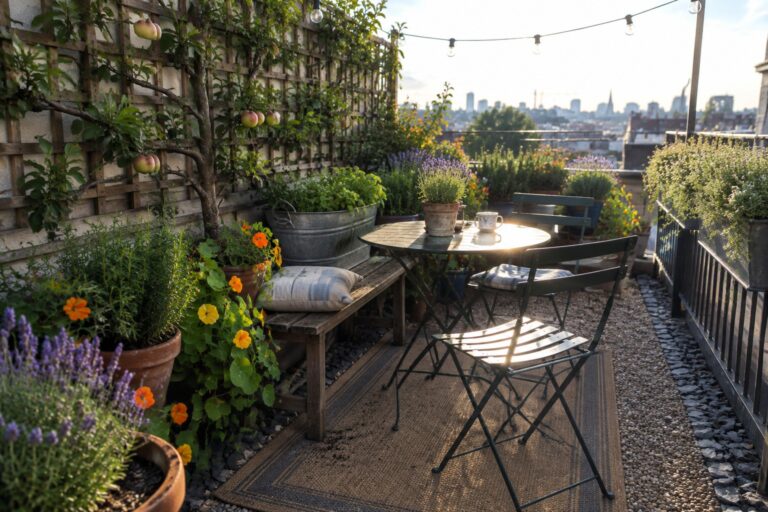
I learned early on that a roof garden only feels like an extension of the home when there is enough clear space left for chairs and a small table.
Affordable container planters make it possible to test different groupings without a big investment that might not pay off.
Space for movement comes first.
Once that works, adding plants in stages helps keep the whole area from looking overcrowded or neglected after a few months.
I would try grouping taller planters along the edges first to see how they affect the open feel in the middle.
Line Up Pots on a Bench
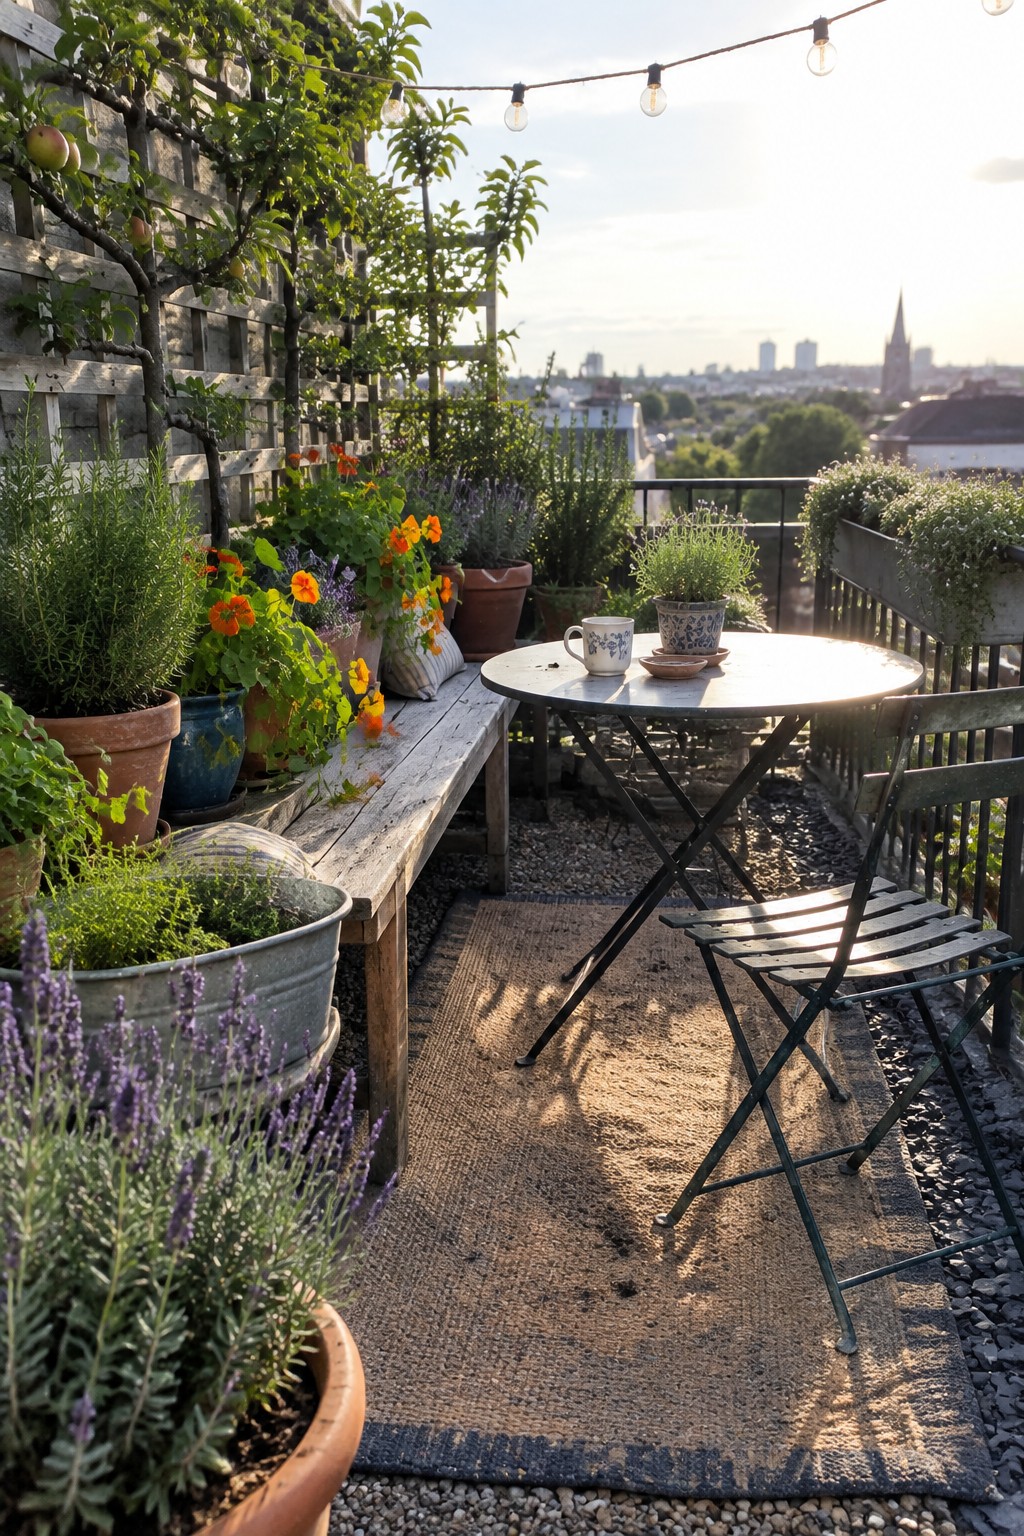
A bench along the edge gives you a simple way to add more plants without crowding the floor. It lifts the pots so smaller ones in front stay visible and the whole area feels fuller even when space is tight.
This setup works well on roof terraces and balconies where floor room is limited. Use whatever affordable containers you have on hand, like basic terracotta or old metal tubs, and group them by height so everything gets some sun.
Wooden Crates Make Simple Raised Beds
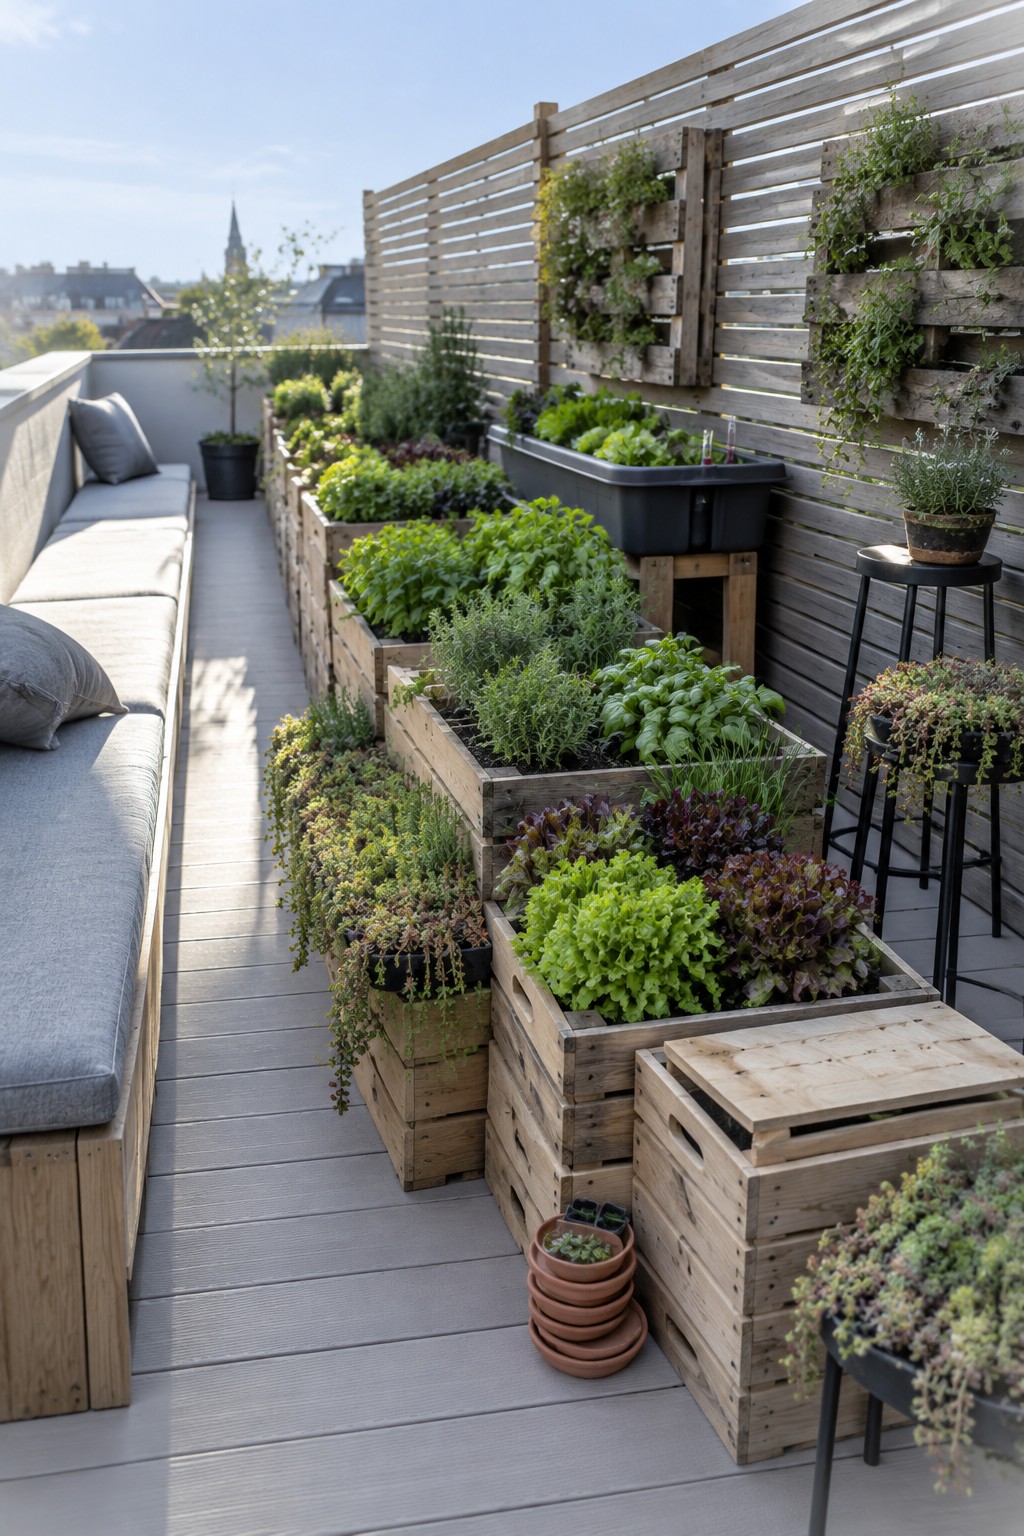
Stacking wooden crates gives you quick raised beds that cost very little and move when you need them to. They hold enough soil for vegetables and herbs, and the open sides let you tuck in smaller pots at the base for extra growing space.
This works best on flat roofs or decks where weight stays manageable. Line each crate before filling it, and keep the stacks no higher than two or three crates so they stay stable in wind.
Mix Affordable Containers for a Roof Garden
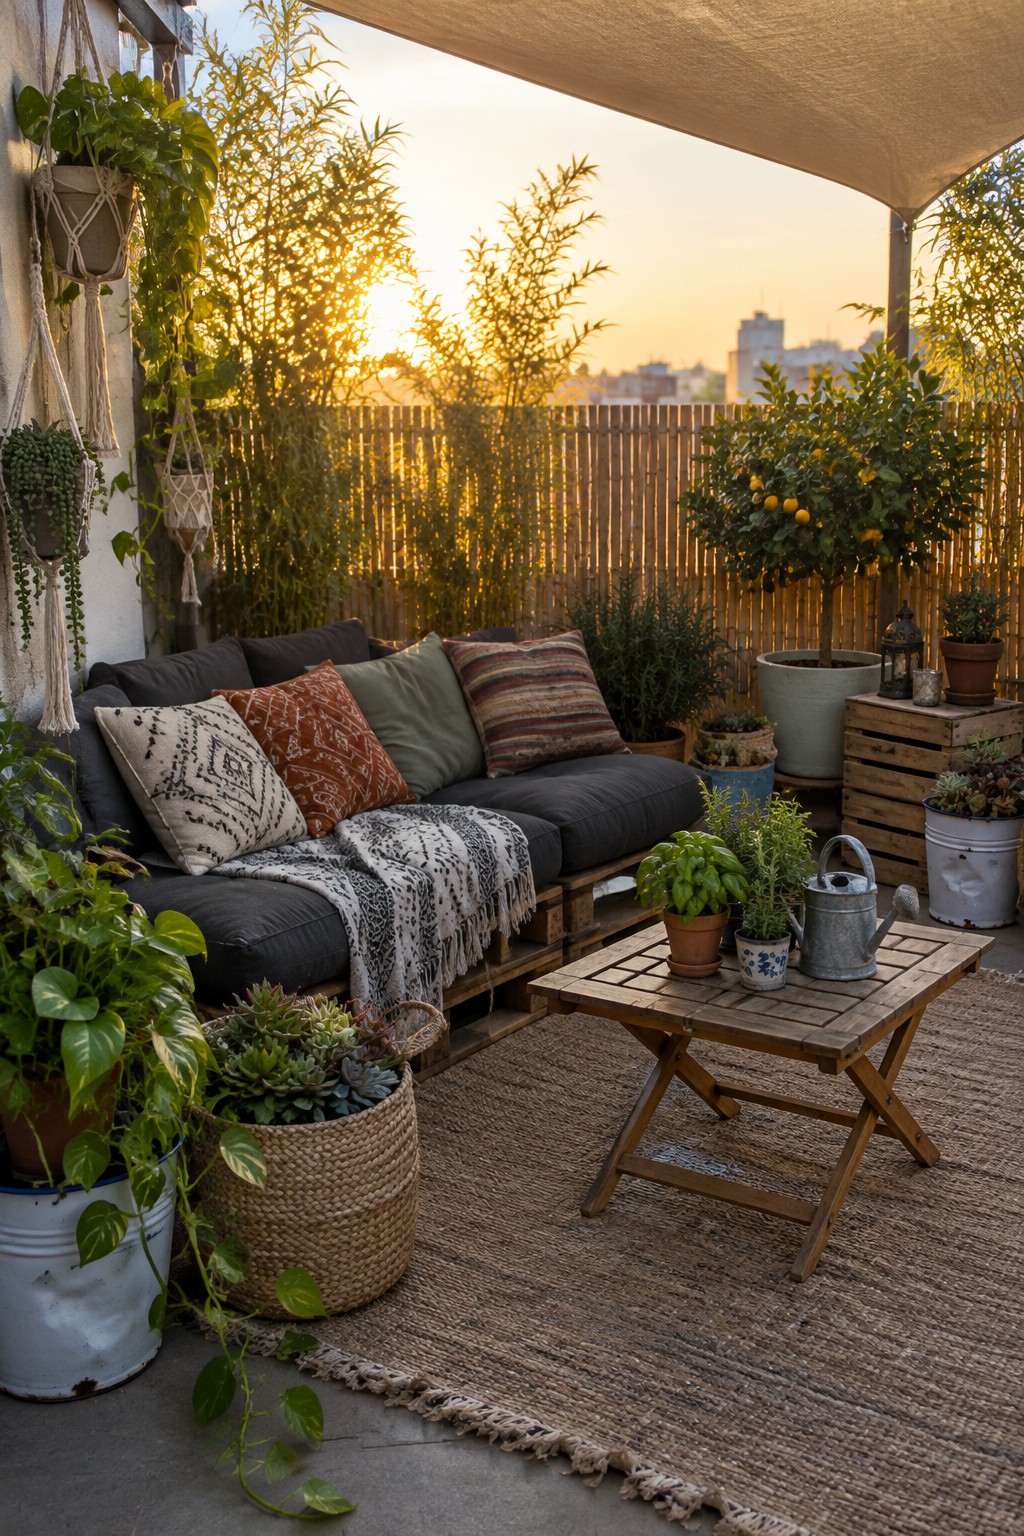
One simple way to turn a roof into a garden is to collect different containers instead of buying matching pots. Metal buckets, woven baskets, and basic terracotta all work fine and let you spread plants around a seating spot without much planning.
This setup suits small urban roofs or balconies where permanent beds are not an option. You can move the containers as the seasons change or if you want to shift the layout later.
Large Metal Troughs Keep Roof Gardens Simple
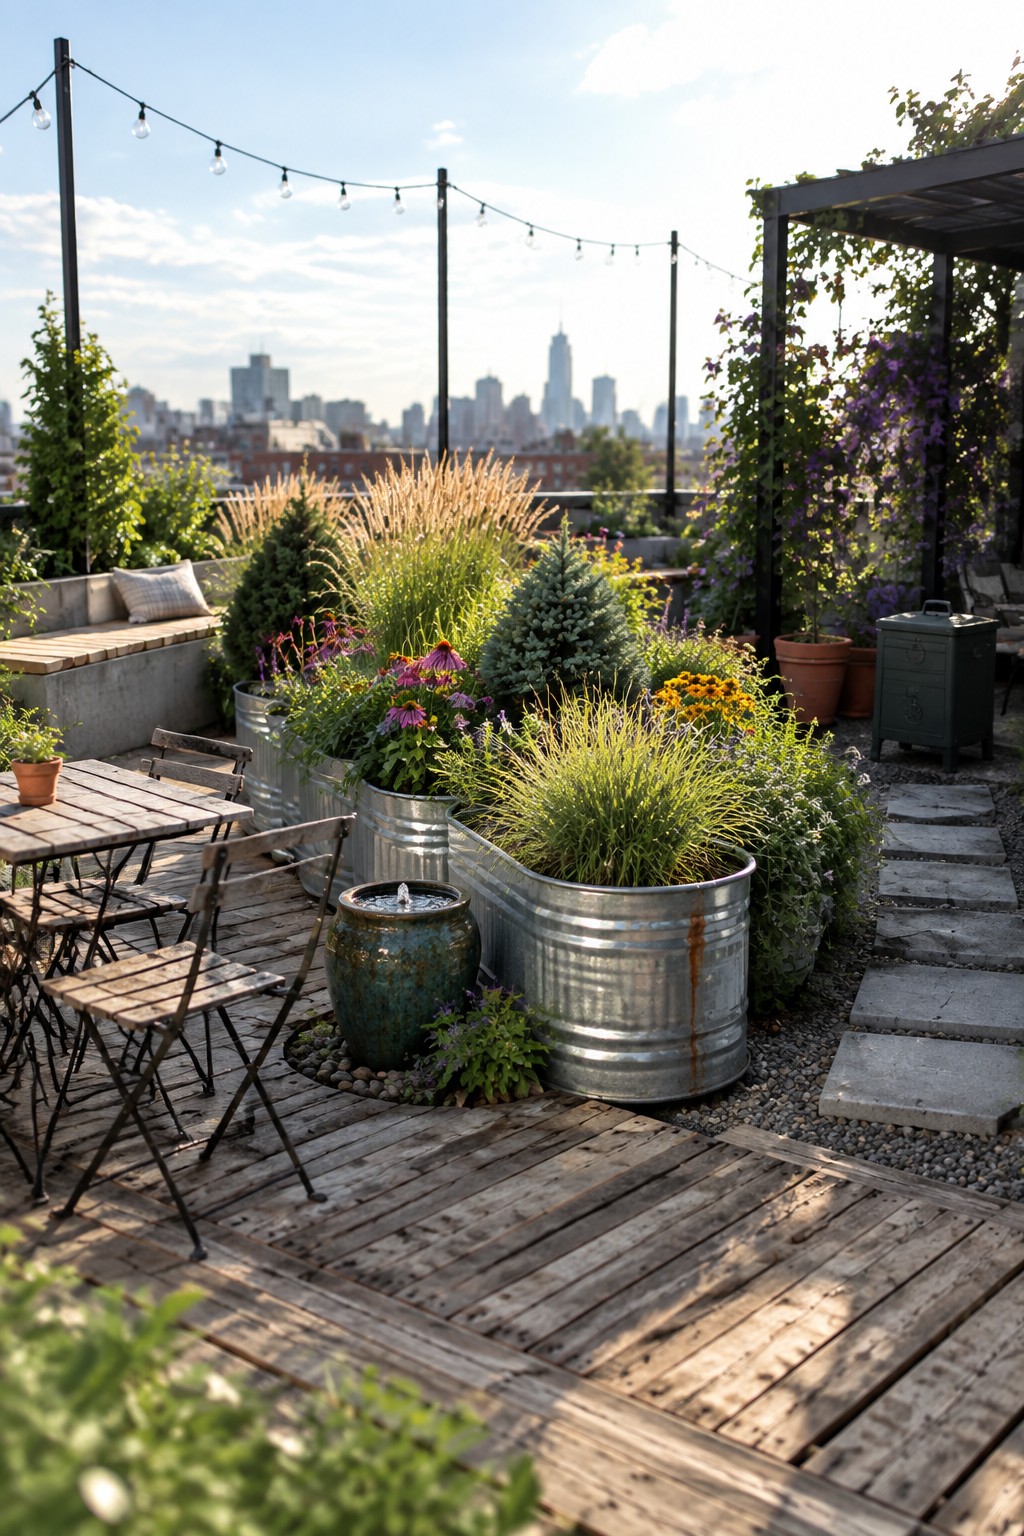
Many people like using big galvanized troughs on rooftops because they hold soil well and move easily when needed. They also drain properly, which helps avoid extra weight problems that come with permanent beds.
Place a few together to create zones for different plants and leave space for walking or seating. These containers suit flat roofs on apartment buildings or houses where you want a garden without major construction.
Use Rows of Container Planters Along the Edge
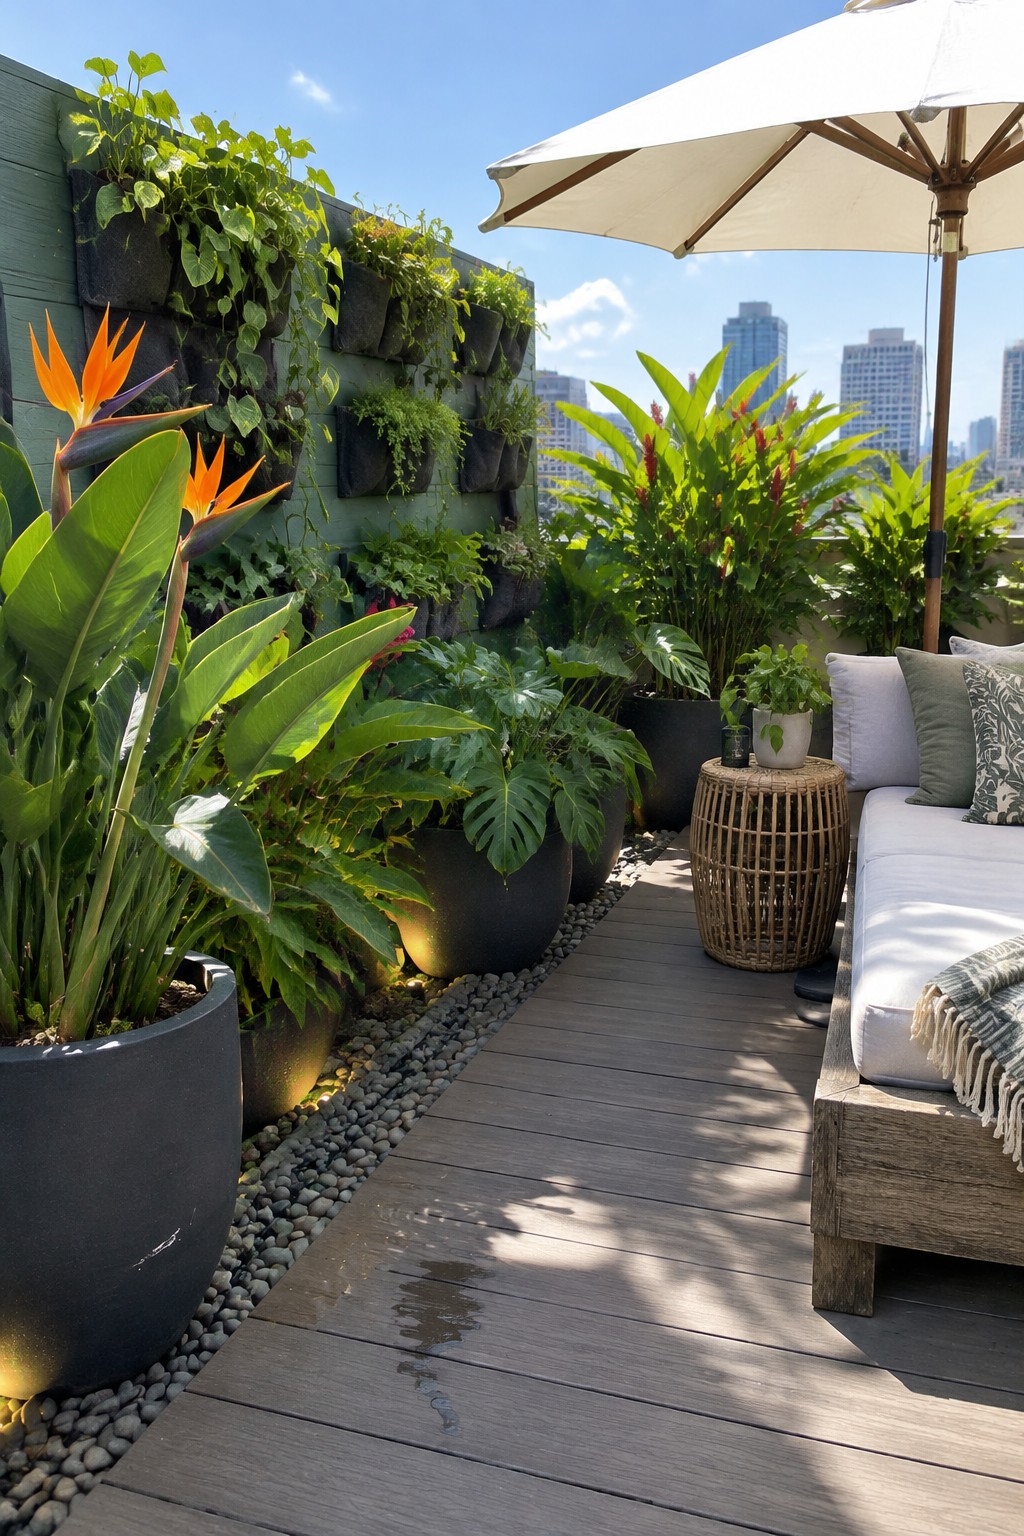
Many roof gardens work better when you keep the planting simple and movable. Rows of large containers let you add greenery without building raised beds or worrying about roof weight limits. The black pots in this setup sit right along the deck border and give the space a finished look right away.
This approach suits small or rented rooftops where you might need to rearrange things later. Start with a few sturdy pots in similar sizes and fill them with plants that handle sun and wind. Keep the line fairly straight so the path stays clear and the whole area feels organized instead of crowded.
Use Basic Containers To Grow Vegetables On A Roof
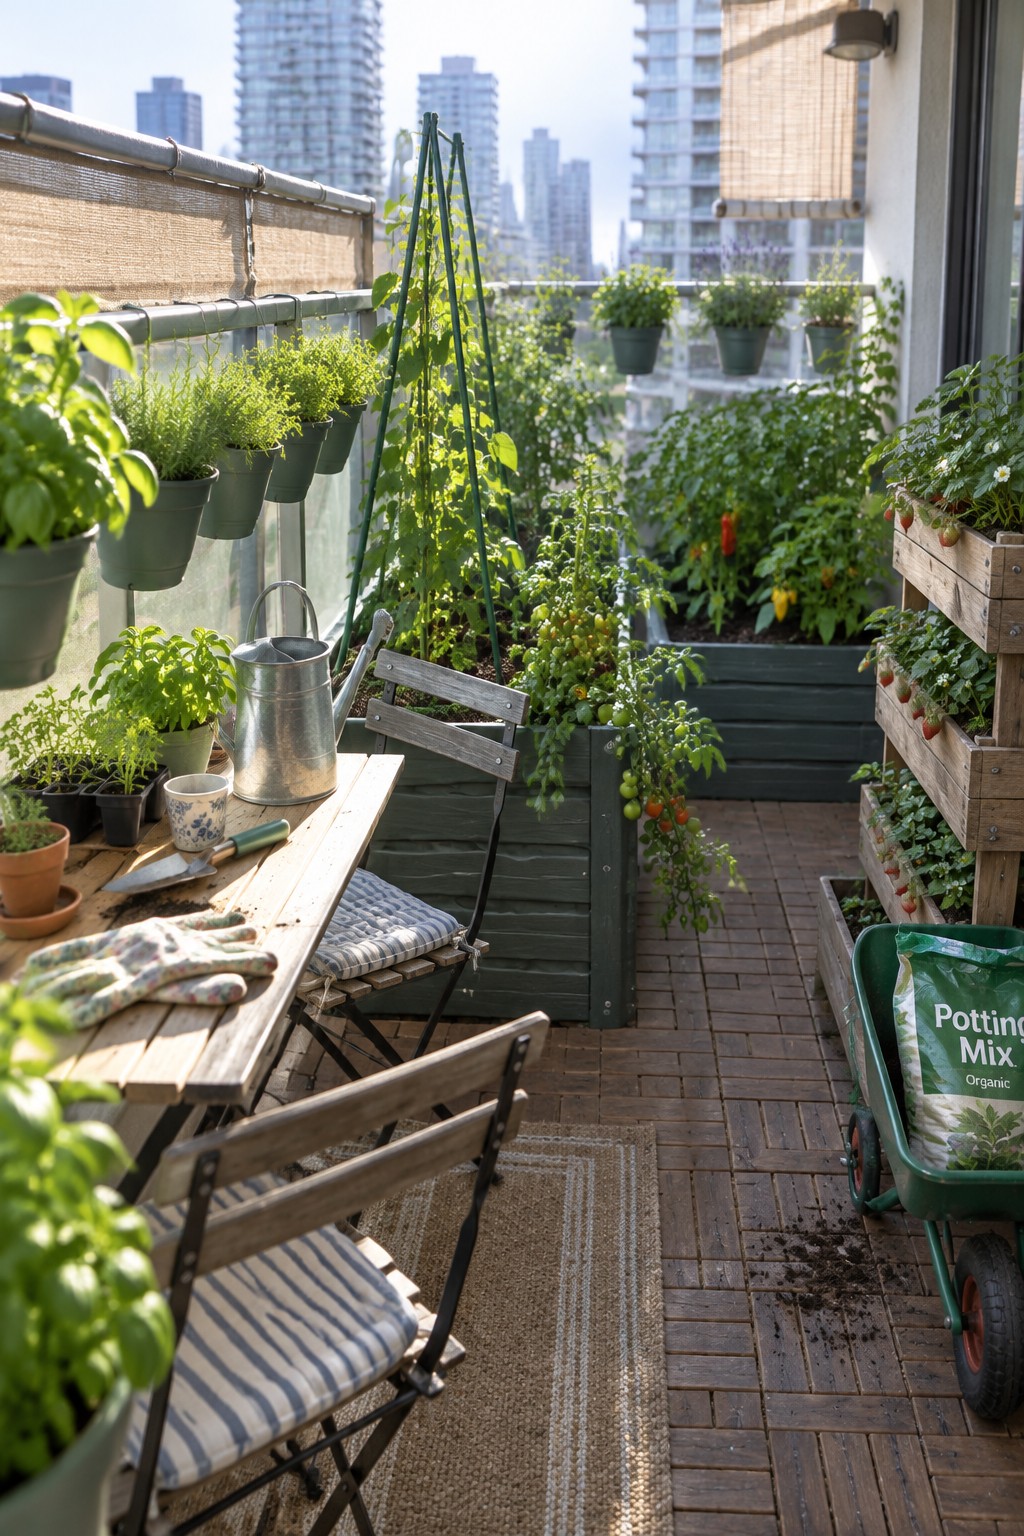
Many people skip roof gardens because they think it requires built-in beds or expensive setups. Simple pots, crates, and hanging planters change that. They sit right on the decking, hold soil well, and let you move things around when needed. The image shows how a mix of sizes can fit herbs, tomatoes, and strawberries without taking over the whole space.
This approach works best on balconies or flat rooftops where weight and drainage matter. Start with a few sturdy plastic pots and one or two wooden crates for larger plants. Add hanging options along the rail to free up floor room. Keep an eye on watering since containers dry out faster than ground beds.
Raised Wooden Planters For Defined Garden Areas
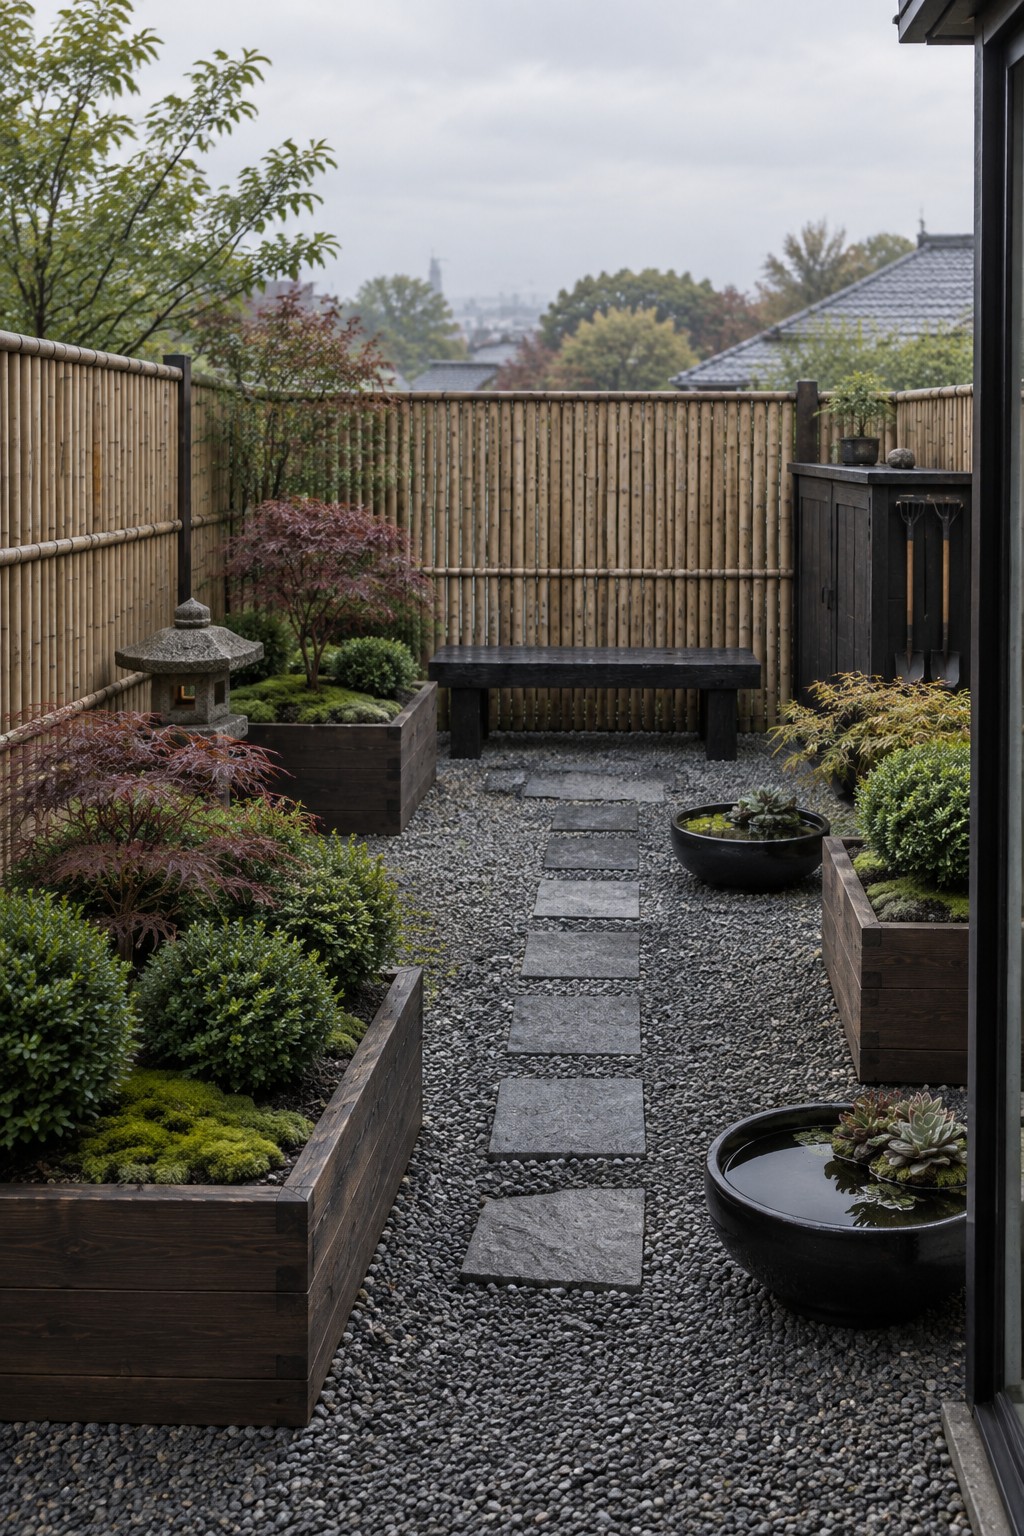
Wooden containers give a roof garden clear structure without needing built-in beds or heavy digging. They sit directly on gravel and keep plants separated from the walking areas, which helps with drainage and makes the space feel more intentional.
This approach suits small rooftops or terraces where soil is shallow and access matters. Place the boxes along the edges or in rows to form paths, and stick to affordable untreated wood so they can be swapped out later if needed.
Group Pots In Clusters For A Roof Garden
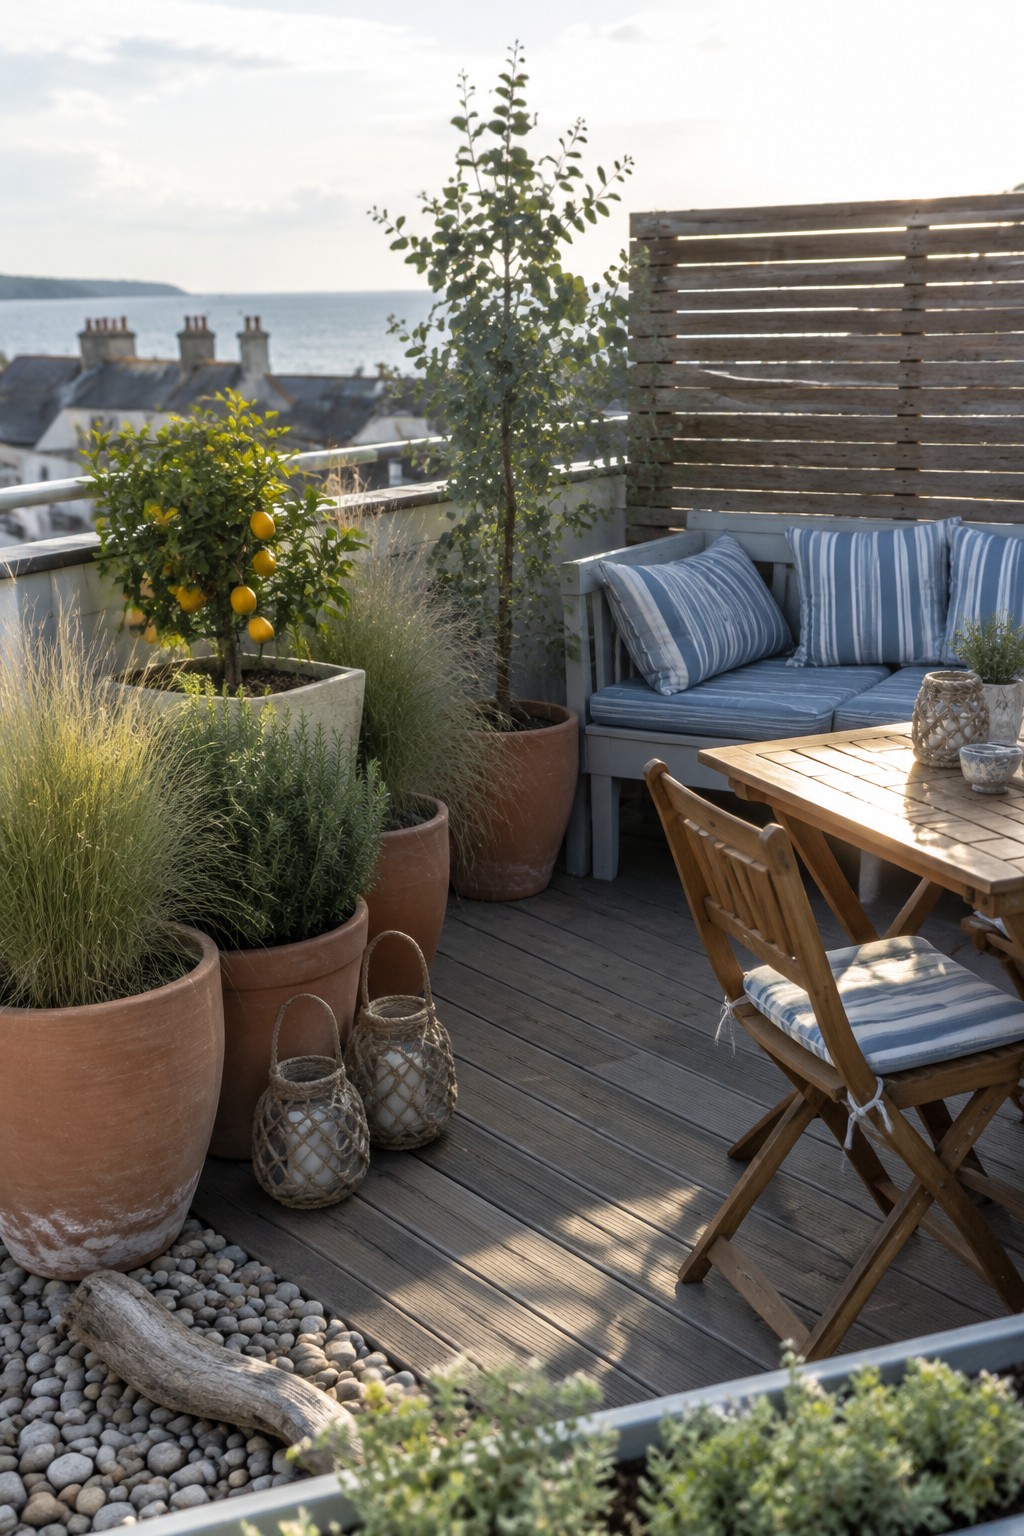
Grouping several containers together is one of the easiest ways to make a roof deck feel like a real garden. You can use different sizes and heights so the plants fill the space without needing built-in beds or permanent changes.
This works especially well on decks where drainage and weight matter. Start with a few larger pots at the back and add smaller ones in front so everything stays easy to move and rearrange when needed.
Start A Roof Garden With Simple Containers
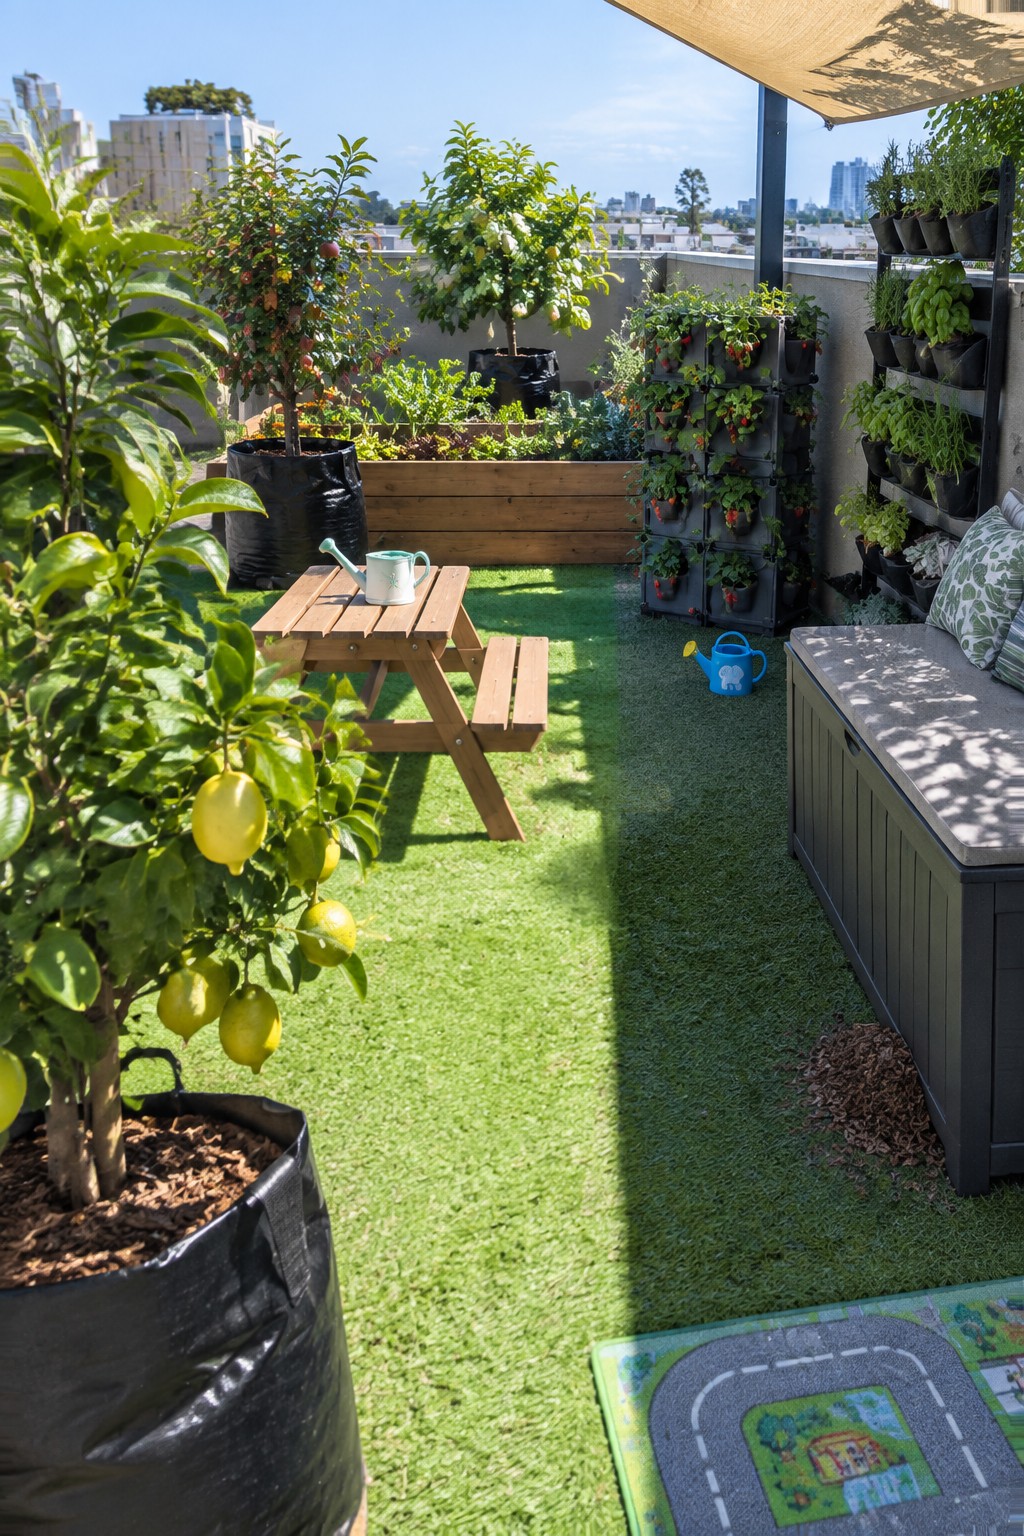
Container planters let you turn a bare rooftop into a working garden without any permanent construction. They stay light, move easily if you need to rearrange, and work with almost any flat surface, which makes them practical for city homes where weight and access matter.
Choose a few large grow bags for trees or shrubs and add some vertical pockets along a wall for herbs and small vegetables. This setup keeps costs low and gives you room to experiment with different plants each season. Just check your roof’s load limit first and use a good quality potting mix that drains well.
Arrange Concrete Planters in Rows for Simple Roof Paths
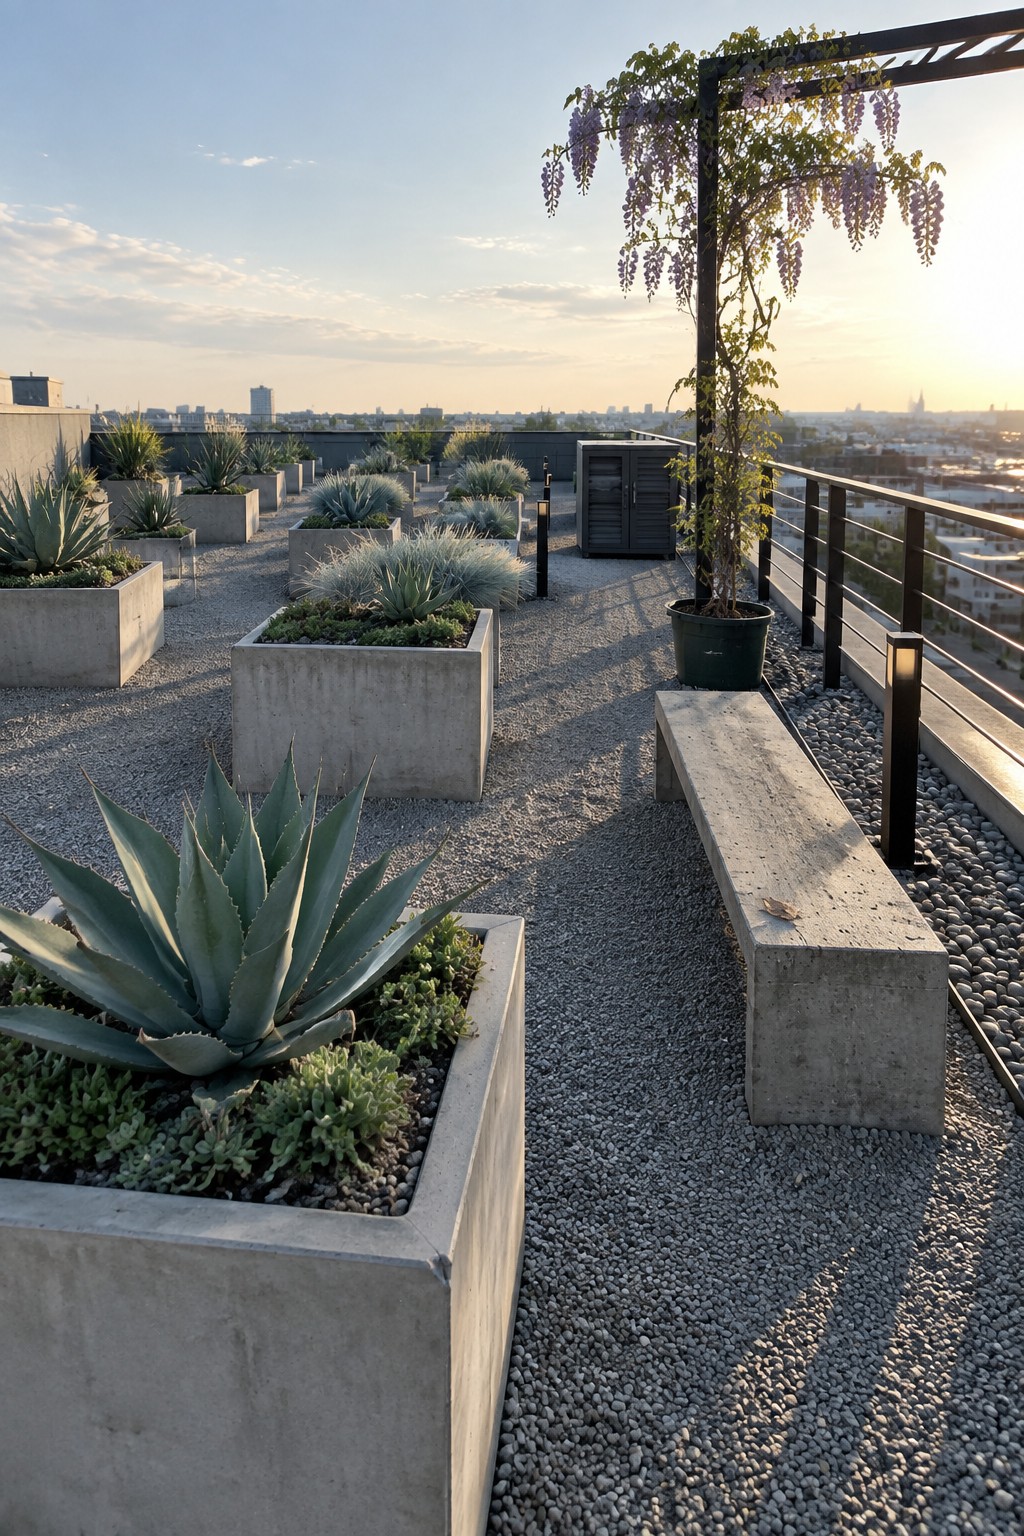
Concrete planters work well on rooftops because they stay put in wind and give you clear lines without building permanent beds. Placing them in straight rows with gravel between creates a path that feels intentional and keeps the space easy to walk through. This setup also lets you move things later if needed, which matters on a roof where drainage and weight can change over time.
Try spacing the planters evenly so the gravel sections stay wide enough for two people. The look suits flat roofs on apartment buildings or townhouses where you want some greenery without a full garden install. Keep the number of planters modest at first so the gravel does most of the covering and you stay under budget.
Cluster Affordable Pots Around Your Seating
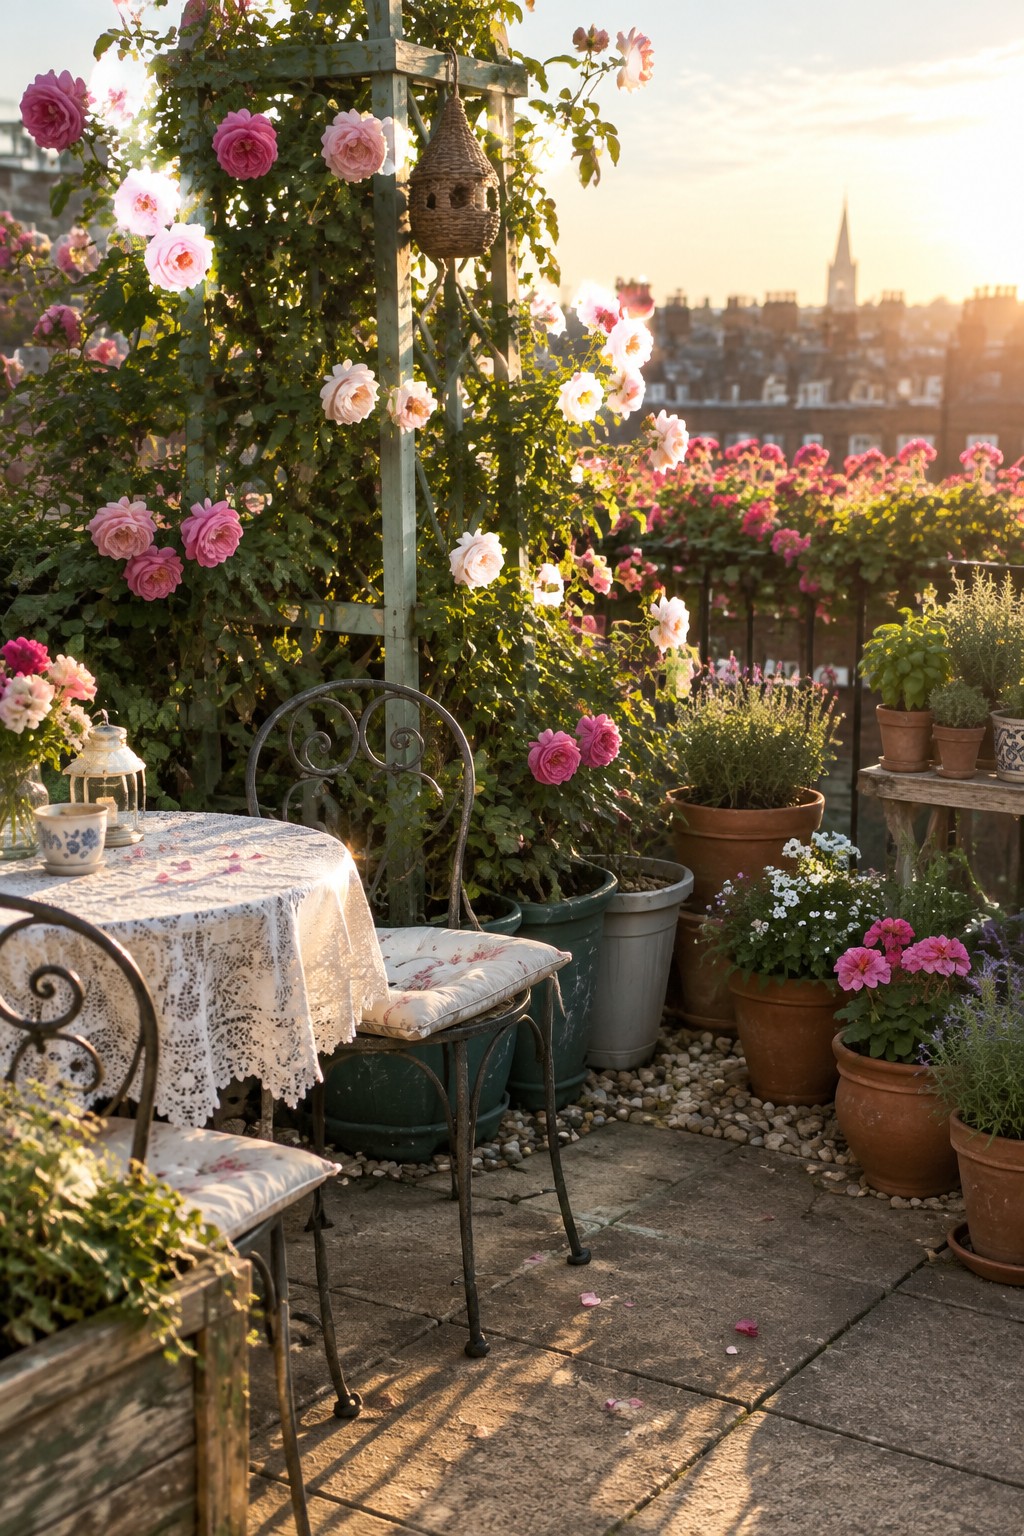
One easy way to turn a bare roof terrace into a garden is to group several budget containers around a small table and two chairs. The pots create a soft edge that makes the seating feel tucked in and intentional rather than just set out in the open.
This works well on rooftops and balconies where you cannot dig beds. Use a mix of terracotta and plastic pots in two or three sizes, place the taller ones at the back, and keep the front ones lower so the table stays easy to reach.
Use Container Trays For Roof Gardens
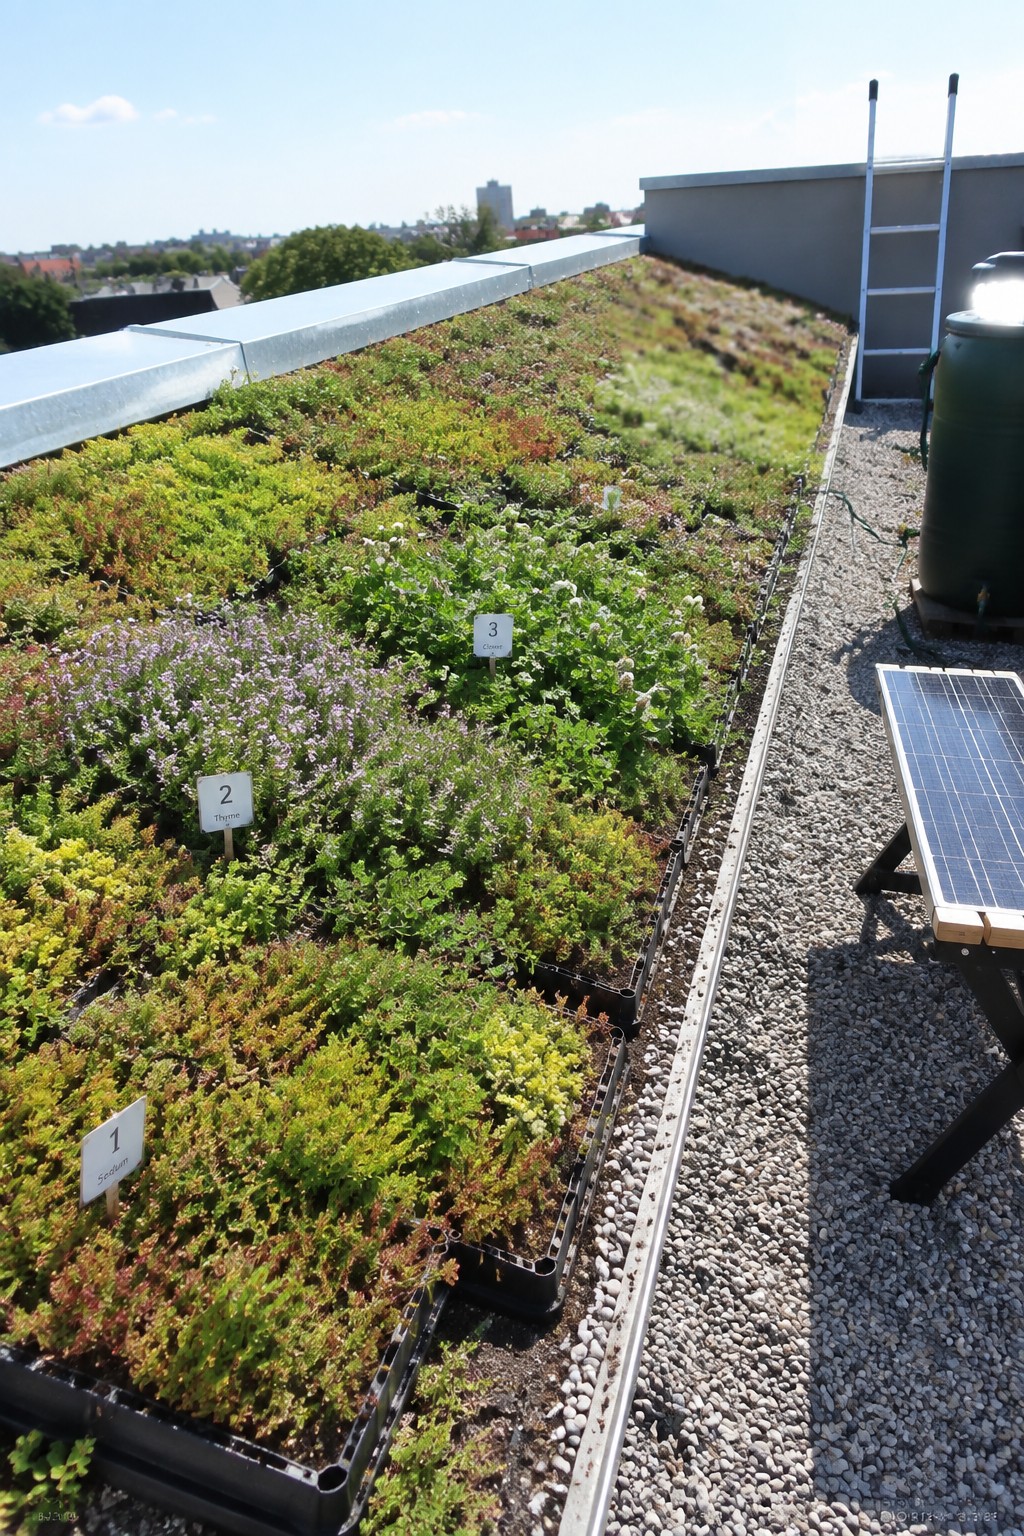
Roof gardens often need a lightweight setup that still lets you grow a range of plants without building permanent beds. Container trays keep everything movable, so you can rearrange sections as plants grow or change with the seasons.
This approach works best on flat urban roofs where drainage and weight matter most. Place the trays on a gravel base for stability, group similar plants together, and check that each tray has proper drainage holes.
Repurpose Pallets For Container Planters

A wooden pallet makes a quick base for container planters on a roof garden. It lifts the pots off the deck, keeps things organized, and costs almost nothing if you already have one or can pick one up for free. The low height also works well with surrounding chairs so the plants feel like part of the seating area rather than something separate.
Place the pallet in the middle of your main gathering spot and set several affordable pots inside the slats. This setup suits small roof terraces where you want a clear center without spending much. Just check that the pallet is clean and dry before you add soil and plants.
Mount Planters on the Wall
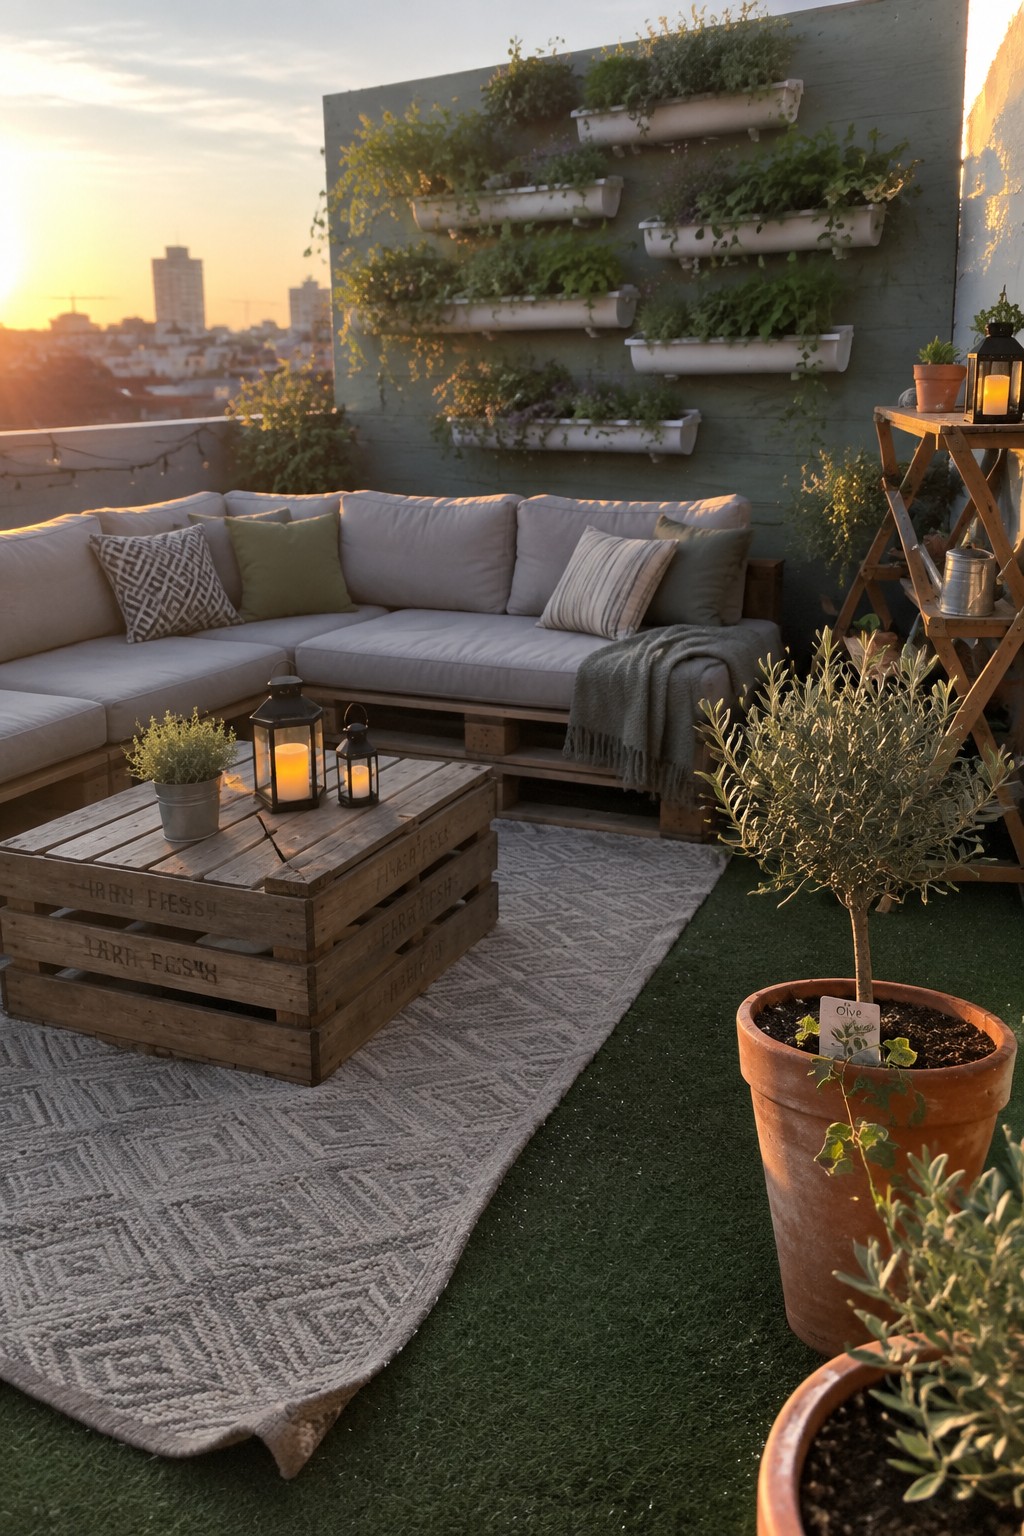
Many roof gardens feel cramped once you add seating and walking space. Wall-mounted containers solve that by moving the plants up and out of the way while still giving you plenty of growing room.
You can use simple troughs or boxes fixed at staggered heights. This approach works best on small rooftops or balconies where floor space is tight, and it keeps the main area open for furniture without blocking light or views.
Create Zones With Container Planters On Your Roof
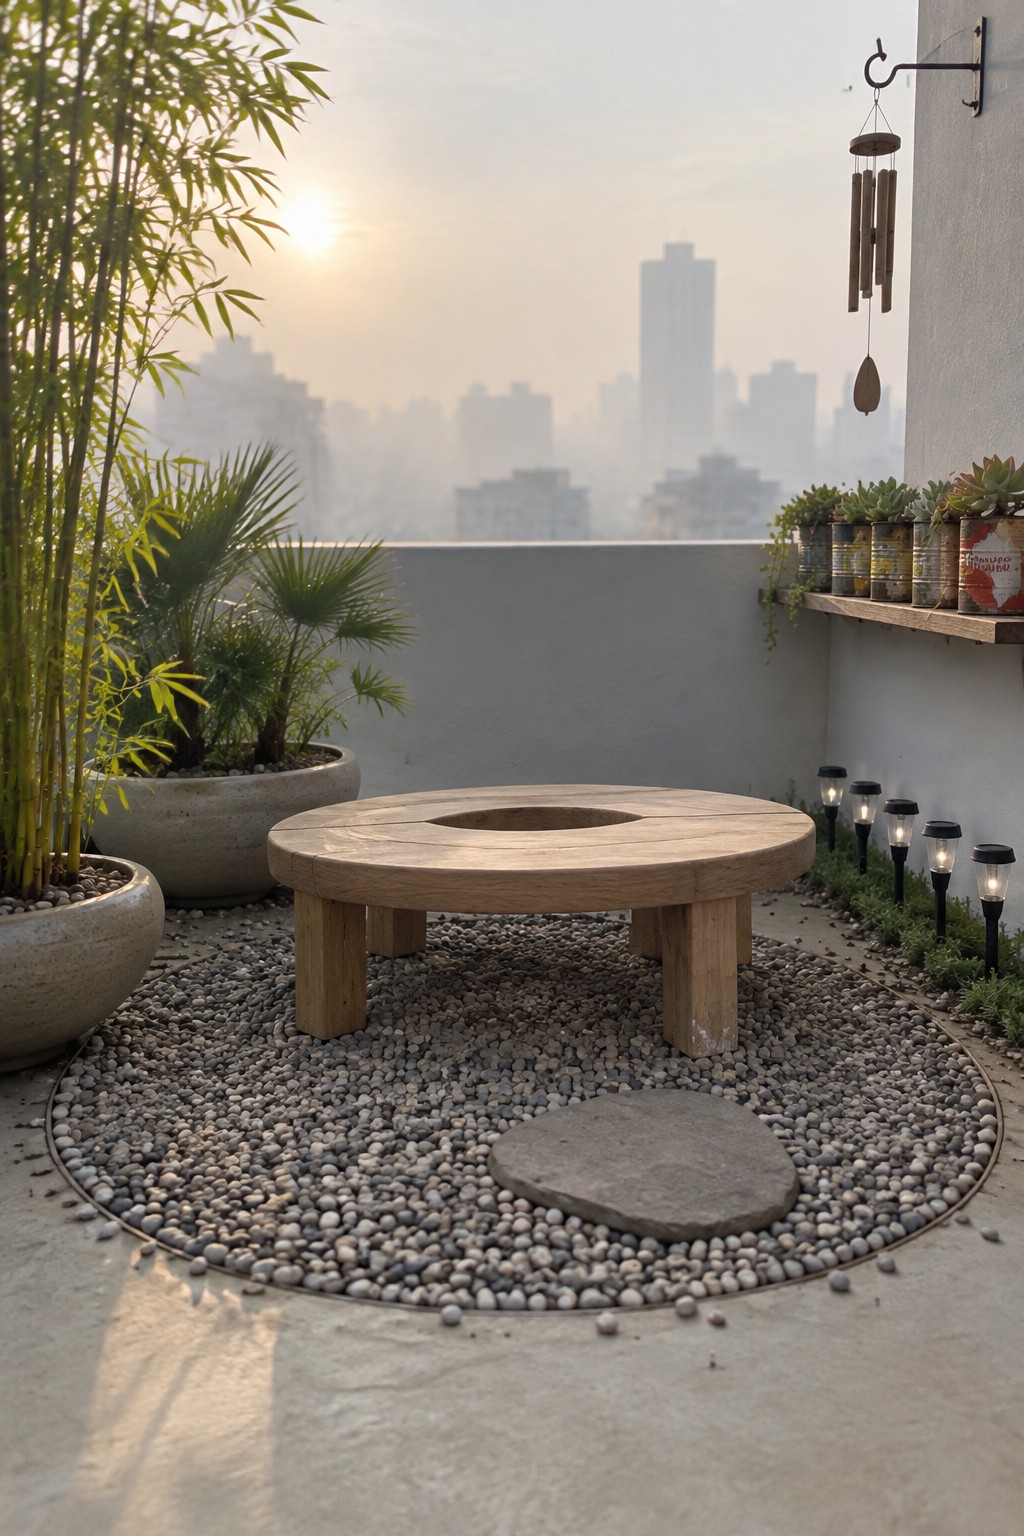
One simple way to make a roof garden feel settled is to place your container planters in a loose ring around a central spot. This marks off a seating area without adding walls or heavy builds, and it works especially well when the floor is open like a terrace.
Try recycled cans or basic pots for the plants so the cost stays low. The setup feels most natural on rooftops that get steady sun, where the containers can be moved around as needed and the whole area stays easy to keep up.
Plastic Containers Work Great For Roof Gardens
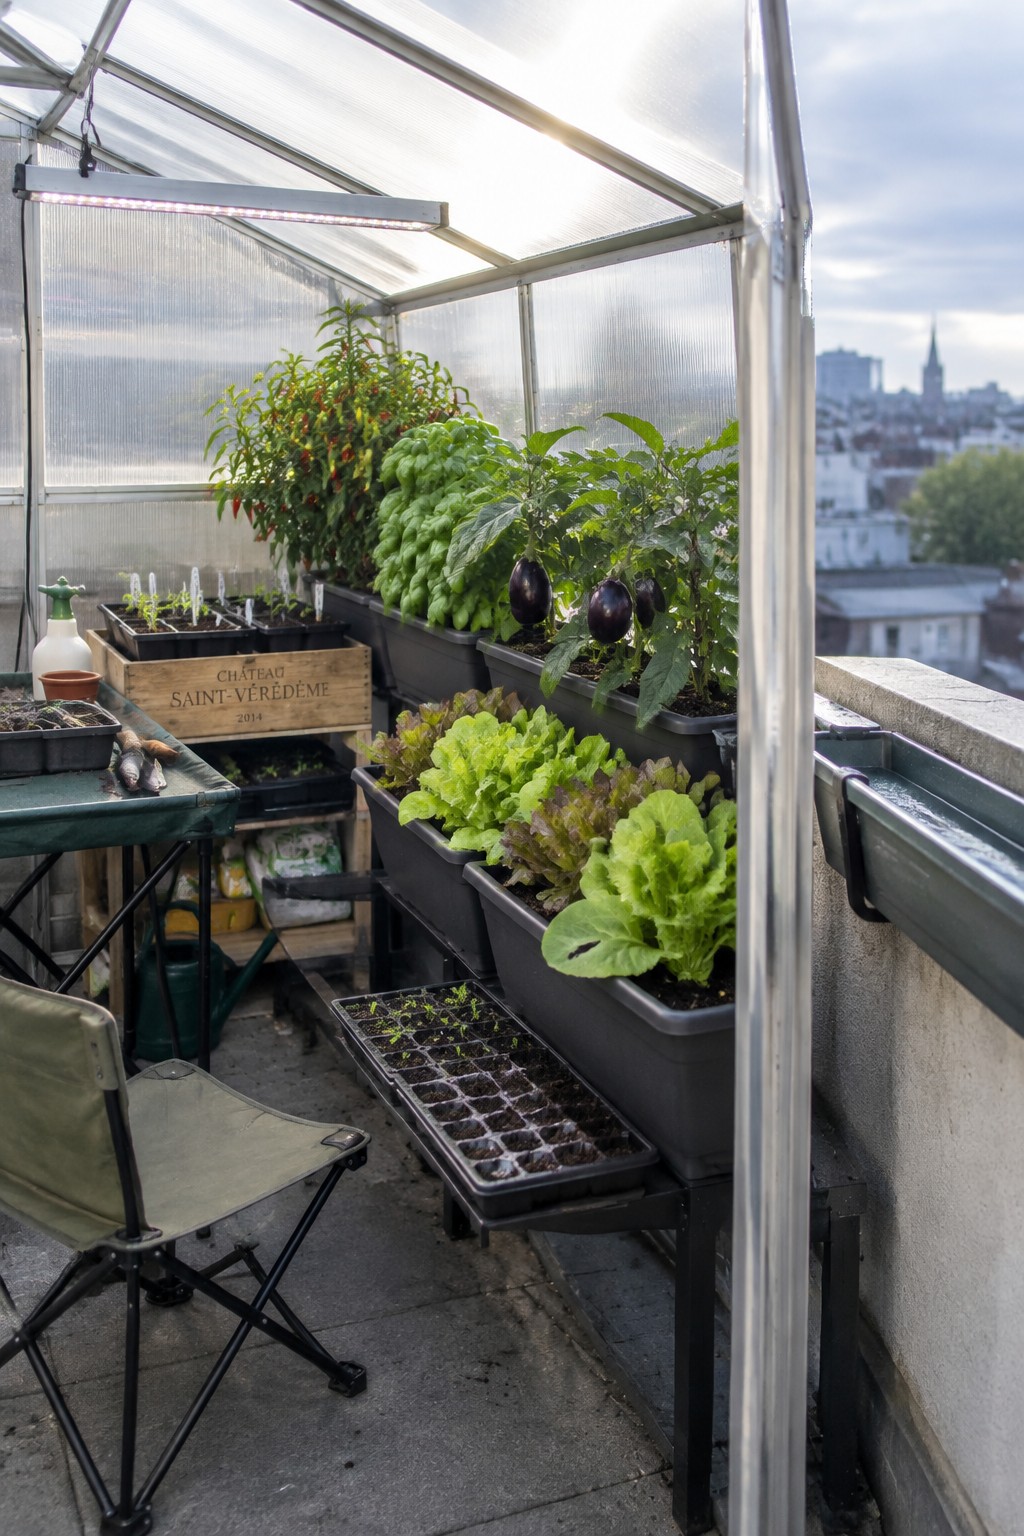
Many people start a roof garden with basic plastic containers because they cost little and last for years. The rectangular shape lets you line them up along a railing or wall and still leave room to walk or sit.
They suit small urban rooftops especially well since you can grow eggplants in one and lettuce in another without building raised beds. Just add drainage holes if needed and keep the soil from getting too heavy when wet.
Frequently Asked Questions
Q: Will the added weight from soil and planters damage my roof over time?
A: Start with plastic or fabric containers and mix perlite into your potting soil to lighten the load right away. Place them only over the strongest roof beams and check the total weight before adding more. Move a few at a time to see how the surface feels underfoot.
Q: How do I stop strong roof winds from knocking over my containers?
A: Group the planters together in clusters so they support each other. Add a few smooth stones at the base of each one for extra stability without much cost. Choose lower growing plants that stay closer to the rim and catch less breeze.
Q: What is the easiest way to water everything without wasting time or money?
A: Set up a simple drip line from a rain barrel so you only fill it once a week. Water early in the morning and focus on the roots instead of the leaves. Skip any fancy timers and just check the soil with your finger each day.
